Autopapyrus · Renault Laguna III 1.5 dCi K9K (2007)
https://autopapyrus.com/guides/renault/laguna/water-pump-replacement-cooling-system/
https://autopapyrus.com/guides/renault/laguna/water-pump-replacement-cooling-system/
Compiled automatically from service literature and owner experience. Specs are for the typical configuration — check them against your exact car before you start.
Renault Laguna III 1.5 dCi K9K (2007): Water Pump Replacement (Cooling System)
On the 1.5 dCi (K9K), the water pump is driven by the timing belt, so it is always replaced together with the belt and pulleys. The job requires setting the valve timing precisely with locking pins. If you have no experience with timing belts, leave it to a repair shop: a mistake in the timing marks causes the pistons to hit the valves and leads to expensive engine repair.
Parts
4| № | Part | Genuine part no. | Alternatives |
|---|---|---|---|
| 01 | Water pump for K9K (1.5 dCi) | 210107370R | |
| 8660002090 | |||
| 02 | Timing belt kit (belt, idler and tensioner pulleys)recommended to replace together with the pump | 7700725577 | SKF, Gates, Contitech, Dayco, INA |
| 8671018479 | |||
| 7701468167 | |||
| 8671018694 | |||
| 03 | Water pump O-ring or gasketusually included with the pump | ||
| 04 | Renault Glaceol RX Type D coolantpremixed or concentrate with distilled water |
Part numbers are from the manufacturer's original catalogue. Check them against your VIN before ordering.
Tools
8- Socket and wrench set
- torque wrench
- K9K crankshaft and camshaft locking pins
- camshaft pulley holding tool
- jack with jack stands and a rolling jack or an engine support stand
- coolant drain pan of at least 6 L (6.3 qt)
- syringe or funnel for filling
- bleeding hose
 There's a full repair manual for this car
Every system, wiring diagrams and torque specs — not just this job. Haynes and 3 more.
See manuals →
Step by step
13 steps- Park the car on level ground, turn off the engine and let it cool down. Disconnect the negative battery terminal. Raise the front of the car and support it on jack stands, then remove the right front wheel and the engine undercover.
- Drain the coolant: open the expansion tank cap only on a cold engine, then remove the drain plug or disconnect the lower radiator hose and drain the fluid into a pan. Dispose of the coolant as hazardous waste, as it is toxic.
- Remove the accessory drive belt (release the tensioner first) and remove everything that blocks access to the right side of the engine: air ducts and, if necessary, the air filter housing with its hoses.
- Support the engine from below with a jack, using a wooden block. Remove the right upper engine mount (bracket) and remove the upper timing belt cover.
- Turn the crankshaft in its normal direction of rotation using the pulley bolt until the timing marks align, then lock the crankshaft and camshaft with the pins. Do not turn the engine backward.
- Remove the crankshaft pulley and the lower timing belt cover. Loosen the tensioner pulley and take the belt off the sprockets.
- Unscrew the water pump mounting bolts (several around the perimeter) and remove the pump. Clean the mating surface of any gasket residue and scale, and do not let dirt get into the passages.
- Install the new pump with a new seal (O-ring or gasket). Tighten the bolts evenly in a crisscross pattern. The torque is low, about 8-12 N·m (6-9 lb-ft); check the exact value in the service manual for your engine version. Make sure the pump shaft turns freely.
- Install the new pulleys and the new timing belt in the order given in the kit instructions: crankshaft first, then the pump and camshaft, and the tensioner pulley last. The belt must be taut on the drive side. Tension the belt using the tensioner mark and tighten the pulleys to the values in the service manual.
- Remove the locking pins and turn the crankshaft 2 full turns in its normal direction of rotation. Insert the pins again to confirm the marks align and the belt tension is correct. If not, repeat the installation.
- Install the belt covers, crankshaft pulley, engine mount and accessory drive belt. Use the manufacturer's torque specifications for the crankshaft pulley and the mount: use a new bolt for the pulley, because it is tightened with an additional angle turn.
- Close the drain opening and reconnect the hoses. Pour coolant into the expansion tank up to the MAX mark. Start the engine with the tank cap open, set the heater to maximum and warm the engine up until the thermostat opens, topping up the fluid as needed. Bleed the system by squeezing the upper radiator hose to remove air pockets.
- Check the system for leaks, let the engine cool down and check the coolant level again. Install the wheel and tighten the wheel bolts in a crisscross pattern to about 105 N·m (77 lb-ft), then install the undercover. After 100-200 km (60-125 miles), check the coolant level on a cold engine.
Common mistakes and warnings
- Never turn the crankshaft with the timing belt removed, or backward: on the K9K diesel this can damage the valves and pistons
- Replacing only the pump without the belt and pulleys is not recommended: the belt and pulleys have the same service life as the pump, and taking everything apart again costs more
- Hot coolant under pressure causes burns, so open the system only on a cold engine
- Use the coolant specification listed in your car's owner's manual and do not mix different types
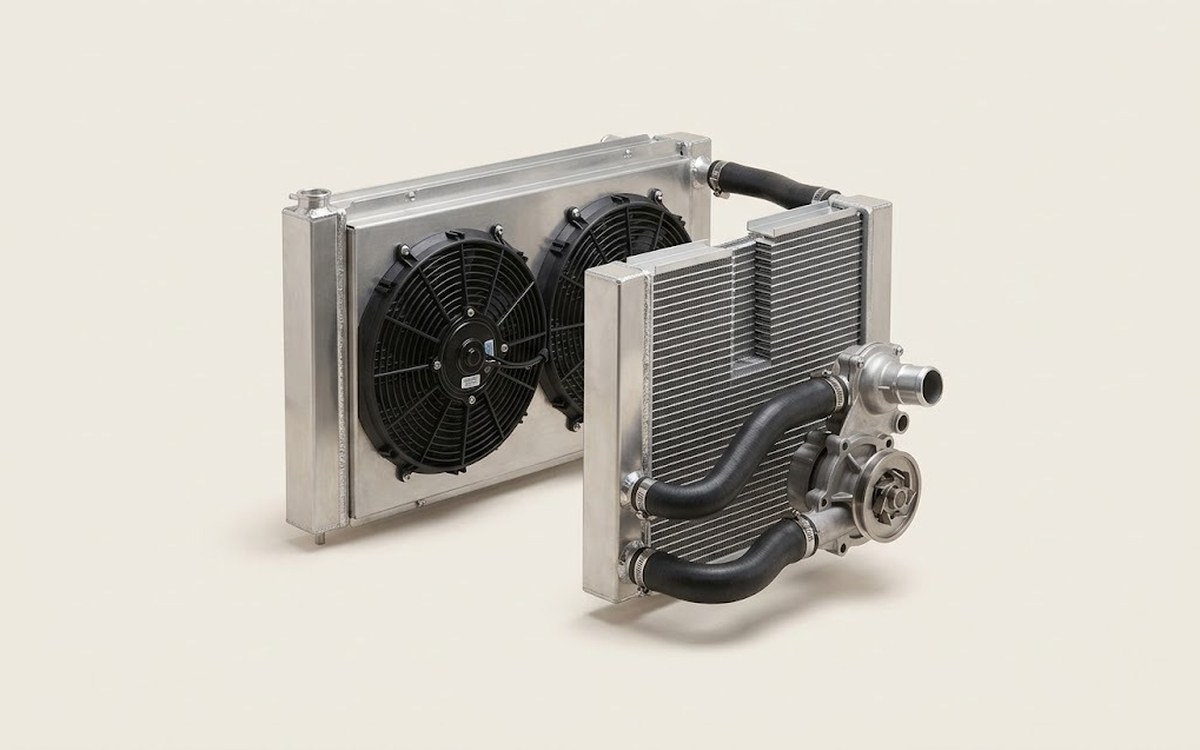 How it works · 3D
How the Engine Cooling System Works
How the part you're working on actually works — in plain English, on a 3D model.
Open in 3D →