Car care & driving
How to Install Parking Sensors Yourself
Autopapyrus
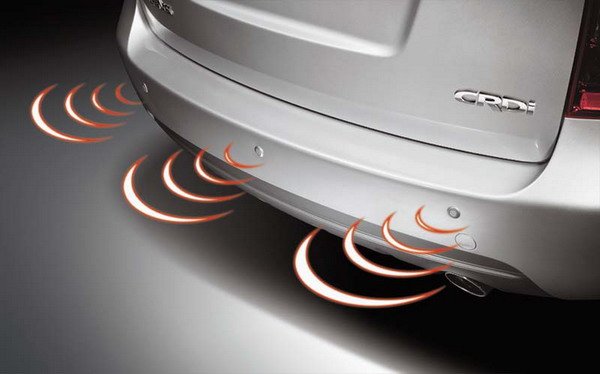
Inexperienced drivers face challenges at every turn. It takes time to learn and stop making mistakes, but you can make life easier right away with some modern car equipment. There are plenty of accessories on the market today, but here we'll talk about the one that makes parking as easy as possible: parking sensors. You can have the system installed by a shop, or you can do it yourself. Today we'll cover the DIY route, since you may not always want to pay for professional installation.
First, choose and buy the unit itself. Auto parts stores carry many different versions and variations. In practice, they differ very little. The main difference is the look of the display, while the performance specs are essentially the same across all units. You can set up a different number of sensors. Most owners mount 4 on each bumper, though some only fit the rear one. Parking sensors are especially popular with owners of cars with tinted windows, since their visibility is much worse and they have to back up in the dark.
Let's get started!
Before you start installing the sensors, give the car a good wash. Then remove the bumper. Pay close attention at this step: some people manage to mix up the mounting hardware of the front and rear bumpers! Next, mark the spots for the holes and drill them for the parking sensors. You can do all of this without taking the bumpers off, but only if you already have the experience and skills to route the wires into the cabin.
Stay focused while marking the sensor locations, too. If you drill an extra hole, there's no undoing it. Space the sensors at equal distances from each other so you get a better sense of your surroundings while parking.
Once the sensor holes are ready, you can move on to one of the most important steps: routing the wires and connecting the sensors to power (the circuit must be disconnected from power first). Run the wires from the sensors to the display, and tap the control unit's power into the reverse light circuit. With this setup, the system only activates when the car is in reverse. You'll appreciate this, because you won't get unnecessary beeping when you're stuck in traffic and another car pulls up too close. For any other tricky situation on the road, a repair manual for your car's make and model will help.
Finally, the last step: mount the display and connect all the sensors. The display should be placed where it's most convenient for the driver. It's important that you can read it without changing the position of your head. That's it! As you can see, it doesn't take very long, and it's also a chance to learn a lot about your car.
What next