Autopapyrus · Honda Vezel 1.5 Hybrid LEB (2019)
https://autopapyrus.com/catalog/honda/vezel/guides/coolant-replacement/
https://autopapyrus.com/catalog/honda/vezel/guides/coolant-replacement/
Compiled automatically from service literature and owner experience. Specs are for the typical configuration — check them against your exact car before you start.
Honda Vezel 1.5 Hybrid LEB (2019): Coolant Replacement
For the first-generation Honda Vezel (HR-V) with the LEB hybrid engine (1.5 Atkinson cycle, dual-clutch automated transmission), the maintenance schedule calls for a coolant change every 200,000 km or 10 years. If the vehicle's history is unknown, change it sooner and flush the system. This procedure covers the engine cooling circuit only. The hybrid's power electronics have a separate cooling system. Do not touch high-voltage components. This guide does not cover them.
Key figures
- Coolant change interval200,000 km or 10 years, whichever comes first, per the Vezel maintenance schedule. If the vehicle is used and you don't know what is in it, change it sooner (steps 1-22).
- Level in the tankup to the MAX mark, checked on a cold engine after filling and after 1-2 days (steps 14, 18, 22).
Check these values against the manufacturer’s specification for your vehicle before you start.
Parts
2| № | Part |
|---|---|
| 01 | Honda All Season Antifreeze/Coolant Type 2 (blue, ethylene glycol-based, silicate-free, premixed 50/50)about 5 L (5.3 qt) with some extraFind on Amazon → |
| 02 | Engine block drain bolt washernew, if the engine has a drain boltFind on Amazon → |
Amazon links search by the part name; use Amazon's fit check for your car before ordering. We may earn a commission from qualifying purchases.
Tools
8Step by step
22 steps · 5 stagesStage 1 of 5 Preparation 4 steps
- Park the vehicle on level ground, switch off the ignition, and let the engine cool completely (at least 2-3 hours). The hybrid can start the engine on its own, so make sure the system is off (the READY indicator is not lit) and keep the key away from the cabin.
- Start the vehicle, set the cabin heater to maximum temperature, then switch the system off. This opens the heater valve so coolant drains from the heater circuit.
- Open the hood and locate the expansion tank and the radiator cap. Open the caps only on a cold engine: hot coolant under pressure can cause burns.
- Raise the vehicle and remove the undercover (plastic or metal) to reach the bottom of the radiator. Check the service manual for the tightening torque of its fasteners. They are usually small bolts and clips.
Stage 2 of 5 Draining 6 steps
- Place a 6-8 L (6.3-8.5 qt) drain pan under the lower radiator hose.
- Open the radiator cap if there is one (on some versions the expansion tank serves as the filler neck, in which case remove its cap).
- Loosen the drain plug on the radiator's lower tank and drain the coolant. If there is no drain plug, loosen the clamp and disconnect the lower radiator hose.
- If there is a drain bolt on the front of the cylinder block, remove it and drain the remainder. Reinstall it with a new washer. Use the torque specified by the manufacturer and do not overtighten, to avoid stripping the threads.
- When the flow stops, tighten the radiator drain plug, or reinstall the hose and tighten the clamp. Tighten the plug firmly but without force, as it is plastic.
- Dispose of the used coolant at a recycling collection point. Do not pour it on the ground.
Stage 3 of 5 Flushing (optional, if the coolant is dirty or of unknown type) 2 steps
- Fill the system with distilled water, warm up the engine until the fan turns on, let it cool, and drain. Repeat until the water runs clear.
- Leftover water in the system will dilute the new coolant, so drain it as completely as possible after flushing. Some liquid stays in the block and heater core and cannot be drained completely.
Stage 4 of 5 Refilling 4 steps
- Lower the vehicle or leave it on level ground. Check that the drain plugs are tight.
- Fill the expansion tank with Type 2 up to the MAX mark.
- Slowly pour coolant into the radiator up to the base of the filler neck (if the radiator has its own filler neck). Pour in a thin stream to avoid air pockets.
- Close the radiator cap loosely (if there is such a filler neck).
Stage 5 of 5 Air bleeding and check 6 steps
- Switch the system on (READY) and let the engine run to warm up with the cabin heater set to maximum. On a hybrid, the engine cycles on and off by itself. If the engine does not start, press the accelerator pedal or leave the system on until the radiator fan has turned on at least twice.
- Switch the system off and let it cool. Check the level in the radiator and the expansion tank, and top up with Type 2 to MAX if needed.
- Close the radiator cap and the tank cap tightly.
- Warm the engine up to operating temperature again and inspect the hoses, radiator and drain plugs for leaks.
- Install the undercover and tighten its fasteners.
- After 1-2 days of driving, check the level on a cold engine. If it has dropped, top up to MAX. A sharp drop in level indicates a remaining air pocket or a leak.
Common mistakes and warnings
- Do not remove the radiator cap or tank cap on a hot engine
- Use only silicate-free coolant approved for Honda, and do not mix different types
- Orange, red and conventional silicate-based coolants cause corrosion
- Do not disconnect or touch the orange high-voltage cables of the hybrid system
- If work on the power electronics is needed, contact a repair shop
- The tightening torques for the drain components and the engine undercover in this guide are approximate ("firm, without overtightening")
- Verify the exact values in the manufacturer's service manual
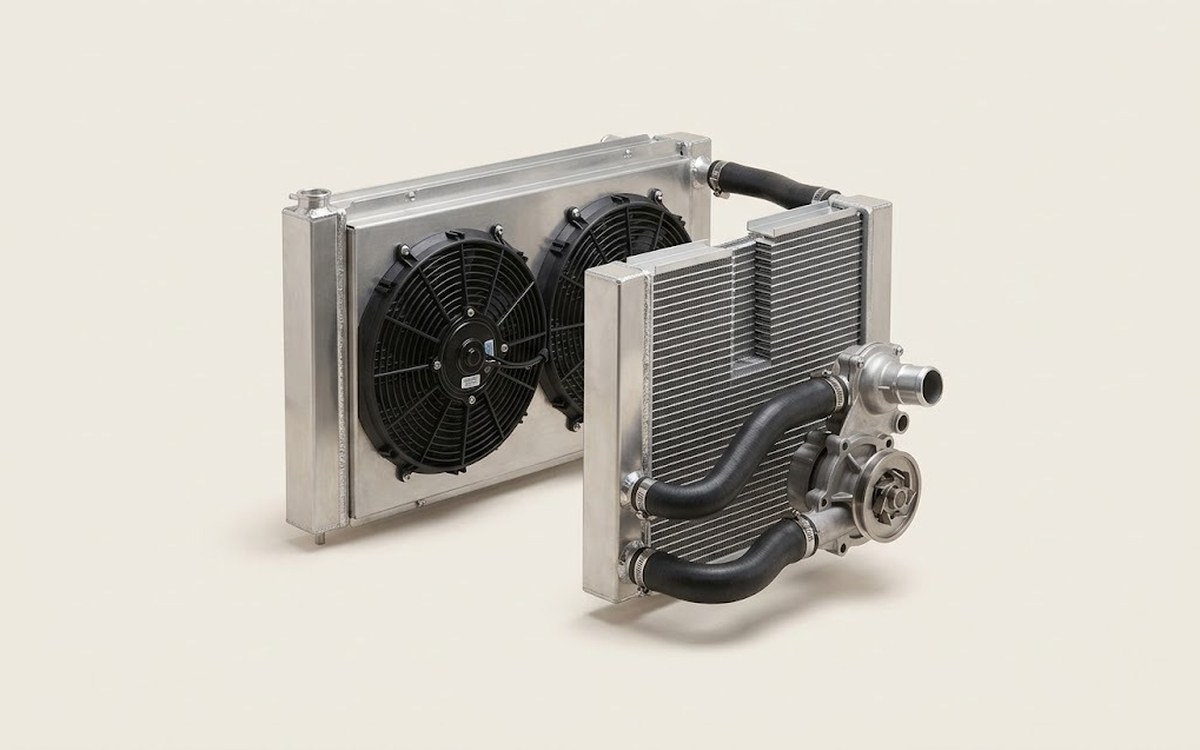 How it works · 3D
How the Engine Cooling System Works
How the part you're working on actually works — in plain English, on a 3D model.
Open in 3D →
Spotted a mistake? Tell us →
Our articles
 Brand stories
The History of Honda
The founder of the famous company, Japanese entrepreneur Soichiro Honda, was born in 1906 into the family of a poor…
Read →
 Garage
Fuel Quality Indicators: What Octane and Cetane Numbers Mean
What is an octane number? What about a cetane number? Which fuel should you choose for a high-compression engine?…
Read →
 Before you buy
How to Pick Up Your Car from the Dealership the Right Way
If you've decided to buy a car from a dealership, it isn't enough to simply choose a model you like, pay for it, and…
Read →