https://autopapyrus.com/catalog/land-rover/discovery-sport/guides/removing-and-installing-the-pillar-trims-and-interior-side-panels/
Land Rover Discovery Sport L550 (2021): Removing and Installing the Pillar Trim and Interior Side Panels
The Discovery Sport pillar trim is held by plastic clips and guides, and some panels are pinned under the door opening seals. Behind the front, center and rear pillar trim run the curtain airbags and seat belts. This guide describes the typical sequence: front pillar (A), center pillar (B, upper and lower), rear pillars (C, D) and the cargo area side panels. The torque values below are approximate. Check the exact values against the manufacturer's specifications.
Diagram: what a pillar trim panel looks like and where its fasteners are
- 1Pillar trim panel: a long plastic panel held on by clips. Release it from top to bottom with short pulls, no jerking: a safety curtain runs behind it.
- 2Round fastener on the panel: one of the mounting clips. Clips often break on removal, so keep spares.
- 3Yellow clip on the panel: another mounting point. Check the clips before refitting and replace broken ones with new ones.
Parts
3| № | Part |
|---|---|
| 01 | Plastic trim clip and retainer set for Land Rover Discovery Sport L550clips often break during removalFind on Amazon → |
| 02 | Pillar screw cover capsFind on Amazon → |
| 03 | Pillar mounting Torx screwsif neededFind on Amazon → |
Amazon links search by the part name; use Amazon's fit check for your car before ordering. We may earn a commission from qualifying purchases.
Tools
6Read the codes yourself
A scanner plugged into the OBD2 port under the dashboard shows which fault codes the car has stored, before you buy any parts. Cars sold in the US from 1996, and petrol cars in Europe from 2001 (diesels from 2004), have this port.
- Basic code reader, about $20–40: reads and clears engine codes Amazon →
- Bluetooth scanner with a phone app, about $30–100: live sensor data, and on many cars ABS and airbag codes too Amazon →
Check that the scanner lists your make and model year before you buy. We may earn a commission from qualifying purchases.
 There's a full repair manual for this car
Every system, wiring diagrams and torque specs — not just this job. Haynes AutoFix (online).
See manuals →
Step by step
24 steps · 6 stagesStage 1 of 6 Preparation 4 steps
- Park the car on a level surface, turn off the engine and remove the key. Open all doors and the tailgate.
- Disconnect the negative battery terminal and wait at least 10-15 minutes: the curtain airbags and the seat belts with pretensioners are located behind the pillars. Do not touch the airbag connectors.
- Get the fastener container and spare clips ready. Place a soft cloth under the pry tools wherever the trim sits against painted edges.
- Fold down the rear seatbacks (and the third row, if fitted) to get access to the rear pillars and the cargo area side panels. Empty the cargo area.
Stage 2 of 6 Front pillar (a) 4 steps
- Carefully pull the front door opening seal away along the pillar to free the edge of the trim.
- Pry off the cover cap and remove the pillar trim retaining screw, if there is one. Use a pry tool at the edge by the dashboard to release the dashboard end panel (side trim of the dash) and remove it.
- Unclip the pillar trim from top to bottom along the clips, pulling it toward you with short, controlled force and no jerking: the curtain airbag runs behind it.
- Set the trim aside without pulling on the wiring harnesses (speakers, sensors). Disconnect the connector if necessary.
Stage 3 of 6 Center pillar (b) 4 steps
- Remove the front door sill trim (the plastic panel in the door opening), unclipping it from the edge along the clips.
- Slide the shoulder belt height adjuster down, pry off the decorative cover of its mount and remove the upper B-pillar trim by pulling it off the clips from top to bottom. Do not disconnect the belt from the anchor unless necessary. If the procedure requires unbolting the belt anchor, make sure the threads are clean before tightening and tighten with a torque wrench to the manufacturer's specification.
- Unclip the lower B-pillar trim from the bottom edge, pull it away from the body and pass the belt through the slot in the panel.
- Check the clips and guides: replace any broken ones with new ones.
Stage 4 of 6 Rear pillar (c) and side panels 4 steps
- Pull the rear door opening seal away along the rear seat.
- Unclip the upper C-pillar trim first from the lower edge, then from the upper edge, then raise it and lower it along the seat belt. The belt passes through the slot in the panel.
- Remove the rear door sill trim and the cargo area side panel (remove the tailgate sill trim along the way), unclipping them around the perimeter. If a third row is fitted, remove the corresponding trim pieces on the seat mechanisms.
- The D-pillar trim comes off after the cargo area side panel: release it along the clips, watching the harnesses and connectors of the speaker or the belt mounting tabs.
Stage 5 of 6 Installation 4 steps
- Before installing, make sure the curtain airbags and harnesses are back in place and the belts pass through the panel slots without twisting.
- Install in reverse order: D-pillar, cargo area side panel, C, lower and upper B, A, sill trims. Align the clips with the holes and press them in with the palm of your hand until they click.
- Tighten the Torx screws on the pillars lightly, approximately 2-5 N·m (1.5-3.7 lb-ft) (exact value per the manufacturer's specification), and cover them with the caps. Tighten the belt anchor to the manufacturer's specification with a torque wrench.
- Put the door opening seals back in place and press them down along the entire perimeter.
Stage 6 of 6 Check 4 steps
- Reconnect the battery and turn the ignition on: the instrument cluster should not show an airbag (SRS) or seat belt warning. If one is lit, take the car to a repair shop for diagnostics.
- Pull out and release each belt: it should extend freely and retract fully, and the height adjuster should move and lock in place.
- Check the operation of the speakers, dome lights and sensors whose harnesses you disconnected.
- Shake the panels by hand and check the gaps. A squeak in a pillar most often means a clip is not seated or is broken.
Common mistakes and warnings
- Curtain airbags and seat belt pretensioners (SRS) are located behind the pillar trim
- Do not work with the battery connected, do not strike the pillars or panels, and do not touch the airbag connectors
- Incorrect assembly of the belt or its anchor reduces safety
- If you have no experience, have a repair shop do the work
Spotted a mistake? Tell us →
Our articles
 Brand stories
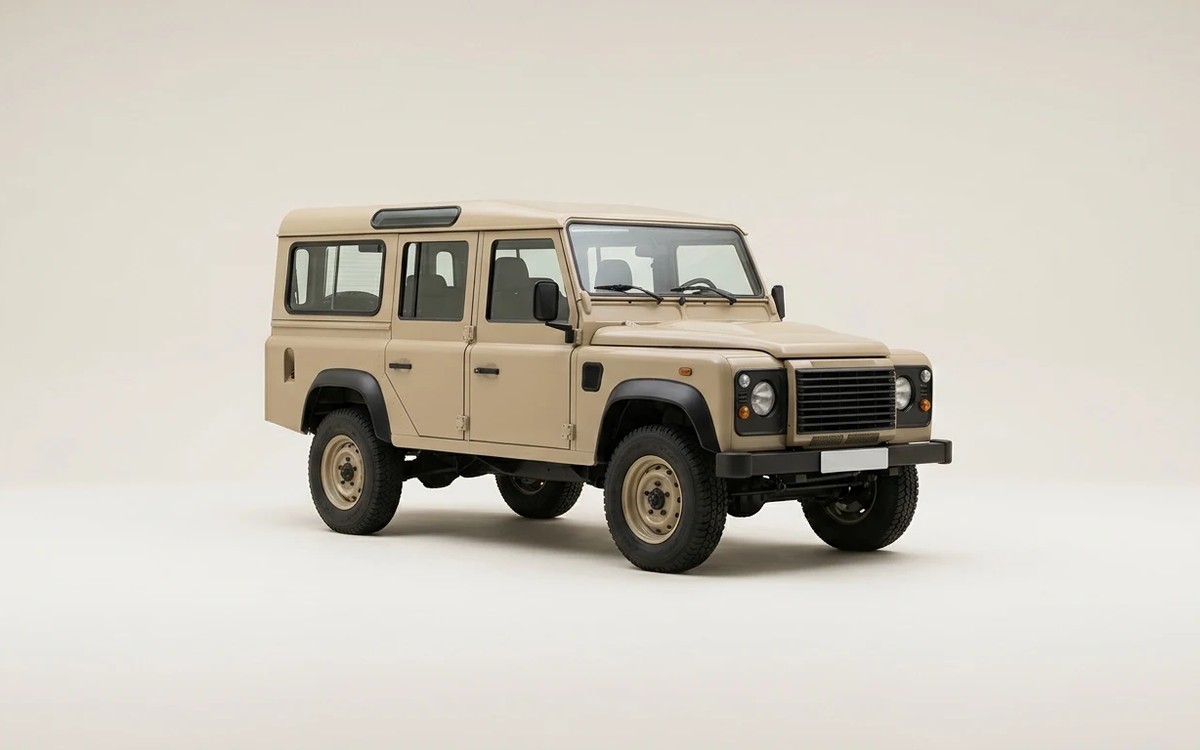
The History of the Land Rover Brand
Land Rover debuted on the automotive market in the late 1940s and focused on four-wheel-drive vehicles from the start.…
Read →
 Garage
Fuel Quality Indicators: What Octane and Cetane Numbers Mean
What is an octane number? What about a cetane number? Which fuel should you choose for a high-compression engine?…
Read →
 Before you buy
How to Pick Up Your Car from the Dealership the Right Way
If you've decided to buy a car from a dealership, it isn't enough to simply choose a model you like, pay for it, and…
Read →