Autopapyrus · Land Rover Discovery Sport 2.0 P200 (2021)
https://autopapyrus.com/catalog/land-rover/discovery-sport/guides/engine-oil-and-oil-filter-change/
https://autopapyrus.com/catalog/land-rover/discovery-sport/guides/engine-oil-and-oil-filter-change/
Compiled automatically from service literature and owner experience. Specs are for the typical configuration — check them against your exact car before you start.
Land Rover Discovery Sport 2.0 P200 (2021): Engine Oil and Oil Filter Change
The gasoline Ingenium 2.0 uses a replaceable paper cartridge filter in a plastic housing, so there is no dirty "cup" that holds oil when you remove it. Sources disagree on the fill capacity (about 5-7 L (5.3-7.4 qt)), so add oil in stages and check the level. The service interval is 12 months or 7,500-10,000 miles (about 12,000-16,000 km), and more often under severe conditions.
Parts
3| № | Part | Alternatives |
|---|---|---|
| 01 | Fully synthetic engine oil, STJLR spec (Ingenium gasoline engines)Find on Amazon → | |
| 02 | Oil filter (cartridge element) for 2.0 Ingenium, with cap sealing ringsFind on Amazon → | AlternativesMannMahleMobil 1 |
| 03 | Oil pan drain plug with new sealing washerFind on Amazon → |
Amazon links search by the part name; use Amazon's fit check for your car before ordering. We may earn a commission from qualifying purchases.
Tools
8- Lift or inspection pit (or reliable jack stands) Amazon →
- socket and ratchet for the drain plug Amazon →
- torque wrench Amazon →
- socket for the oil filter cap Amazon →
- screwdriver or Torx bit for the underbody shield fasteners (check the fastener type on your vehicle) Amazon →
- 8 L (8.5 qt) drain pan Amazon →
- funnel Amazon →
- shop rags Amazon →
 There's a full repair manual for this car
Every system, wiring diagrams and torque specs — not just this job. Haynes AutoFix (online).
See manuals →
Step by step
19 steps · 4 stagesStage 1 of 4 Preparation 5 steps
- Warm up the engine for 5-10 minutes to operating temperature so the oil flows more easily and drains better. Shut off the engine.
- Park the vehicle on level ground and set the parking brake. Get the new oil, filter, drain plug with washer, and drain pan ready.
- Open the hood and remove the decorative engine cover (if it covers the filter housing). Find the oil filter cap on the top of the engine and remove the oil filler cap so the oil drains better.
- Raise the vehicle and secure it firmly on stands. Never work under a vehicle supported only by a jack.
- Remove the lower engine shield to get access to the drain plug in the oil pan.
Stage 2 of 4 Draining the oil 4 steps
- Place the drain pan under the drain plug (the oil is hot, so wear gloves).
- Remove the drain plug and let the oil drain for at least 10-15 minutes.
- Clean the plug and wipe the sealing surface on the oil pan. Replace the sealing washer with a new one (it is best to replace the plug every time).
- Install the plug with the new washer. The approximate torque is 25 N·m (18 lb-ft); verify the exact value against the manufacturer's specification. Do not overtighten: the oil pan is aluminum.
Stage 3 of 4 Replacing the filter 4 steps
- Place rags and a drain pan under the filter housing. Loosen the filter cap with a suitable socket.
- Remove the old cartridge together with the cap and let the oil drain. Remove the old sealing rings from the cap.
- Wipe the housing and the mating surfaces with a clean, lint-free rag.
- Install the new rings (lubricate them with clean oil) and the new cartridge. Screw on the cap and tighten it to the manufacturer's specification (plastic housings need little torque, on the order of 20-25 N·m (15-18 lb-ft); do not use excessive force, or the cap may crack).
Stage 4 of 4 Refilling and checking 6 steps
- Reinstall the lower engine shield and lower the vehicle onto its wheels.
- Pour about 5 L (5.3 qt) of fresh oil through the filler neck, then add more in small amounts. Close the filler cap.
- Start the engine for 30-60 seconds. The oil pressure light should go out, and there should be no leaks under the vehicle or at the filter. Shut off the engine.
- Wait 5-10 minutes for the oil to drain back into the pan, then check the level using the onboard computer (vehicle status menu) or the dipstick, if equipped. Top up to the proper level without exceeding the maximum.
- Reset the service interval counter in the instrument cluster menu.
- Pour the used oil into a container and take it to a recycling facility. Do not pour it down a drain or onto the ground.
Common mistakes and warnings
- The oil and components are very hot after warm-up, so beware of burns
- Overfilling the oil is just as harmful to the engine as underfilling, so check the level after filling
- Work only on a vehicle that is securely supported on stands
Spotted a mistake? Tell us →
Our articles
 Brand stories
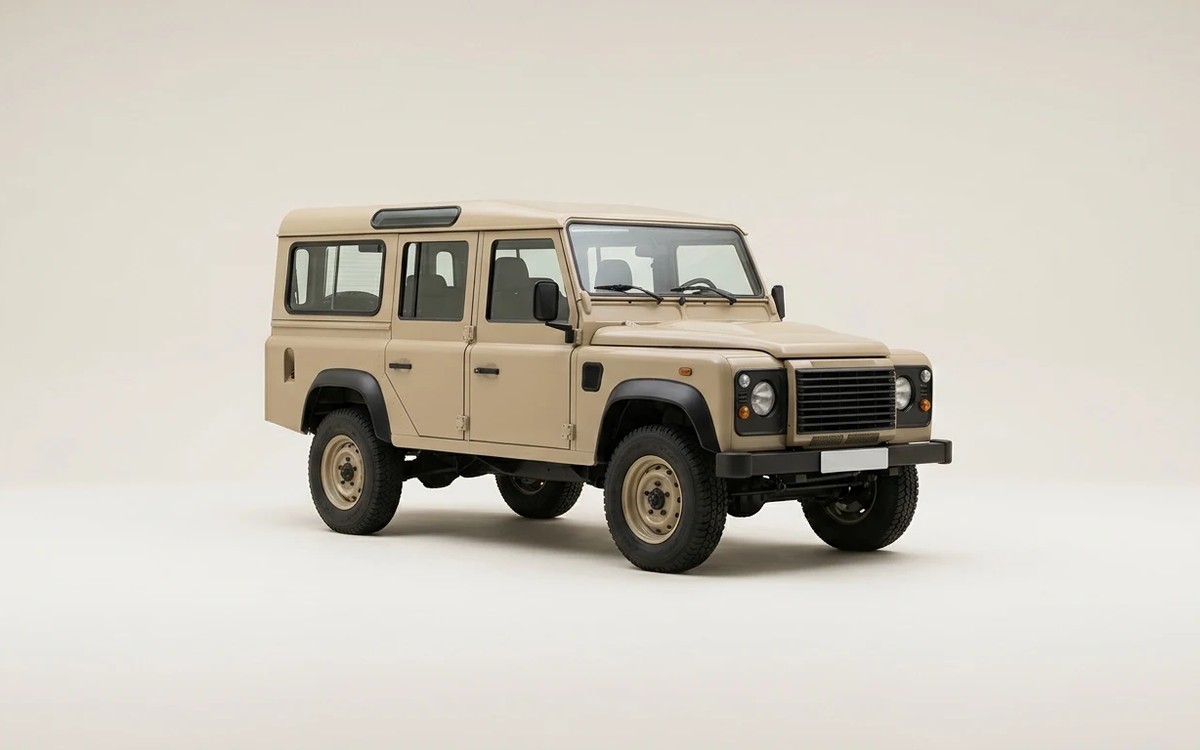
The History of the Land Rover Brand
Land Rover debuted on the automotive market in the late 1940s and focused on four-wheel-drive vehicles from the start.…
Read →
 Garage
Fuel Quality Indicators: What Octane and Cetane Numbers Mean
What is an octane number? What about a cetane number? Which fuel should you choose for a high-compression engine?…
Read →
 Before you buy
How to Pick Up Your Car from the Dealership the Right Way
If you've decided to buy a car from a dealership, it isn't enough to simply choose a model you like, pay for it, and…
Read →