Opel Vectra C generation (2002–present) — repair and maintenance
3 repair manuals
Opel Vectra C generation guides
406Engine80
- Servicing the lubrication system
- Removing and overhauling the engine
- Diagnosing engine faults
- Replacing the air cleaner
- Replacing the timing belt
- Replacing the hydraulic lash adjusters on the DOHC engine
- Replacing the engine sealing parts
- Replacing its gasket
72 more
- Replacing the toothed belt on 1.7 liter engines
- Replacing the filter cartridge
- Replacing the chain drive cover
- Replacing the oil / checking the oil level
- Replacing the valve stem oil seals on the DOHC engine
- Replacing the oil filter
- Replacing the engine oil
- Replacing the intake manifold gasket on the DOHC engine
- Replacing the engine oil pan gasket
- Replacing the timing belt
- Replacing the oil pump seal
- Replacing the camshaft oil seal
- Replacing the crankshaft oil seals
- Replacing the turbocharger
- Starting the engine
- Cylinder head cover - removal and installation
- Engine mechanical components
- Servicing the pre-start heating system
- Cleaning the crankcase ventilation system
- Piston rings – installation
- Lapping the valves
- Checking the oil pressure
- Checking and replacing the starting device
- Checking and adjusting the valve clearances
- Checking and adjusting the maximum engine speed
- Compression test – performing and interpreting the results
- Checking the cylinder compression
- Checking the engine idle speed and exhaust gas composition
- Checking the idle speed and exhaust emissions
- Checking the V-ribbed belt
- Checking the engine fuel system
- Checking the condition and replacing the powertrain mounts
- Checking the condition and replacing the auxiliary drive belt
- Checking the condition of the crankshaft
- Checking the condition of the connecting rod and piston assemblies
- Checking the oil level
- Checking the engine oil level
- Disassembling the cylinder head
- Adjusting the valve timing mechanism
- Adjusting the idle speed and the CO content of the exhaust gases
- Repairing the oil pump
- Repairing the intake and exhaust system
- Assembling the cylinder head
- Lubricants and working fluids
- Removing the engine - methods and precautions
- Removing and installing the vacuum pump (diesel models)
- Removing and installing the intake manifold
- Removing and installing the glow plug system components
- Removing and installing the timing belt covers
- Removing and installing the camshaft cover
- Removing and installing the oil cooler
- Removing and installing the oil pump
- Removing and installing the timing chain tensioners
- Removing and installing the timing belt tensioner and sprockets
- Removing and installing the oil pan
- Removing and installing the turbocharger
- Removing and installing the crankshaft pulley
- Removing the powertrain from the vehicle - methods and precautions
- Removing the piston and connecting rod assemblies
- Removing, inspecting and installing the camshafts on the DOHC engine
- Removing, inspecting and installing the oil pump
- Removing, checking the condition of and installing the flywheel/drive plate
- Removing, inspecting and installing the glow plugs
- Removing, inspecting and installing the timing chains and sprockets
- Removing, separating and installing the powertrain - petrol engines
- Removing, separating and installing the powertrain - diesel engines
- Removing, installing and inspecting the flywheel
- Engine knocking noises
- Engine oil level
- Installing the piston rings
- Setting the No. 1 cylinder piston to TDC on the compression stroke
- Setting the engine's No. 1 cylinder piston to TDC
Suspension & steering46
- Replacing the front subframe
- Servicing the suspension and steering
- Removing and installing the steering wheel
- Shock absorber strut
- Rear suspension
- Replacing the rear suspension shock absorber
- Replacing the rear suspension beam
- Replacing the steering shaft
38 more
- Replacing the strut top mount
- Replacing the outer tie rod end
- Replacing the powertrain mounts
- Replacing the front wheel hub bearing
- Replacing the rear hub bearings
- Replacing the trunk lid springs
- Replacing the rear suspension spring
- Replacing the tie rod
- Replacing the front suspension arm
- Replacing the rear suspension arm bushes
- Replacing the rear suspension anti-roll bar
- Replacing the anti-roll bar links
- Replacing the strut
- Inspecting and checking the steering on the vehicle
- Front axle
- Checking the shock absorber
- Checking the suspension and steering
- Checking the condition of the rear suspension components on the vehicle
- Checking the condition of the front suspension components on the vehicle
- Bleeding the power steering system
- Adjusting the steering gear clearance
- Adjusting the rear hub bearings
- Front suspension repair
- Repairing the steering
- Repairing the telescopic strut
- Steering column
- Steering linkage
- Steering wheel - removal and installation
- Steering gear
- Removing and installing the track rod ends
- Removing and installing the bonnet lock spring
- Removing and installing the steering column
- Removing, overhauling and installing the rear suspension upper arms
- Removing, overhauling and installing the rear suspension lower arms
- Removing, overhauling and installing the front suspension lower arms
- Removing, overhauling and installing the front suspension struts
- Removing, overhauling and installing the rear suspension strut
- Part B: Rear suspension
Electrical75
- Checking the electrical equipment
- Repairing the body electrical equipment
- Removing and installing the battery
- Removing and installing the alternator
- Removing and installing the starter
- Ignition switch (lock)
- Diagnosing ignition system faults
- Diagnosing electrical equipment faults
67 more
- Diagnosing the engine management system
- Diagnosing engine condition from the appearance of the spark plugs
- Diagnosing electrical equipment
- Replacing the side turn signal lamp
- Replacing the instrument panel switches
- Replacing the reverse light switch
- Replacing the brake light switch
- Replacing the oil pressure warning lamp sensor
- Replacing the fuel level sensor
- Replacing the rear light
- Replacing the horn
- Replacing and servicing the spark plugs
- Replacing the instrument cluster
- Replacing the contact assembly
- Replacing the interior light bulbs
- Replacing the incandescent bulbs
- Replacing the bulbs of the exterior lights and signal lamps
- Replacing the on-board computer illumination bulb
- Replacing the cigarette lighter illumination bulb
- Replacing the fuse and relay box
- Replacing the lighting
- Replacing the exterior lighting switch
- Replacing the glove box light
- Replacing the voltage regulator and brushes
- Replacing the spark plugs
- Replacing the rear door window regulator
- Replacing the front door window regulator
- Replacing the license plate lamp
- Replacing the alternator pulley
- Replacing the wiper blades
- Replacing the headlight leveling motor
- Replacing the battery in the remote control unit
- Charging the battery
- Lighting and audible/visual signaling
- Checking the vehicle battery
- Checking the charging system for correct operation
- Checking the starter for proper operation
- Checking the ignition coil
- Checking the ignition module
- Checking the headlight aim
- Checking the current consumption
- Checking the headlight beam alignment
- Checking the wiper blades
- Checking the ignition system
- Checking the engine ignition system
- Checking the condition of and overhauling the alternator
- Checking the condition of and charging the battery
- Checking the brake light
- Checking and adjusting the ignition timing
- Checking the engine electrical equipment
- Headlight beam alignment - general information
- Adjusting the headlight aim
- Repairing the ignition system
- Repairing the rear window heating
- Removing and installing the switches
- Removing and installing the ignition switch
- Removing and installing the fuel flow sensor
- Removing and installing the engine oil level sensor
- Removing and installing the ignition distributor
- Removing and installing the information display
- Removing and installing the ignition coil
- Removing and installing the power window drive components
- Removing and installing the D1S module
- Removing and installing the instrument panel
- Removing and installing the cigarette lighter socket
- Removing and installing the windshield wiper
- Setting the engine ignition timing
Fuel system22
- Replacing the fuel filter
- Draining water from the fuel filter
- Replacing the accelerator pedal
- Filling with gasoline
- Checking and adjusting the fuel injection system
- Adjusting the injection timing
- Repairing the fuel system
- Releasing the fuel system pressure
14 more
- Removing and installing the fuel level sensor
- Removing and installing the carburetor
- Removing and installing the single-point fuel injection system components
- Removing and installing the throttle body/housing
- Removing and installing the fuel filler flap cover
- Removing and installing the air cleaner assembly
- Removing and installing the air cleaner assembly with intake ducts
- Removing and installing the fuel tank
- Removing and installing the fuel pump
- Removing and installing the fuel injectors
- Removing, installing and adjusting the throttle cable
- Fuel pump – removal and installation
- Bleeding the fuel system
- Part A: Fuel system
Interior26
- Replacing the cabin air filter
- Replacing the rear seat belt
- Replacing the interior lighting
- Replacing the front seat belt
- Replacing the airbag
- Replacing the cabin filter
- Replacing the heater blower motor
- Servicing the heater and air conditioner
18 more
- Heating (air conditioning) and ventilation of the passenger compartment
- Instrument cluster
- Adjusting the front seat position
- Seat belts
- Repairing the automatic air conditioning
- Repairing the air conditioner
- Seats - removal and installation
- Removing and installing the glove compartment
- Removing and installing the interior trim
- Removing and installing the rear seat
- Removing and installing seat belt components
- Removing and installing the heating/ventilation system components
- Removing and installing the rear door trim
- Removing and installing the front door trim panel
- Removing and installing the front seat
- Removing and installing the sun visors
- Removing and installing the seats
- Removing and installing the center console
Brakes41
- Replacing the brake fluid
- Brake system repair
- Adjusting the parking brake
- Brake master cylinder
- Diagnosing brake system faults
- Diagnosing the brake booster
- Replacing the rear drum brake shoes
- Replacing the brake booster
33 more
- Replacing the brake master cylinder
- Replacing the front disc brake pads
- Replacing the parking brake shoes
- Replacing the rear brake wheel cylinder
- Replacing the brake force regulators
- Replacing the parking brake actuating lever
- Replacing the rear brake caliper
- Replacing the front brake caliper
- Replacing the brake drum
- Replacing the brake disc
- Replacing the rear brake disc
- Replacing the rear brake pads
- Replacing the parking brake cable
- Replacing the brake hydraulic hoses and pipes
- Brake pedal - removal and installation
- Checking the hydraulic actuator for leaks
- Checking the operation of the brake vacuum booster
- Checking the condition of the rear brake drums and shoes
- Checking the condition of the rear brake discs and pads
- Checking the condition of the front brake discs and pads
- Checking the brake pad wear
- Checking the parking brake
- Checking the brake pad thickness
- Checking the brake system
- Checking the brake fluid level (clutch fluid)
- Checking the braking system efficiency
- Bleeding the brake system
- Handbrake lever - removal and installation
- Removing and installing the brake pedal
- Removing and installing the parking brake cables
- Removing, overhauling and installing the brake master cylinder
- Front wheel brake assemblies
- Brake fluid level
Transmission34
- Replacing the driveshafts
- Replacing the clutch
- Automatic transmission repair
- Manual transmission repair
- Rear axle
- Replacing the clutch release fork
- Replacing the gearbox oil
- Replacing the clutch release bearing
26 more
- Replacing the front wheel drive shafts
- Replacing the transmission oil seals
- Replacing the transmission oil
- Replacing the clutch cable
- Clutch pedal - removal and installation
- Checking the gearbox for leaks
- Checking the axial joint
- Checking the drive shaft joint boots
- Checking the condition of the driveshaft boots
- Checking the condition of and replacing the drive shaft CV joints
- Checking the level and topping up the gearbox oil
- Checking the automatic transmission oil level
- Checking the manual gearbox oil level
- Checking the manual transmission oil level
- Bleeding the clutch hydraulic system
- Disassembling the axle shaft / replacing the seals
- Adjusting the clutch release linkage
- Adjusting the gearshift linkage
- Repairing the transmission
- Repairing the gear shift lever
- Repairing the gearshift linkage joints
- Transmission control lever
- Removing and installing the clutch master cylinder
- Removing and installing the clutch slave cylinder
- Removing and installing the gear shift mechanism
- Removing, inspecting and installing the clutch assembly
Cooling system18
- Replacing the coolant
- Servicing the cooling system
- Water pump - removal and installation
- Diagnosing heater and air conditioner faults
- Checking the cooling system
- Checking the condition of the hoses and locating leaks
- Checking the thermostat
- Engine lubrication and cooling
10 more
- Removing and installing the water pump
- Removing and installing the intake manifold
- Removing and installing the air conditioning system components
- Removing and installing the radiator grille
- Removing and installing the right heater vent nozzle
- Removing and installing the turbocharger
- Removing, checking the operation of and installing the thermostat
- Removing, inspecting and installing the radiator
- Coolant level
- Coolant circulation
Exhaust system3
Body & glass49
- Removing and installing the body equipment
- Doors - removal and installation
- Tailgate
- Replacing the windscreen
- Replacing the rear door inner handle
- Replacing the front door inner handle
- Replacing the tailgate lock
- Replacing the rear door lock
41 more
- Replacing the trunk lid lock
- Replacing the front door lock
- Replacing the rear-view mirrors
- Replacing the rear door exterior handle
- Replacing the front door exterior handle
- Replacing the rear door check strap
- Replacing the front door check strap
- Replacing the exterior mirror glass
- Replacing the rear side window glass
- Replacing the rear door window glass
- Replacing the front door window glass
- Trunk lid
- Checking the body anti-corrosion protection
- Checking the body anti-corrosion protection
- Checking the body panels for signs of corrosion
- Checking the rear window heating
- Checking the level and topping up the washer fluid reservoir
- Cleaning the drain holes
- Repairing minor body damage
- Repairing the window regulators
- Lubricating the body fittings
- Lubricating the door hinges
- Removing and installing the mud flaps and front wheel arch liner
- Removing and installing the interior mirror
- Removing and installing the door handles and lock components
- Removing and installing the rear bumper
- Removing and installing the hood
- Removing and installing the sunroof components
- Removing and installing the central locking components
- Removing and installing the floor tunnel trim
- Removing and installing the front bumper
- Removing and installing the front fender
- Removing and installing the instrument cluster
- Removing and installing the window regulator and door window glass
- Removing and installing the radiator grille
- Removing and installing the tailgate struts
- Removing and installing the fixed rear quarter window glass
- Removing and installing the exterior body trim
- Removing, installing and adjusting the tailgate and its stay rods
- Removing, installing and adjusting the bonnet and its stay rods
- Wiper blades
Wheels & tires12
- Replacing the wheels / taking into account
- Checking the tire pressure
- Checking the wheel bolt tightness
- Checking the tire valve
- Checking and adjusting the wheel alignment
- Checking the condition and replacing the rear wheel bearings
- Checking the condition and replacing the front wheel bearings
- Checking the tightening torque of the wheel bolts
Need a job that isn't listed? A full repair manual for the Opel Vectra C generation covers every system: wiring diagrams, torque specs, step-by-step photos.
Find a repair manual →Need a part? Search Amazon for Opel Vectra C generation parts: filters, brakes, sensors, belts. Check the fit for your year and engine before you buy.
Find parts on Amazon →Opel Vectra C generation repair manuals
3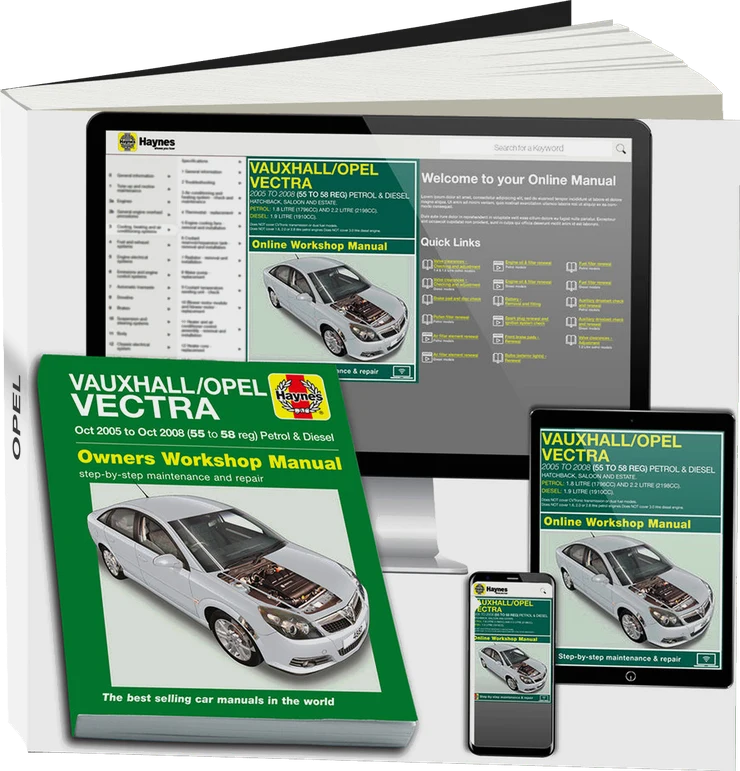
Vauxhall/Opel Vectra Petrol & Diesel (Oct 2005-Oct 2008) Haynes Repair Manual
UK edition · print
£31.49
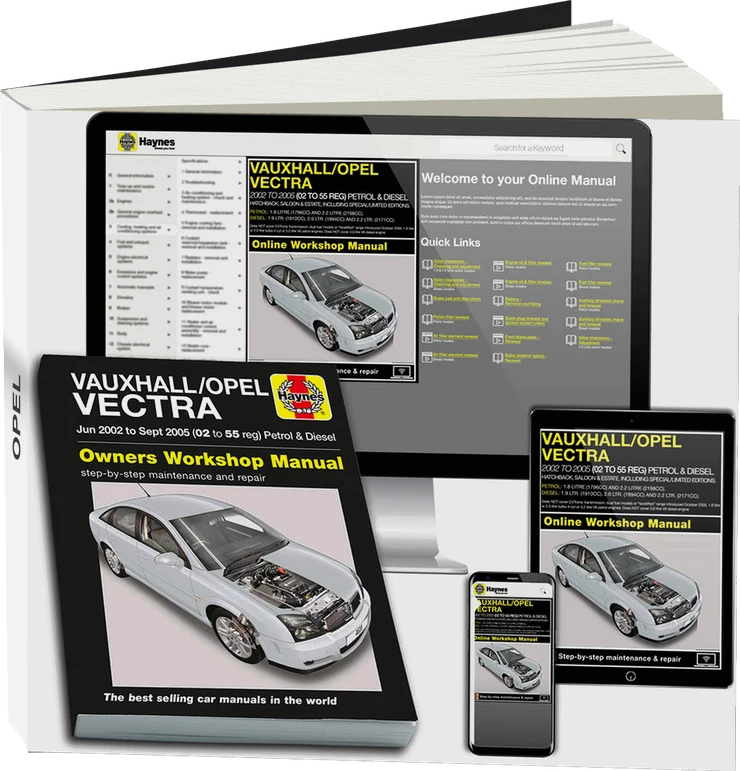
Vauxhall/Opel Vectra Petrol & Diesel (June 2002-Sept 2005) Haynes Repair Manual
UK edition · print
£30.49

Opel Vectra C (Z02) 2002 to 2008 Haynes Online Diagnostics & Service Guide
UK edition · online access
£28.79
Manuals are written for specific model years — check that the years match your car. Prices are set by the seller.
How well do you know the Opel Vectra? Ten questions on its history, engines and records, with the answer explained after each pick.
Take the quiz →