Autopapyrus · Toyota Camry 2.5 A25A-FKS (2018)
https://autopapyrus.com/catalog/toyota/camry/guides/timing-chain-replacement/
https://autopapyrus.com/catalog/toyota/camry/guides/timing-chain-replacement/
Compiled automatically from service literature and owner experience. Specs are for the typical configuration — check them against your exact car before you start.
Toyota Camry 2.5 A25A-FKS (2018): Timing Chain Replacement
The A25A-FKS engine has a chain-driven valvetrain with variable valve timing gears on both camshafts (the intake one is electric motor driven). The chain sits under the front cover, so you must remove the right engine mount, the crankshaft pulley and two timing covers to reach it. If the timing is set incorrectly, the engine will not start or will damage the valves. The torque values below are approximate; verify the exact figures against the manufacturer's service manual.
Key figures
- Crankshaft pulley bolt torque260 N·m (192 lb-ft). Final tightening in step 33; a torque wrench and a pulley holding tool are required
- Intake camshaft gear bolt torque86 N·m (63 lb-ft). Step 27; the chain must be set to the marks
- Engine oilabout 4.5 L (4.8 qt), 0W-16 or 0W-20. Filled in step 37
- Coolantabout 6.2 L (6.6 qt). Filled in step 38, if drained
- Wait time before starting after sealantat least 2 hours. Do not start the engine sooner (step 37)
Check these values against the manufacturer’s specification for your vehicle before you start.
Parts
11| № | Part | Alternatives |
|---|---|---|
| 01 | Timing chain kit for A25A-FKS (chain, crankshaft sprocket, chain guide, tensioner shoe, chain tensioner)Find on Amazon → | AlternativesFebiRuvilleToyota Genuine |
| 02 | Oil pump drive chainFind on Amazon → | |
| 03 | Front crankshaft sealFind on Amazon → | |
| 04 | Valve cover gasketFind on Amazon → | |
| 05 | Oil filler cap and spark plug well sealsFind on Amazon → | |
| 06 | Valve cover boltsFind on Amazon → | |
| 07 | Toyota Seal Packing Black (Three Bond 1207B) sealantFind on Amazon → | AlternativesThree Bond |
| 08 | Crankshaft pulley boltnewFind on Amazon → | |
| 09 | Engine oilabout 4.5 L (4.8 qt)Find on Amazon → | |
| 10 | Oil filterFind on Amazon → | |
| 11 | Toyota Super Long-Life Coolantabout 6.2 L (6.6 qt), if drainedFind on Amazon → |
Amazon links search by the part name; use Amazon's fit check for your car before ordering. We may earn a commission from qualifying purchases.
Tools
13- Socket set and ratchet Amazon →
- torque wrench up to 300 N·m (221 lb-ft) Amazon →
- crankshaft pulley holding tool Amazon →
- E6 Torx socket Amazon →
- 5 mm hex socket Amazon →
- 8 Amazon →
- 10 and 12 mm sockets Amazon →
- 10 mm box-end wrench for the intake gear bolt Amazon →
- camshaft hex wrench Amazon →
- jack or lift Amazon →
- engine support stand or engine hanging bracket Amazon →
- gasket scraper Amazon →
- degreaser Amazon →
 There's a full repair manual for this car
Every system, wiring diagrams and torque specs — not just this job. Haynes and 5 more.
See manuals →
Step by step
41 steps · 6 stagesStage 1 of 6 Preparation and diagnosis 7 steps
- Confirm wear: chain noise on a cold start, camshaft timing codes (P0016-P0019), and the Check Engine light coming on. Ideally, read the data with a scan tool before starting work.
- Order the chain kit, gaskets, sealant and new pulley bolt in advance: the sealant sets within minutes, so you need to work without pauses.
- Put the car on a lift, disconnect the negative battery terminal and wait 10 minutes.
- Drain the engine oil and remove the oil filter.
- Drain the coolant if you plan to remove the hoses and cooling system parts near the cover.
- Remove the engine undercover, the right front wheel and fender liner, the engine cover, the air duct and the air filter housing.
- Remove the accessory drive belt and, if necessary, the A/C compressor (without opening the refrigerant circuit) and move it aside.
Stage 2 of 6 Removal 11 steps
- Hang the engine from a bracket or support it with a jack and a wooden block under the oil pan.
- Remove the right engine mount and its bracket (3 bolts) from the timing cover.
- Remove the valve cover, ignition coils, spark plug tubes and camshaft position sensors. Disconnect the connectors and move the wiring harnesses aside.
- Turn the crankshaft clockwise by the pulley bolt and set cylinder 1 to TDC on the compression stroke: the marks on the camshaft gears and the pins must line up with the factory marks.
- Take photos of the colored marks on the chain and the marks on the sprockets before disassembly.
- Lock the crankshaft pulley with the holding tool, loosen the pulley bolt and remove the pulley. The pulley bolt is single-use: install a new one.
- Remove the small timing cover bolts (20 pcs.) and take the cover off, then remove the main timing cover bolts (19 pcs.). If the cover does not come off, pry it loose with a screwdriver at the sealant points, taking care not to damage the mating surfaces.
- Remove the oil pump drive chain and its sprockets.
- Loosen and remove the chain tensioner, the chain guide and the tensioner shoe.
- Remove the camshaft gears (exhaust: 3 bolts, intake: 1 bolt) together with the chain. Hold the camshafts with a wrench on the hex while doing this.
- Remove the crankshaft sprocket and the crankshaft seal. Inspect the keys and the seating surfaces.
Stage 3 of 6 Replacement and preparation 5 steps
- Clean the covers and the block of old sealant with a scraper and degrease the surfaces.
- Press the new front crankshaft seal into the cover, lubricating the lip with oil.
- Check the two crankshaft keys and replace them if necessary.
- Install the new crankshaft sprocket and the new oil pump drive chain, lining up the marks on the sprockets and the chain plates.
- Set the crankshaft so that the key is in the cylinder 1 TDC position (per the service manual, about 44° counterclockwise from the "down" position with the pulley bolt temporarily installed).
Stage 4 of 6 Chain and timing installation 7 steps
- Install the new chain: line up the chain's yellow mark with the mark on the crankshaft sprocket.
- Turn the exhaust camshaft in its direction of rotation using the hex and line up the mark on the exhaust gear with the chain's pink mark.
- Install the intake gear: while holding the camshaft, turn the exhaust gear clockwise to loosen the chain, and line up the chain's pink mark with the mark on the intake gear. The camshaft pin must enter the hole in the gear.
- Tighten the gears: exhaust gear, 3 bolts, about 19 N·m (14 lb-ft); intake gear, 1 bolt, about 86 N·m (63 lb-ft).
- Install the chain guide (2 bolts) at about 24 N·m (18 lb-ft) and the tensioner shoe at about 24 N·m (18 lb-ft).
- Install the new chain tensioner, bolt and nut, at about 10 N·m (7 lb-ft). Remove the locking pin as described in the tensioner instructions.
- Check that all the marks line up, then turn the crankshaft by hand through 2 full revolutions again: the marks must return to their original positions.
Stage 5 of 6 Reassembly 7 steps
- Apply sealant to the timing cover in a 2.5-3.5 mm bead around the perimeter. After applying it, install the cover within 3 minutes and tighten the bolts within 10 minutes.
- Tighten the main cover bolts (19 pcs.) to about 27 N·m (20 lb-ft) and the small cover bolts (20 pcs.) to about 24 N·m (18 lb-ft).
- Install the crankshaft pulley and temporarily tighten the new bolt to about 50 N·m (37 lb-ft) (so the oil pump sprocket stays in place), then do the final tightening to the service manual specification, about 260 N·m (192 lb-ft), holding the pulley with the holding tool.
- Install the right engine mount and bracket, 3 bolts, at about 43 N·m (32 lb-ft).
- Install the valve cover with a new gasket and sealant; tighten the bolts and sensors to about 7.5 N·m (66 lb-in). Use new spark plug well seals and a new oil filler cap seal.
- Install the coils, connectors, air filter housing, belt, compressor and everything else you removed.
- Install the oil filter and add oil. Per the service manual, do not add oil or start the engine for at least 2 hours after applying the sealant.
Stage 6 of 6 Checking 4 steps
- Connect the battery, add coolant (if you drained it), bleed the cooling system and check the level.
- Start the engine, warm it up to operating temperature and check for leaks and unusual noises.
- Read the codes with a scan tool and clear the timing codes. If the engine misfires, check the timing marks.
- Check the oil and coolant levels after a 20-30 minute test drive.
Common mistakes and warnings
- This is a difficult job: a timing error causes the pistons to hit the valves
- If you have no experience with chain-driven engines and crankshaft pulley holding tools, leave the work to a repair shop
- Coolant and oil are toxic, so dispose of used fluids properly
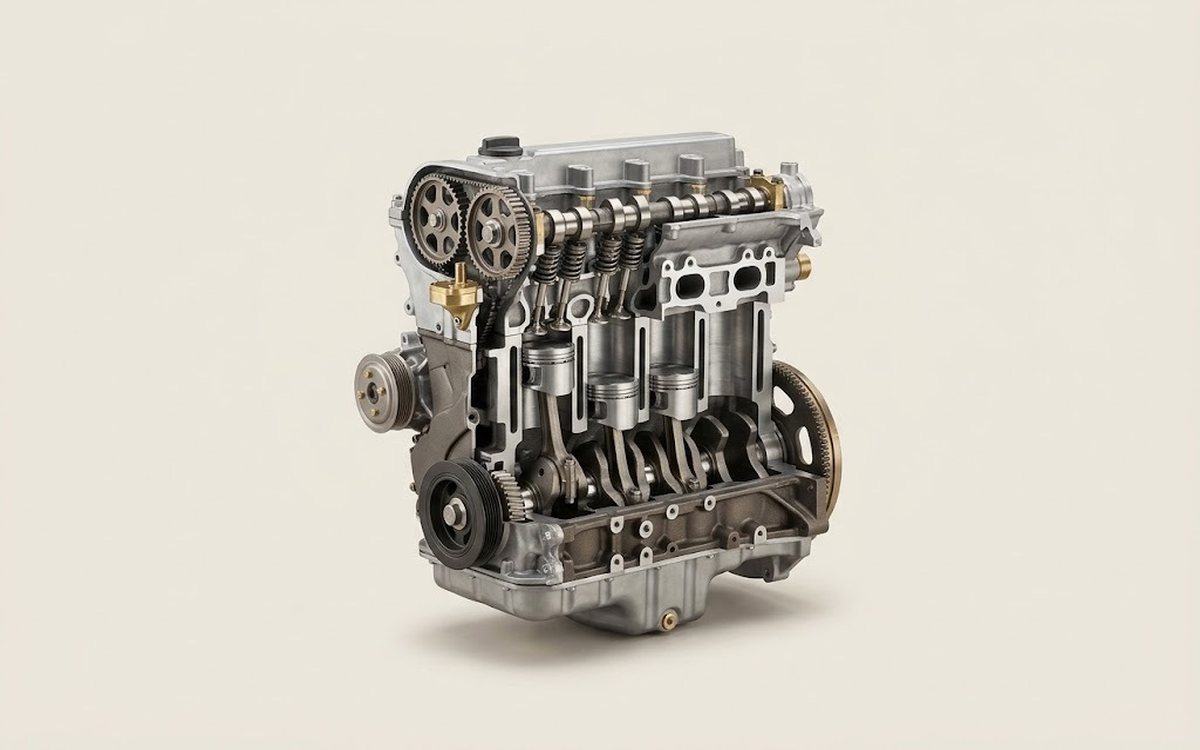 How it works · 3D
How a Car Engine Works
How the part you're working on actually works — in plain English, on a 3D model.
Open in 3D →
Spotted a mistake? Tell us →
Our articles
 Test drives
Toyota Camry: One Car for Every Market. We Test the New Sedan
The new-generation Toyota Camry is built with the latest technology. It gets a new platform, a larger display and an…
Read →
 Brand stories
The History of Toyota
From weaving looms to reliable mass-produced cars.
Read →
 Garage
Fuel Quality Indicators: What Octane and Cetane Numbers Mean
What is an octane number? What about a cetane number? Which fuel should you choose for a high-compression engine?…
Read →