Autopapyrus · Volkswagen Teramont (Atlas) 2.0 TSI 220 hp (2024)
https://autopapyrus.com/catalog/volkswagen/teramont/guides/replacing-coolant-hoses-and-clamps/
https://autopapyrus.com/catalog/volkswagen/teramont/guides/replacing-coolant-hoses-and-clamps/
Compiled automatically from service literature and owner experience. Specs are for the typical configuration — check them against your exact car before you start.
Volkswagen Teramont (Atlas) 2.0 TSI 220 hp (2024): Replacing Coolant Hoses and Clamps
The hoses on the 2.0 TSI (EA888) work together with plastic flanges and the thermostat housing. Over time the rubber hardens and cracks, and the plastic around the flanges becomes brittle. Signs of wear: a smell of coolant, whitish residue on the hoses, a falling level in the reservoir, and a low coolant flow fault code (P00B7). The job is simple in principle, but it takes care: plastic fittings break if you yank on them, and after the replacement you must bleed the air out of the system.
Key figures
- Coolant replacement intervalevery 150,000 km (93,000 mi) or 5 years, when the coolant must be replaced completely rather than topped off (step 4)
Check these values against the manufacturer’s specification for your vehicle before you start.
Parts
8| № | Part | Alternatives |
|---|---|---|
| 01 | Upper radiator hose, 2.0 TSI (EA888)Find on Amazon → | AlternativesFebiHellaBehr |
| 02 | Lower radiator hose, 2.0 TSI (EA888)Find on Amazon → | AlternativesFebiHellaBehr |
| 03 | Hose to thermostat housing and water pumpFind on Amazon → | AlternativesFebiHellaBehr |
| 04 | Heater hoseFind on Amazon → | AlternativesFebiHellaBehr |
| 05 | Hose clamps, single-use or springsized to the hoseFind on Amazon → | |
| 06 | Coolant VW G12evo or G13 (purple), concentrate mixed with water or ready-mixedFind on Amazon → | |
| 07 | O-ringsif neededFind on Amazon → | |
| 08 | Plastic flangesif neededFind on Amazon → |
Amazon links search by the part name; use Amazon's fit check for your car before ordering. We may earn a commission from qualifying purchases.
Tools
8Step by step
12 steps- Work only on a completely cold engine: the system is under pressure, and hot coolant is dangerous. Park the car on level ground, set the parking brake, and disconnect the negative battery terminal.
- Remove the engine cover and the lower engine undershield. The undershield has to come off to reach the lower radiator hoses and the water pump with the thermostat housing, which are at the front of the engine under the intake manifold.
- Inspect all the hoses and decide which ones to replace. Follow the radiator hoses up to the water pump and thermostat housing, and check the heater hoses too. Photograph the routing of the hoses and the position of the clamps so you can reassemble everything the same way.
- Slowly unscrew the expansion tank cap to release any residual pressure, then place a drain pan under the radiator and drain the coolant through the drain fitting on the lower hose or radiator (if there is none, disconnect the lower hose over the pan). If the coolant is more than 5 years old or has over 150,000 km (93,000 mi) on it, replace it completely rather than topping it off.
- Slide the clamps along the hose, away from the seating area, using spring clamp pliers. If the hoses have single-use clamps with a tightening band, cut them off and replace them with new ones of the same type.
- Twist the hose left and right on its fitting to break it loose, then carefully remove it. Do not pull or strike the plastic flanges and thermostat housing fittings: they are brittle and will start to leak if deformed. If a flange has cracked, replace it together with its O-ring.
- Clean the fittings of dirt and old sealant, and check them for cracks and sharp edges. Compare the new hoses with the old ones for shape and length.
- Push the new hoses all the way onto their seats and position the clamps 3-5 mm from the end of the hose. Put spring clamps in the same position as before, and tighten single-use clamps evenly until they stop, following the clamp instructions. Check the tightening torques for flange bolts and brackets against the manufacturer's specifications, since overtightening breaks the plastic.
- If you removed any brackets, flanges or the intake manifold for access to the hoses at the water pump, reassemble them in reverse order with new gaskets and O-rings. If access requires removing the intake manifold, consider whether to check the thermostat housing and water pump at the same time: on these engines they are the parts that most often start to leak.
- Close the drain fitting and fill with coolant through the expansion tank up to the MAX mark. Use coolant that meets the VW specification, and do not mix different types. Reconnect the battery.
- Warm up the engine with the tank cap open and the heater running at maximum temperature, topping up the coolant from time to time. Make sure the temperature gauge does not go above the middle. Wait for the radiator fan to switch on, and squeeze the upper hose by hand to push out air pockets.
- Shut off the engine, let it cool, check the level and top up to the mark. Inspect all the connections for leaks with the engine both cold and hot. Reinstall the undershield and engine cover. After a few days of driving, check the coolant level and the condition of the clamps again.
Common mistakes and warnings
- Do not let the engine overheat: if after the replacement the gauge goes above the middle or the temperature warning light comes on, stop and shut off the engine
- An air pocket in the cooling system quickly leads to overheating and cylinder head damage
- Do not remove the expansion tank cap on a hot engine, as you could be burned
- Coolant is toxic, so do not leave it in open containers, and dispose of it at a designated collection point
- If you have no experience with plastic flanges and the intake manifold, it is better to leave the job to a repair shop
- Check the exact tightening torques, system capacity and coolant specification for your engine against the manufacturer's specifications
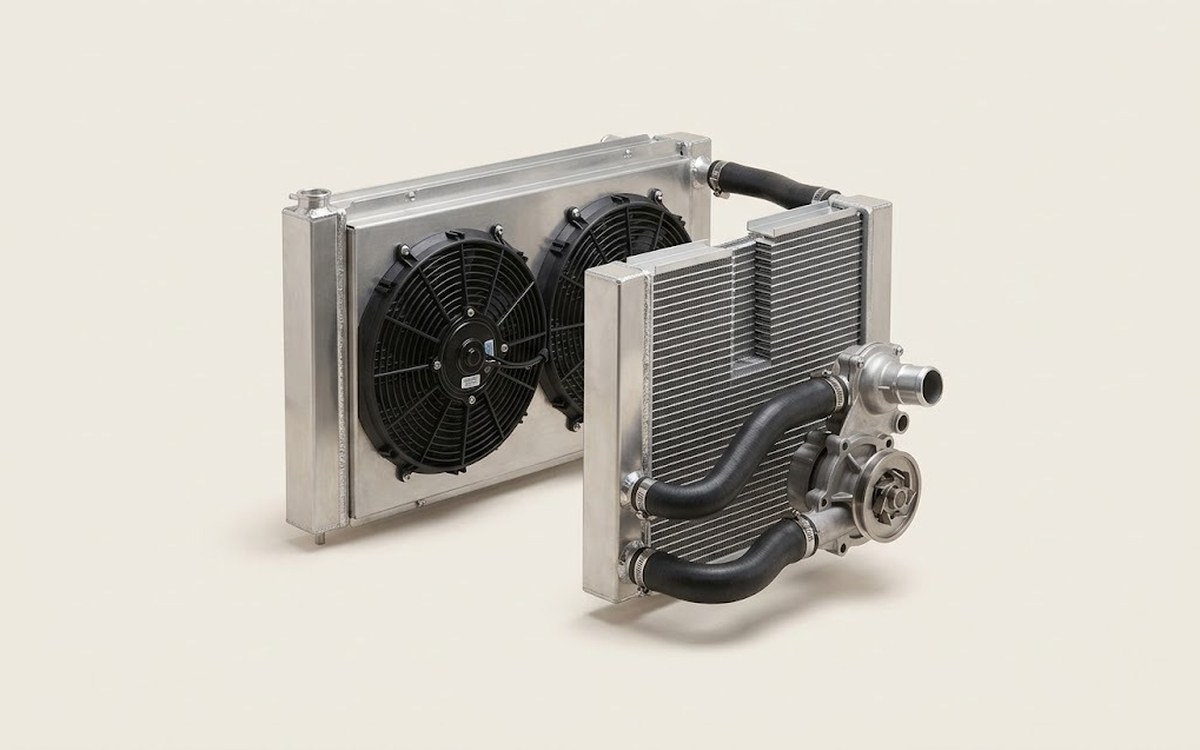 How it works · 3D
How the Engine Cooling System Works
How the part you're working on actually works — in plain English, on a 3D model.
Open in 3D →
Spotted a mistake? Tell us →
Our articles
 Test drives
Volkswagen Atlas (Teramont) Review: A Big Family SUV Driven
Volkswagen is clearly going through a rough patch. Its crossovers are slowly losing ground, and sales are falling short…
Read →
 Brand stories
The History of Volkswagen
Volkswagen proved to the world that a car can be "the people's car": good-looking, affordable and fun.
Read →
 Garage
Fuel Quality Indicators: What Octane and Cetane Numbers Mean
What is an octane number? What about a cetane number? Which fuel should you choose for a high-compression engine?…
Read →