Autopapyrus · Chrysler Town & Country (4th generation)
https://autopapyrus.com/guides/chrysler/town-and-country/parking-brake-adjustment/
https://autopapyrus.com/guides/chrysler/town-and-country/parking-brake-adjustment/
Compiled automatically from service literature and owner experience. Specs are for the typical configuration — check them against your exact car before you start.
Chrysler Town & Country (4th generation): Parking Brake Adjustment
The parking brake pedal on this minivan is foot-operated, and the cables self-adjust when the pedal is pressed and released. If the pedal travels too far down and the vehicle will not hold on a slope, the shoes themselves need to be adjusted. On versions with rear disc brakes, these are the parking brake shoes inside the "drum" part of the rotor. A healthy, unstretched cable will then settle into the correct position on its own.
Parts
2| № | Part |
|---|---|
| 01 | Parking brake shoes (drum-in-hat) or rear drum brake shoesif shoes are worn |
| 02 | Parking brake cable, rearleft or right, if shoes are worn |
Tools
9- Jack and jack stands
- lug wrench
- torque wrench
- wrench and sockets for the caliper
- star wheel adjuster tool (screwdriver)
- brake shoe gauge (inside caliper/drum gauge) or vernier caliper
- ruler
- locking pliers
- wire brush
Step by step
13 steps- Make sure the parking brake pedal is fully released. Otherwise the shoes cannot be adjusted accurately. Park the vehicle on a level surface and place wheel chocks under the front wheels.
- Raise the rear of the vehicle with a jack, set it on jack stands, and remove the rear wheel.
- On versions with rear discs: unbolt the caliper from the adapter and hang it with wire so it does not put load on the brake hose. Remove the brake rotor from the hub.
- Measure the inside diameter of the drum section of the rotor (the surface the parking brake shoes work against) at the middle of the contact area. The parking brake shoes are located on the backing plate inside the rotor.
- Reduce the measured value by about 1/64 inch (about 0.4 mm) and set the gauge to that dimension.
- Place the gauge over the shoes diagonally, across the top of one shoe and the bottom of the opposite one (the widest point). Turn the star wheel adjuster with a screwdriver to spread the shoes until the linings just touch the gauge jaws. Check the dimension in both directions.
- Inspect the shoes and remove dust with a brush (do not blow it off or breathe it in). Replace linings that are cracked, oil-soaked or badly worn, because adjustment will not fix them.
- Install the rotor on the hub and spin it. The shoes should not drag. If they do, remove the rotor, back off the star wheel by one tooth and check again. Repeat until the rotor turns freely.
- Install the caliper on the adapter. Tighten the caliper fasteners to the manufacturer's specification (typically around 90-130 N·m (66-96 lb-ft) for this assembly).
- Install the wheel. Tighten the lug nuts in a crisscross pattern, first to about half torque, then to the full torque of 135 N·m (100 lb-ft).
- Lower the vehicle. Press and release the parking brake pedal once: the cables will seat and adjust automatically.
- Before driving, pump the service brake pedal several times until it feels firm. Then test the parking brake on a slight slope: the vehicle should hold at about 3-6 clicks of the pedal.
- On versions with rear drums, adjustment is done through the star wheel adjuster of the drum shoes (remove the drum, spread the shoes until they lightly touch, then back off 1-2 teeth), followed by the same steps 11-12.
Common mistakes and warnings
- The brake system is critical to safety
- If the pedal still travels too far after adjustment, the shoes do not hold, or the cables are rusted and seized, do not drive the vehicle, and take it to a repair shop
- Do not touch the linings with oily hands
- If the shoes had to be removed, the tension on the rear cable will need to be released, which is best left to an experienced mechanic
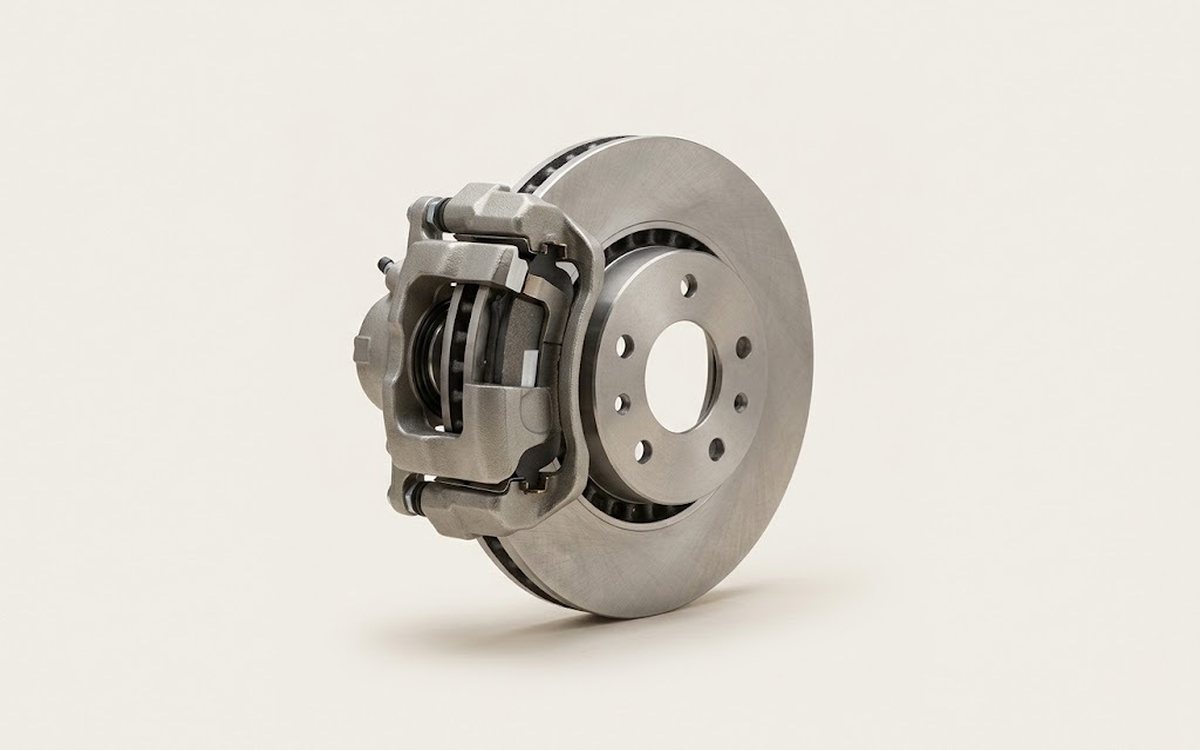 How it works · 3D
How Car Brakes Work
How the part you're working on actually works — in plain English, on a 3D model.
Open in 3D →