Autopapyrus · Chrysler Town & Country 3.3 V6 (2005)
https://autopapyrus.com/guides/chrysler/town-and-country/timing-chain-guides-and-water-pump-replacement/
https://autopapyrus.com/guides/chrysler/town-and-country/timing-chain-guides-and-water-pump-replacement/
Compiled automatically from service literature and owner experience. Specs are for the typical configuration — check them against your exact car before you start.
Chrysler Town & Country 3.3 V6 (2005): Timing Chain, Guides and Water Pump Replacement
The 3.3 V6 (EGA) engine has no timing belt. The camshaft is driven by a single chain enclosed behind the front engine cover. The water pump is mounted on this same cover, so it gets replaced at the same time. The timing drive has no idler pulleys or hydraulic tensioner; the chain is kept tight by a guide (shoe). Pulleys and a tensioner are found only on the serpentine accessory drive belt, which should also be replaced.
Parts
8| № | Part | Alternatives |
|---|---|---|
| 01 | Timing chain kit, 3.3 OHV V6 (chain, crankshaft sprocket, camshaft sprocket, chain guide/tensioner shoe) | Melling, Cloyes, Gates |
| 02 | Water pump, 3.3/3.8 V6 | |
| 03 | Front cover gasket | |
| 04 | Front crankshaft seal | |
| 05 | Serpentine drive belt | |
| 06 | Chrysler OAT/HOAT coolant | |
| 07 | Engine oil | |
| 08 | Oil filter |
Tools
8- socket set 10-19 mm
- torque wrench (12-110 N·m)
- crankshaft pulley puller
- sprocket puller/pry bar
- pulley holding tool
- coolant drain pan
- sealant for the cover joint (as specified in the service manual)
- lift or pit
Step by step
14 steps- Disconnect the negative battery terminal. Drain the coolant from the radiator and engine block, and drain the engine oil.
- Remove the serpentine belt and inspect its idler pulley and tensioner. Replace a worn pulley or tensioner. It adds no labor beyond the disassembly you are already doing.
- Remove the fan, the shroud and anything else blocking access to the front cover: coolant hoses, the water pump pulley and, if necessary, the alternator and A/C compressor (move them aside without opening the A/C circuit).
- Support the engine and remove the right engine mount if it blocks access to the cover and the damper.
- Remove the crankshaft damper pulley bolt (hold the pulley to keep it from turning) and pull the damper off with a puller. Do not hit it with a hammer.
- Remove the front cover bolts and carefully separate the cover from the block. The cover is held on with sealant and a gasket, so pry it gently around the perimeter without damaging the mating surfaces. Some bolts differ in length, so note where each one goes.
- Before removing the chain, turn the engine to the position where the marks on the crankshaft and camshaft sprockets are as close to each other as possible, and take a photo of that position. You will need it for reassembly.
- Remove the camshaft sprocket bolt and take off the camshaft sprocket together with the chain. Then remove the crankshaft sprocket and the chain guide.
- Clean the mating surfaces of the block and cover to remove all old sealant. Install a new seal in the cover and the new water pump with its gasket/seal if one is included. Tighten the water pump bolts to about 12 N·m (106 lb-in).
- Assemble the chain on the sprockets so that the marks are as close together as possible, as they were during removal. Install the sprockets and the chain guide. Tighten the camshaft sprocket bolt to about 54 N·m (40 lb-ft).
- Turn the crankshaft two full revolutions and make sure the marks return to their original position. If they do not line up, re-seat the chain on the sprockets.
- Install the front cover with a new gasket and sealant. Tighten the bolts evenly in a crisscross pattern, to about 12 N·m (106 lb-in) as a guideline (check the values for bolts of different lengths against the service manual).
- Install the crankshaft damper and tighten its bolt to about 108 N·m (80 lb-ft). Refit the serpentine belt, the idler pulley, the tensioner and the accessories.
- Fill with fresh oil and coolant, and bleed the air from the cooling system. Start the engine, warm it up until the thermostat opens, check for leaks and top off the coolant if needed.
Common mistakes and warnings
- All torque values are approximate, so verify the exact figures against the manufacturer's service manual
- Do not turn the crankshaft clockwise under load while the chain is removed, and do not tighten the cover bolts without sealant at the joint: this is a common cause of oil leaks
- If you have no experience working on engines, leave this job to a repair shop
- Incorrect alignment of the chain marks will cause the engine to run improperly
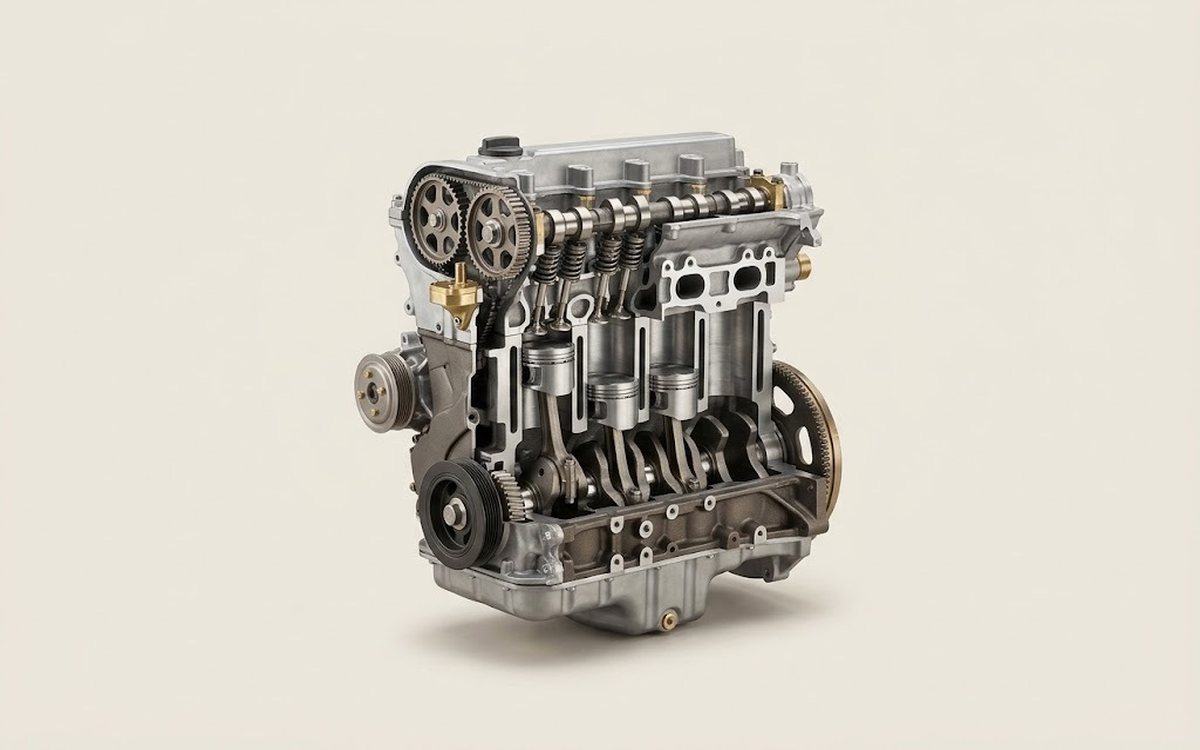 How it works · 3D
How a Car Engine Works
How the part you're working on actually works — in plain English, on a 3D model.
Open in 3D →