Autopapyrus · Daihatsu Sirion 1.0 EJ-DE (2000)
https://autopapyrus.com/guides/daihatsu/sirion/coolant-replacement/
https://autopapyrus.com/guides/daihatsu/sirion/coolant-replacement/
Compiled automatically from service literature and owner experience. Specs are for the typical configuration — check them against your exact car before you start.
Daihatsu Sirion 1.0 EJ-DE (2000): Coolant Replacement
On the EJ-DE, coolant should be changed about every 2-4 years or every 40,000-60,000 km, and on an older car it is best not to put it off. The system fills by gravity, without a pump, so it is important to bleed out the air and check the level after the change. Check the exact system capacity and service interval in the owner's manual. As a guideline, this engine holds about 4-5 L (4.2-5.3 qt) including the expansion tank.
Parts
2| № | Part | Alternatives |
|---|---|---|
| 01 | Ethylene glycol-based long life coolant (premixed or concentrate)about 5 L (5.3 qt); dilute concentrate with distilled water | Daihatsu, Toyota |
| 02 | Distilled waterfor diluting concentrate |
Tools
7- 6-8 L (6.3-8.5 qt) drain container
- flat-blade screwdriver or wrench for the radiator drain valve or plug
- pliers for hose clamps
- funnel
- distilled water for flushing
- gloves
- wrenches for removing the engine undercover (if fitted)
 There's a full repair manual for this car
Every system, wiring diagrams and torque specs — not just this job. Haynes AutoFix (online) and 1 more.
See manuals →
Step by step
12 steps- Park the car on level ground, shut off the engine, and let it cool down completely. Never open the radiator cap on a hot engine, as this can cause burns from steam and hot coolant.
- Open the hood and, if necessary, remove the lower undercover. Place the drain container under the radiator.
- Turn the cabin heater to maximum heat with the ignition key in the ON position. Do not start the engine. This opens the heater valve so coolant can drain out of the heater circuit.
- Remove the radiator cap, then the expansion tank cap.
- Open the drain valve or plug at the bottom of the radiator and drain the coolant. If there is no drain valve, disconnect the lower radiator hose by releasing its clamp, holding the container in place.
- If the coolant is badly contaminated, fill the system with distilled water, warm the engine up with the heater on until the thermostat opens, shut it off, let it cool, and drain. Repeat until clean water comes out.
- Drain the remaining coolant from the expansion tank. If there is sediment in it, remove the tank and rinse it out.
- Close the drain valve, or reconnect the hose and clamp, and reinstall the tank. If the radiator plug is threaded, tighten it by hand with light force, without overtightening. The threads in the plastic or thin metal of the radiator are weak.
- Slowly pour coolant into the radiator up to the filler neck, then top off the tank to the MAX mark. It is best to pour in a thin stream so that air can escape from the system.
- Start the engine with the radiator cap open and the heater on maximum. Warm it up until the thermostat opens (the upper radiator hose will become hot), topping off the coolant periodically as the air is purged. You can lightly raise the revs to 2,000-2,500 rpm. Squeeze the upper hoses by hand (wearing a glove) to push out air bubbles.
- When the level in the filler neck stops dropping, close the radiator cap and bring the level in the tank to the MAX mark.
- Let the engine cool and recheck the level, topping off if necessary. Check for leaks at the drain valve and hose clamps. Check the level again over the next few days after the change.
Common mistakes and warnings
- Do not mix coolants of different types or colors, as this can cause sediment to form and clog the radiator core
- Do not pour used coolant on the ground: it is toxic and dangerous to animals, so take it to a recycling facility
- If the temperature gauge moves toward the red zone after the change or the heater blows cold air, there is an air pocket left in the system
- Stop the engine and repeat the bleeding procedure
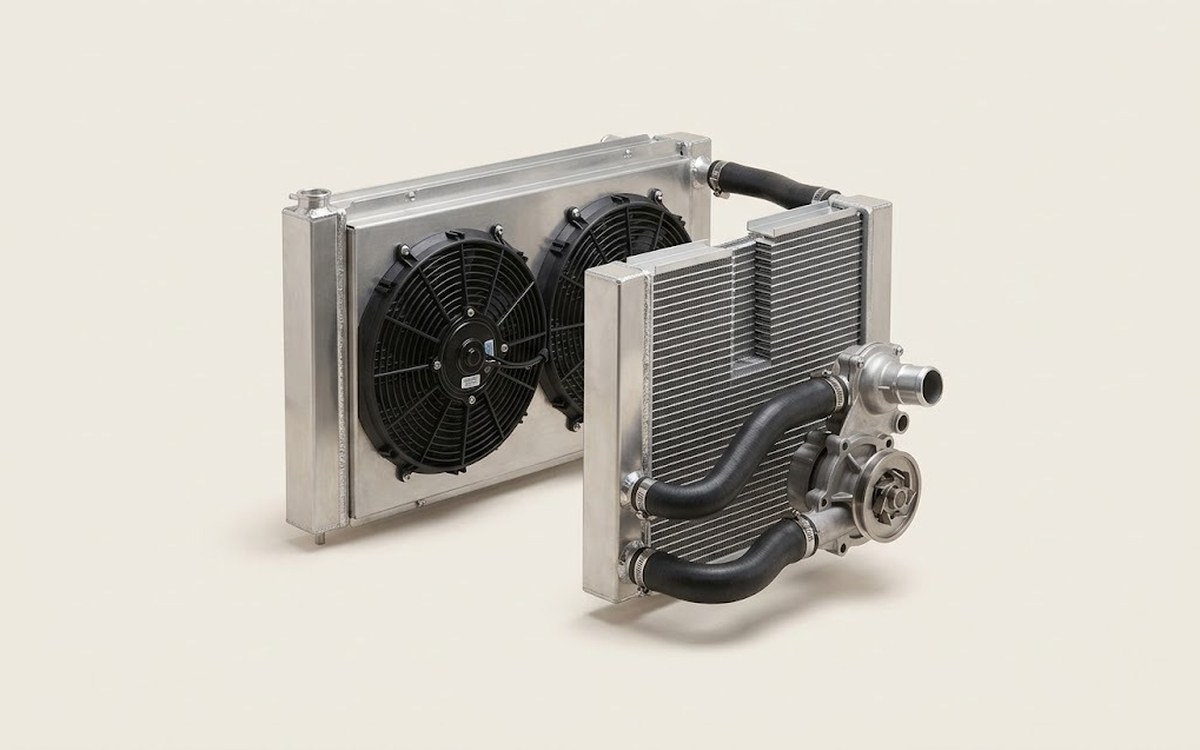 How it works · 3D
How the Engine Cooling System Works
How the part you're working on actually works — in plain English, on a 3D model.
Open in 3D →