Autopapyrus · FAW Vita 1.3 CA4GD1 (2007)
https://autopapyrus.com/guides/faw/vita/timing-belt-replacement/
https://autopapyrus.com/guides/faw/vita/timing-belt-replacement/
Compiled automatically from service literature and owner experience. Specs are for the typical configuration — check them against your exact car before you start.
FAW Vita 1.3 CA4GD1 (2007): Timing Belt Replacement
The CA4GD1 uses a timing belt, and if it breaks, the valves may be damaged. The belt is normally replaced about every 60,000 km or every 4-5 years, and right away if the vehicle's history is unknown. The exact procedure and torque values for this engine are not documented in detail in publicly available service materials, so the sequence below is the general one for engines of this type, and critical values are given as ranges.
Parts
6| № | Part | Alternatives |
|---|---|---|
| 01 | Timing belt for 1.3 engine (CA4GD1) | Gates, Contitech, SKF, INA |
| 02 | Timing belt tensioner pulley | Gates, Contitech, SKF, INA |
| 03 | Timing belt idler pulleyif needed | Gates, Contitech, SKF, INA |
| 04 | Water pumprecommended to replace at the same time | Gates, Contitech, SKF, INA |
| 05 | Camshaft sealrecommended to replace at the same time | Gates, Contitech, SKF, INA |
| 06 | Crankshaft sealrecommended to replace at the same time | Gates, Contitech, SKF, INA |
Tools
6- Socket and wrench set 10-19 mm
- torque wrench
- jack and jack stands
- pulley holding tool (or a pry bar)
- marker or paint
- drain pan for coolant (when replacing the water pump)
Step by step
12 steps- Park the car on a level surface, set the parking brake, and disconnect the negative battery terminal. Drain the coolant if you are replacing the water pump.
- Raise the right front wheel onto jack stands, remove the wheel and the fender liner (if it is in the way), and remove the alternator and accessory drive belt (loosen the alternator mounting and its tensioner bolt).
- Remove the upper timing belt cover (usually held by 10 mm bolts), then, if necessary, the crankshaft pulley. The center bolt is very tight, so keep the crankshaft from turning. Do not lock it with a screwdriver against the flywheel teeth unless you have to. It is easier with the car in gear and the parking brake set, or with a special holding tool.
- Remove the lower timing belt cover. If the engine rests on the right mount, support it slightly with a jack, using a block of wood under the oil pan, and remove the mount if needed for access.
- Turn the crankshaft in its normal direction of rotation by the pulley bolt until the timing marks line up: the mark on the camshaft pulley with the mark on the cylinder head or cover, and the mark on the crankshaft sprocket with the mark on the block (cylinder 1 piston at TDC on the compression stroke). If the marks are not visible, make your own with a marker on the belt and pulleys.
- Loosen the tensioner pulley and remove the old belt. Check the pulleys for play and noise, the sprockets for wear, and the seals for leaks. Fix any defects you find. If the belt has 60,000 km or more on it, it makes sense to replace the pulley and the water pump at the same time.
- Install the new belt without bending it sharply or getting oil on it. Fit it first onto the crankshaft sprocket, then in the direction of travel (with no slack on the drive side) onto the camshaft sprocket(s) and the water pump, and finally under the tensioner pulley. The marks must not shift.
- Tension the belt according to the manufacturer's specification (for eccentric pulleys, use the tensioner marks. For a spring-type tensioner, release the locking pin and tighten the pulley). The tensioner pulley mounting torque is typically 20-45 N·m (15-33 lb-ft). Use the exact value from the manufacturer's specification.
- Turn the crankshaft by hand 2 full turns in its normal direction of rotation and make sure the marks line up again. Check that the belt is not skipping and that the tension has not changed. If the marks do not line up, repeat the installation.
- Install the lower and upper covers, the crankshaft pulley (its bolt is tightened to a high torque, roughly 100-140 N·m (74-103 lb-ft), so use the manufacturer's specification), and the accessory drive belt (tension: deflection of about 8-12 mm when pressed with a finger at the midpoint).
- Refill the coolant (if you drained it) and bleed the air from the system, install the wheel (wheel bolt torque 80-100 N·m (59-74 lb-ft)), and reconnect the battery.
- Start the engine and let it run to operating temperature. Listen for unusual noises and check the coolant level and for leaks. After 500-1,000 km, check the accessory belt tension again.
Common mistakes and warnings
- Never turn the crankshaft against its normal direction of rotation, and never crank the engine with the starter while the belt is removed
- If the marks are set incorrectly, the pistons can hit the valves, resulting in expensive cylinder head repairs
- If you have no experience setting valve timing, leave the job to a repair shop
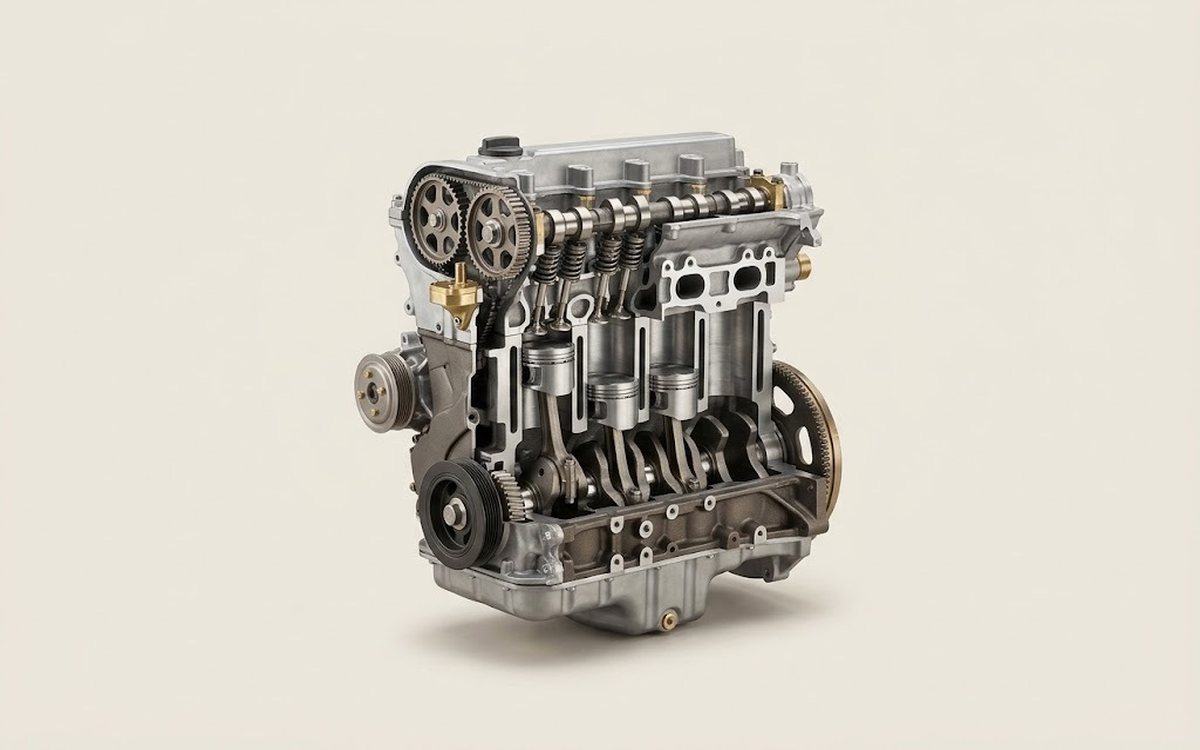 How it works · 3D
How a Car Engine Works
How the part you're working on actually works — in plain English, on a 3D model.
Open in 3D →