Autopapyrus · Hyundai Sonata IV (EF)
https://autopapyrus.com/guides/hyundai/sonata/clutch-master-cylinder-replacement/
https://autopapyrus.com/guides/hyundai/sonata/clutch-master-cylinder-replacement/
Compiled automatically from service literature and owner experience. Specs are for the typical configuration — check them against your exact car before you start.
Hyundai Sonata IV (EF): Clutch Master Cylinder Replacement
The clutch master cylinder is mounted on the firewall on the driver's side and is connected by a pushrod to the clutch pedal. Signs of wear: the pedal sinks to the floor or stays down, gears grind or won't engage, the fluid level in the reservoir drops, and there are wet leaks on the firewall and under the pedal. The exact procedure for this model is not documented in detail in open sources, so below is the general procedure that works on hydraulic systems of this type.
Part
- 🔩 Clutch master cylinder (complete, with reservoir or fluid supply hose from the reservoir), for 2.7 V6 with manual transmission. Choose OE or aftermarket. Also needed: DOT 3 or DOT 4 brake fluid, 0.5 L (0.5 qt). A new sealing washer or O-ring on the fitting is recommended if included with the part
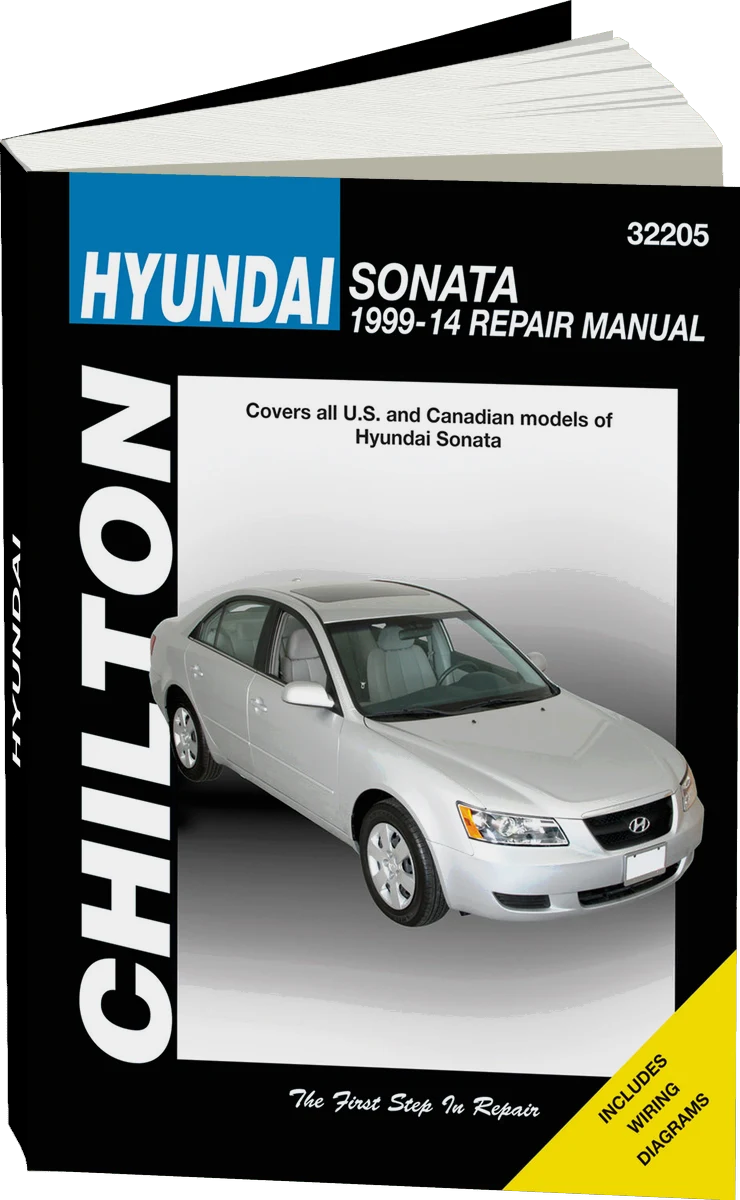 There's a full repair manual for this car
Every system, wiring diagrams and torque specs — not just this job. Chilton and 5 more.
See manuals →
Step by step
15 steps- Turn off the engine and disconnect the negative battery terminal. Open the hood and locate the clutch master cylinder on the firewall on the driver's side (left side, as seen from the driver's seat), next to the brake master cylinder. A line runs from it to the slave cylinder on the transmission.
- Lay rags under the cylinder and over the fender. Brake fluid damages paint, so if any gets on it, rinse it off with water right away.
- Remove the fluid from the reservoir with a syringe or turkey baster. If the reservoir is shared with the brake system, remove fluid only down to a level below the clutch supply port. If the clutch has its own separate reservoir, empty it almost completely.
- Disconnect the supply hose from the reservoir to the cylinder: slide back the clamp and pull off the hose, with a container underneath. Plug the end of the hose with a clean plug or a gloved finger so fluid doesn't run out.
- Use a flare nut wrench to loosen the flare nut on the pressure line running to the slave cylinder. Do not use an adjustable wrench or pliers, because they easily round off the nut. Move the line aside and plug its end.
- Interior: remove the lower trim panel under the steering column on the left to access the pedal. Find where the master cylinder pushrod connects to the pedal. This is usually a cotter pin or retaining clip on a pin. Remove the cotter pin or clip with a flat-head screwdriver and pliers, then pull out the pin. Note the position of the washers and bushings.
- In the engine bay, remove the two nuts (or bolts) that secure the cylinder to the firewall. The size is usually 12-14 mm, so verify the exact size on the car. Carefully pull the cylinder out of the firewall together with the pushrod.
- Compare the new cylinder with the old one: pushrod length, flange shape, and fitting positions. If the pushrod has a locknut, set it to the same position as before so you don't alter the pedal free play.
- Install the new cylinder on the firewall studs and tighten the nuts in a crisscross pattern. The torque is low, about 10-20 N·m (7-15 lb-ft) (check the exact value in the manufacturer's specifications). Do not overtighten: the flange is aluminum or plastic and cracks easily.
- Connect the pushrod to the pedal, install the pin, and secure it with the cotter pin or clip, first coating the pin with a thin layer of grease. Check that the pedal moves freely without binding.
- Connect the pressure line: start the nut by hand so you don't cross-thread it, then tighten it firmly with the flare nut wrench, without excessive force. Install and secure the supply hose from the reservoir.
- Fill the reservoir with fresh brake fluid (DOT 3 or DOT 4, the same as in the brake system) up to the MAX mark.
- Bleed the hydraulic system. Attach a clear hose to the bleeder fitting on the clutch slave cylinder (on the transmission housing) and put the other end in a container with some fluid in it. Your helper slowly presses the pedal all the way down and holds it. You then open the bleeder slightly, let the air and fluid out, and close the bleeder. Only then does the helper release the pedal. Repeat until the fluid coming out of the hose has no bubbles. Keep topping off the reservoir so the level never drops to the minimum.
- Tighten the bleeder fitting and wipe up any spills. Check that the pedal feels firm and doesn't sink, and that the free play is the same as before. Start the engine and shift through all the gears several times with the clutch pedal pressed. They should engage smoothly, without grinding.
- Inspect all connections for leaks with the pedal pressed (hold it down for 20-30 seconds). Reinstall the interior panel, reconnect the battery, and take the car for a test drive.
Common mistakes and warnings
- Brake fluid is corrosive to paint and harmful if it gets on skin or in eyes. Dispose of used fluid separately. If the pedal stays soft after bleeding, look for air leaking in at the connections or for a worn slave cylinder or hose. While you are replacing the master cylinder, it makes sense to also check the slave cylinder on the transmission. The clutch is part of the system that affects vehicle control, so if you have no experience working with hydraulic systems, have a repair shop do the replacement.
 How it works · 3D
How a Manual Transmission Works
How the part you're working on actually works — in plain English, on a 3D model.
Open in 3D →