Autopapyrus · Mercedes-Benz C-Class W203 2.2 CDI (2006)
https://autopapyrus.com/guides/mercedes-benz/c-class/brake-system-bleeding/
https://autopapyrus.com/guides/mercedes-benz/c-class/brake-system-bleeding/
Compiled automatically from service literature and owner experience. Specs are for the typical configuration — check them against your exact car before you start.
Mercedes-Benz C-Class W203 2.2 CDI (2006): Brake System Bleeding
Bleed the brakes after replacing the fluid, hoses, calipers, master cylinder or hydraulic unit, and also when the pedal has become "spongy." The 2006 model with the OM611 engine has a conventional ABS/ESP system, without SBC electrohydraulics. Because of this, bleeding is done the classic way, with the ignition off.
Key figures
- Pressure for pressure bleeding2 bar (29 psi), the value to set on the bleeder unit in step 4
- Fluid needed for a full changeabout 1 L (1.1 qt) of DOT 4, the amount to buy in advance (step 7)
- Bleeder valve openingless than one turn, enough to get a stream going (step 6)
- Number of pedal presses before opening the valve3-4, step 5, for two-person bleeding
Check these values against the manufacturer’s specification for your vehicle before you start.
Part
| № | Part |
|---|---|
| 01 | DOT 4 brake fluid (about 1 L (1.1 qt) for a full fluid change; less if you are not replacing the fluid) |
Tools
8- Jack and jack stands or a lift
- lug wrench
- bleeder wrench (box-end) sized for the bleeder valve
- clear hose
- drain container
- pressure bleeder/refill unit (recommended) or a helper
- fresh brake fluid
- shop rags
 There's a full repair manual for this car
Every system, wiring diagrams and torque specs — not just this job. Haynes and 12 more.
See manuals →
Step by step
12 steps- Park the car on level ground with the ignition off. If you lift the car, place it on a lift or on a jack and jack stands strictly at the designated lifting points so it cannot slip.
- Remove the wheels or work from underneath on a lift. Remove the protective caps from the bleeder valves and check for rust. Clean a seized bleeder valve and treat it with penetrating oil.
- Check the fluid level in the reservoir and do not let it drop below the minimum at any point during the work: if the reservoir runs empty, air will get into the system, including the ABS/ESP unit. When changing the fluid, first draw the old fluid out of the reservoir with a syringe and fill it with fresh DOT 4.
- Pressure bleeder method: connect the unit to the reservoir and build up 2 bar (29 psi) of pressure. This is the standard bleeding pressure for this car. Then open the bleeder valves one at a time.
- Two-person method: fit the hose onto the bleeder valve and put the other end in a container with a small amount of fresh fluid. Your helper pumps the pedal 3-4 times and holds it pressed down.
- Open the valve about half a turn (less than one full turn) and watch the stream. When the flow stops, close the valve, and only then should the helper release the pedal.
- Repeat until clean fluid without bubbles comes out of the hose. For a full fluid change, a good guideline is about a cup (200-250 mL (7-8 fl oz)) of a mix of old and new fluid coming out at each wheel, until clean fluid appears.
- Wheel sequence: start with the one farthest from the master cylinder (usually rear right), then front left, rear left, front right. This is the general rule for diagonal circuits; if the Mercedes service procedure specifies a different sequence for your car, follow that.
- Close the valve firmly but without excessive force: it is thin and easily breaks off. The bleeder valve tightening torque should follow the manufacturer's specification and is approximately low (a few N·m (a few lb-ft)). Wipe it off and put the cap on.
- Do not bleed with the engine running while pressing the pedal to make the pump push the fluid: with air in the system, the ABS/ESP unit pump quickly fails.
- When finished, top up the reservoir to the proper level and press the pedal: it should feel firm and not sink. Check for leaks at the calipers, hoses and bleeder valves.
- Install the wheels and tighten the wheel bolts in a crisscross pattern (torque per the manufacturer's specification; a reference value for this model is 110 N·m (81 lb-ft)). Lower the car, pump the pedal once more while stationary, and take a test drive at low speed with several brake applications in a safe area.
Common mistakes and warnings
- Brakes are a safety system
- If the pedal stays soft after bleeding, the fluid level keeps dropping or you see leaks, do not drive on the road and take the car to a repair shop
- If air has gotten into the ABS/ESP unit (the reservoir ran empty), removing it completely requires diagnostics with a scan tool, so have this done at a repair shop
- Brake fluid is toxic and damages paint: wear gloves and safety glasses, and do not pour leftovers onto the ground
- Check the approximate tightening torques (wheels, bleeder valve) against the manufacturer's specification
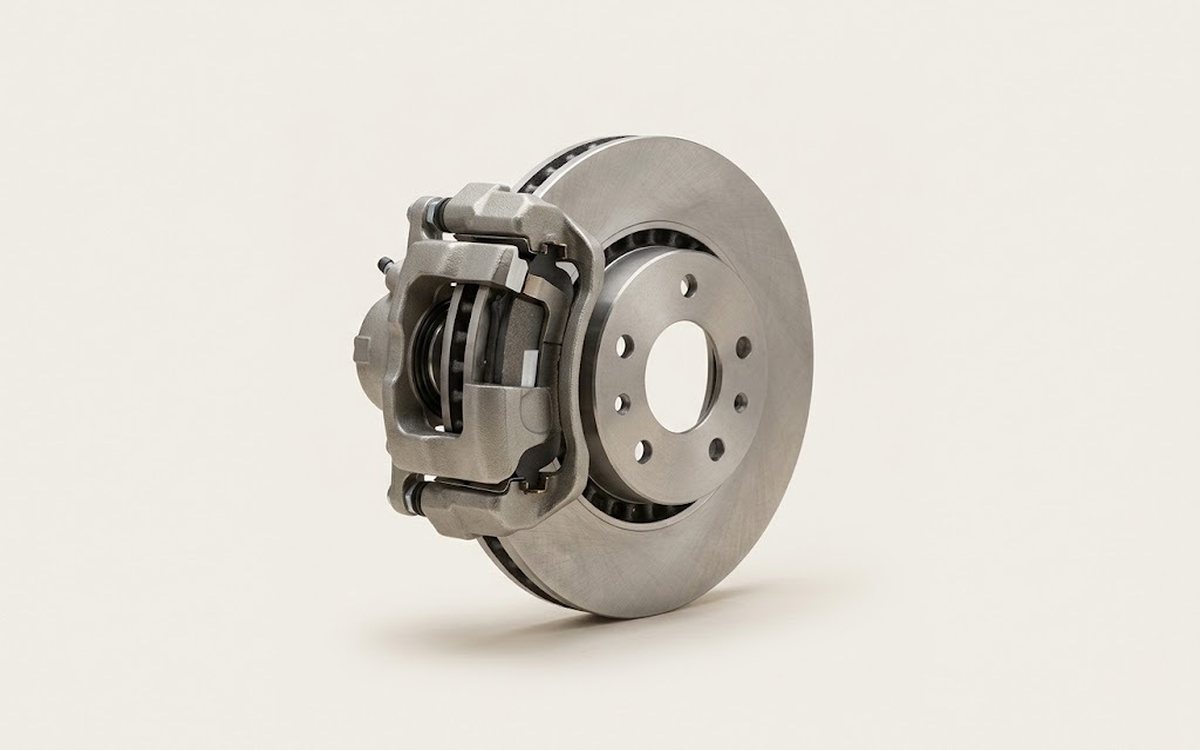 How it works · 3D
How Car Brakes Work
How the part you're working on actually works — in plain English, on a 3D model.
Open in 3D →