Autopapyrus · Mercedes-Benz C-Class W203 (2nd generation)
https://autopapyrus.com/guides/mercedes-benz/c-class/rear-brake-disc-and-pad-replacement/
https://autopapyrus.com/guides/mercedes-benz/c-class/rear-brake-disc-and-pad-replacement/
Compiled automatically from service literature and owner experience. Specs are for the typical configuration — check them against your exact car before you start.
Mercedes-Benz C-Class W203 (2nd generation): Rear Brake Disc and Pad Replacement
Discs and pads on the same axle are replaced only as a set, regardless of the condition of the other disc. The rear caliper is a floating type, the pads have a wear sensor (if fitted), and the parking brake on the W203 uses separate drum-type shoes inside the "hat" of the disc. The 2.2 CDI engine does not affect the work sequence. The torque values below are approximate; confirm the exact values against the manufacturer's specifications.
Key figures
- Minimum pad friction material thicknessbelow this the pads must be replaced (step 6)2 mm
- Allowable runout of a new disc at the outer edgecheck with a dial indicator after installation, otherwise you will get vibration under braking (step 11)no more than 0.10 mm
- Bedding in new padsthroughout this time avoid hard braking and braking lasting longer than 3 seconds (step 20)at least 200 km
Check these values against the manufacturer’s specification for your vehicle before you start.
Parts
4| № | Part | Alternatives |
|---|---|---|
| 01 | Rear brake discs for W2032 pcs | AlternativesBremboATETRWTextarZimmermann |
| 02 | Rear brake pad set (one axle, with springs) | AlternativesBremboATETRWTextarZimmermann |
| 03 | Caliper guide pinsif worn or boots are damaged | |
| 04 | DOT 4 brake fluidfor topping off |
Tools
9- jack and two jack stands
- lug wrench (17 mm socket for wheel bolts)
- socket and wrench set
- torque wrench
- wire brush
- brake cleaner
- copper or ceramic brake grease for the guide pins
- C-clamp or a special piston wind-back tool
- dial indicator (optional)
 There's a full repair manual for this car
Every system, wiring diagrams and torque specs — not just this job. Haynes and 12 more.
See manuals →
Step by step
20 steps- Park the car on a level surface, in first gear or in P, and place wheel chocks under the front wheels. Loosen the wheel bolts on the rear wheels without removing them. Do not use the parking brake during the work, and do not press the brake pedal while the pads are removed.
- Lift the rear of the car, place it on jack stands, and remove the wheels.
- If a pad wear sensor is fitted, disconnect its connector.
- Inspect the caliper and the brake hose. Clean the caliper fasteners and the bracket with a wire brush and brake cleaner.
- Remove the caliper mounting bolts (or the guide pins, depending on how the caliper is secured), take off the caliper, and hang it with a wire or a zip tie so that the brake hose does not hang or get stretched.
- Remove the old pads and springs, and note how they are positioned. If the friction material is thinner than 2 mm, replacement is mandatory.
- Remove the bolts holding the caliper bracket (the pad carrier), and take off the bracket.
- Remove the disc. If it is seized, tap the hub area of the disc with a hammer through a wooden spacer. If the disc is held by a retaining screw, remove it.
- While the disc is off, inspect the parking brake shoes inside the hub: if they are worn, oily, or seized, replace them, otherwise the parking brake will hold poorly. If the parking brake was holding well, you can simply clean the shoes.
- Clean the hub mounting surface of rust and dirt so that the disc sits flat. Check that the wheel bearing turns without play or noise. Wipe the new disc with brake cleaner to remove the anti-corrosion coating, and do not treat the friction surface with compressed air or a stiff brush.
- Fit the new disc and temporarily secure it with two wheel bolts. Disc runout at the outer edge must be no more than 0.10 mm; if the runout is greater, reposition the disc on the hub to a different position.
- Install the caliper bracket and tighten its bolts to the specified torque (approximately 60-100 N·m (44-74 lb-ft), depending on the bolt type).
- Retract the caliper piston all the way back. On rear calipers with an integrated parking brake mechanism, the piston is usually screwed in rather than pushed in, so first look at how the mechanism works and do not use force if it binds. Watch the brake fluid level in the reservoir and, if necessary, draw off the excess so it does not overflow.
- Apply a thin layer of grease to the guide pins and to the contact points between the pads and the bracket (do not get grease on the friction material or the disc). If the boots are torn, replace the pins.
- Install the new pads with the springs, connect the wear sensor, fit the caliper, and tighten its fasteners to the specified torque (approximately 25-40 N·m (18-30 lb-ft) for the guide pins; confirm the exact value).
- Repeat steps 3-15 on the other side.
- Install the wheels, lower the car, and tighten the wheel bolts in a crisscross pattern with a torque wrench to the torque specified by the manufacturer (for the W203, approximately 110 N·m (81 lb-ft); confirm against the specifications).
- Press the brake pedal several times until it feels firm, then check the brake fluid level and top it off to the MAX mark if necessary.
- Check the operation of the parking brake: if it holds poorly after the discs are replaced, it needs to be adjusted.
- Bed in the new pads for at least 200 km: avoid hard braking lasting longer than 3 seconds.
Common mistakes and warnings
- The brakes are a safety system
- If you have no experience working on brake systems, leave the job to a repair shop
- After reassembly, be sure to test the brakes at low speed in a safe area before driving on the road
- Do not inhale brake dust, and clean the parts only with a dedicated brake cleaner
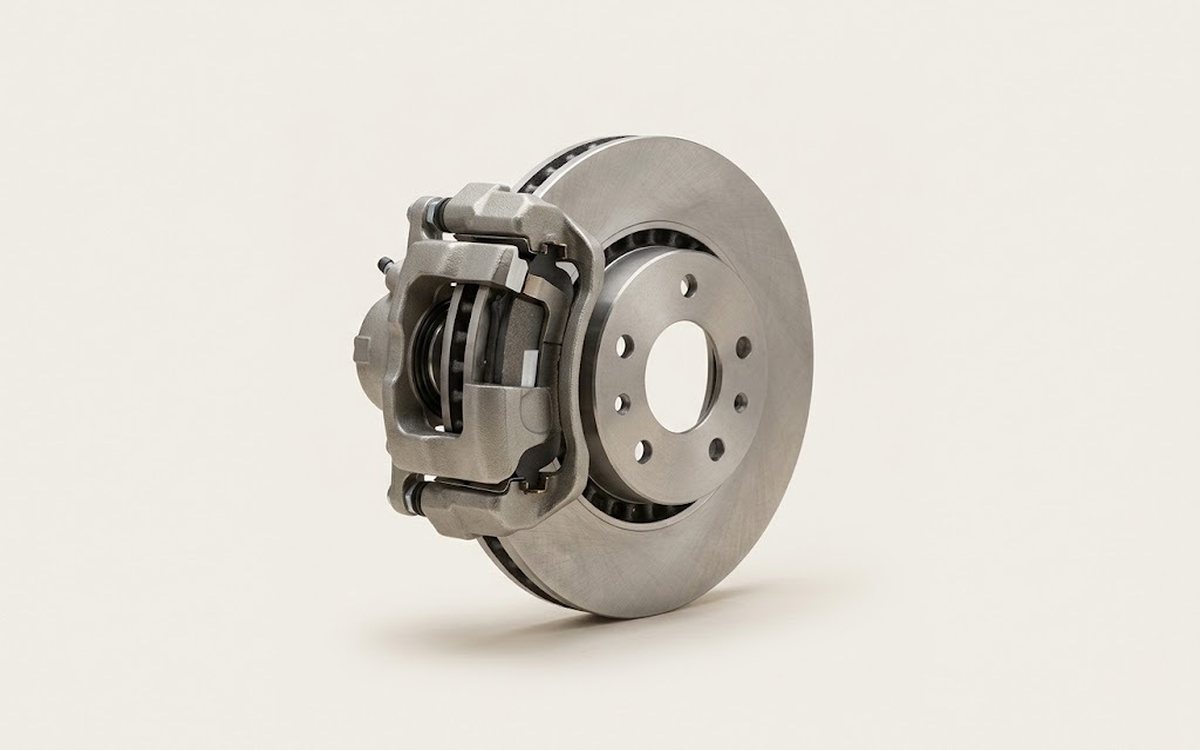 How it works · 3D
How Car Brakes Work
How the part you're working on actually works — in plain English, on a 3D model.
Open in 3D →