Autopapyrus · Mercedes-Benz C-Class (W203)
https://autopapyrus.com/guides/mercedes-benz/c-class/front-brake-rotor-replacement/
https://autopapyrus.com/guides/mercedes-benz/c-class/front-brake-rotor-replacement/
Compiled automatically from service literature and owner experience. Specs are for the typical configuration — check them against your exact car before you start.
Mercedes-Benz C-Class (W203): Front Brake Rotor Replacement
Front rotors are replaced only as a pair, usually together with the pads. The main difficulties are seized caliper bracket bolts and a rotor rusted onto the hub. Rotor size depends on the brake package, so check the diameter and thickness of your old rotor before buying.
Parts
3| № | Part | Alternatives |
|---|---|---|
| 01 | Front vented brake rotors, approx. 288 mm diameter, approx. 25 mm thicknesspair | Brembo, ATE, Zimmermann, TRW |
| 02 | Front brake pads (set with wear sensor)replacing at the same time is recommended; wear sensor, if fitted | |
| 03 | Caliper guide pins with bootsif needed |
Tools
10- jack and jack stands
- lug wrench
- socket set and ratchet
- torque wrench
- hex/TORX bit for the rotor retaining screw
- pry bar
- wire or zip tie to hang the caliper
- copper grease and brake cleaner
- wire brush
- C-clamp or piston spreader
 There's a full repair manual for this car
Every system, wiring diagrams and torque specs — not just this job. Haynes and 12 more.
See manuals →
Step by step
13 steps- Park the car on level ground, put it in gear, and chock the rear wheels. Loosen the lug bolts half a turn, raise the front axle, set jack stands under the car, and remove the wheel.
- Inspect the caliper and brake hose for cracks and leaks. If there are leaks, replace the caliper and take the car to a repair shop.
- If the car has a pad wear sensor, disconnect its connector. Remove the pads from the caliper after taking the caliper off, as described below.
- Remove the two caliper guide pins (or the bolts that hold the caliper), take off the caliper, and hang it from the suspension spring with wire. Do not stretch the hose or leave the caliper hanging from it.
- Remove the pads. Remove the two bolts that hold the caliper bracket to the steering knuckle and take off the bracket. These bolts are usually very tight, so use a long breaker bar. Do not overheat them.
- Remove the rotor retaining screw from the hub (if fitted) and take off the rotor. If the rotor is stuck, treat the mounting surface with penetrating oil and tap the back of the rotor carefully with a hammer. Do not hit the friction surface of the new rotor.
- Clean the hub mounting surface with a wire brush down to bare metal. Rust or dirt causes runout and pedal vibration. Clean the bracket and the pad guides.
- Degrease the new rotor with brake cleaner and wash off the protective coating completely. Slide the rotor onto the hub and secure it with the screw.
- Install the caliper bracket. Tighten the bracket bolts to the manufacturer's specification, approximately 110-125 N·m (81-92 lb-ft). Install the pads, and apply a thin layer of copper or ceramic grease to the guide pins and the pad contact points, keeping it off the friction surfaces.
- Push the caliper piston all the way in with a C-clamp or piston spreader, watching the fluid level in the reservoir (draw off the excess if needed). Fit the caliper and tighten the guide pins to approximately 25-35 N·m (18-26 lb-ft), per specification.
- Connect the wear sensor and install the wheel. Tighten the bolts in a crisscross pattern, lower the car, and tighten the lug bolts to 110 N·m (81 lb-ft).
- Before driving, pump the brake pedal several times until it feels firm. Check the brake fluid level and top it up to the MAX mark if needed.
- Bed in the rotors: for the first 200-300 km, avoid hard braking and excessive heat, and make several moderate brake applications from 60-80 km/h without coming to a full stop.
Common mistakes and warnings
- Brakes are a safety system
- If you have no experience working on brakes, or after reassembly the pedal sinks to the floor, the brakes pulsate, or the car pulls to one side, do not drive on the road and take the car to a repair shop
- Never work under a car supported only by a jack
- Check the minimum thickness stamped on the rotor edge, and replace both rotors even if one is still within spec
- Do not touch the friction surface of the new rotor with your hands after degreasing
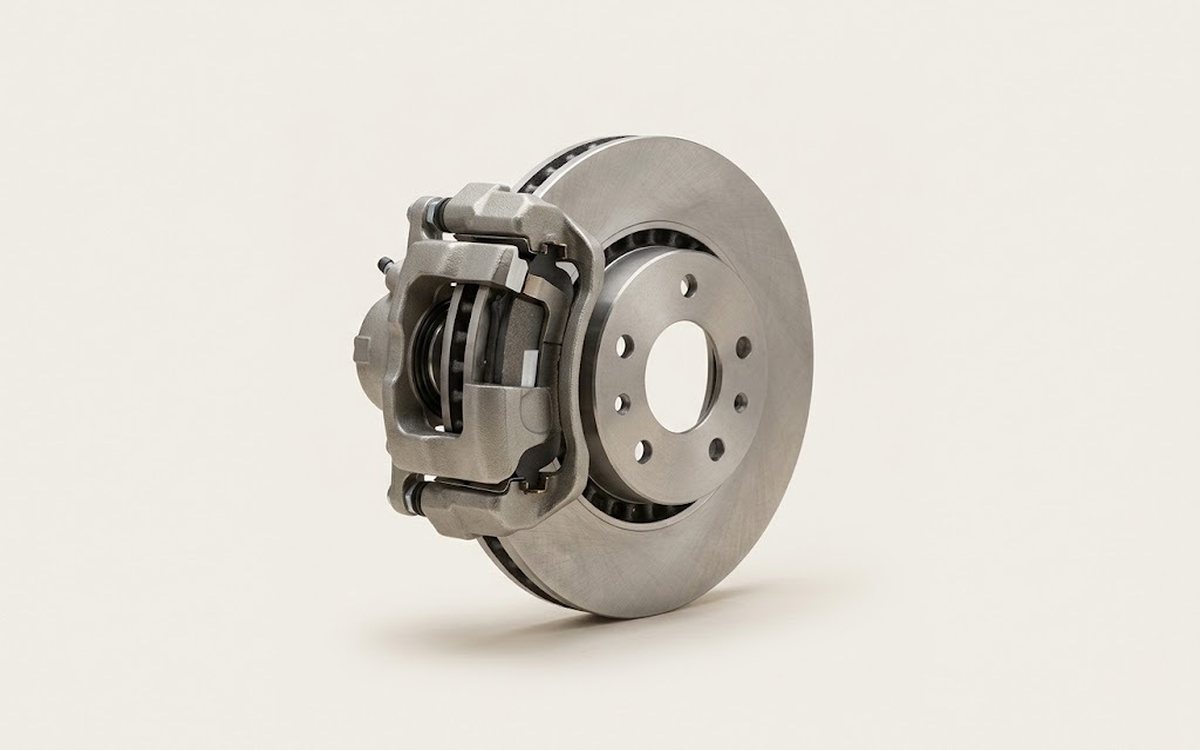 How it works · 3D
How Car Brakes Work
How the part you're working on actually works — in plain English, on a 3D model.
Open in 3D →