Autopapyrus · Mercedes-Benz C-Class W203
https://autopapyrus.com/guides/mercedes-benz/c-class/parking-brake-adjustment/
https://autopapyrus.com/guides/mercedes-benz/c-class/parking-brake-adjustment/
Compiled automatically from service literature and owner experience. Specs are for the typical configuration — check them against your exact car before you start.
Mercedes-Benz C-Class W203: Parking Brake Adjustment
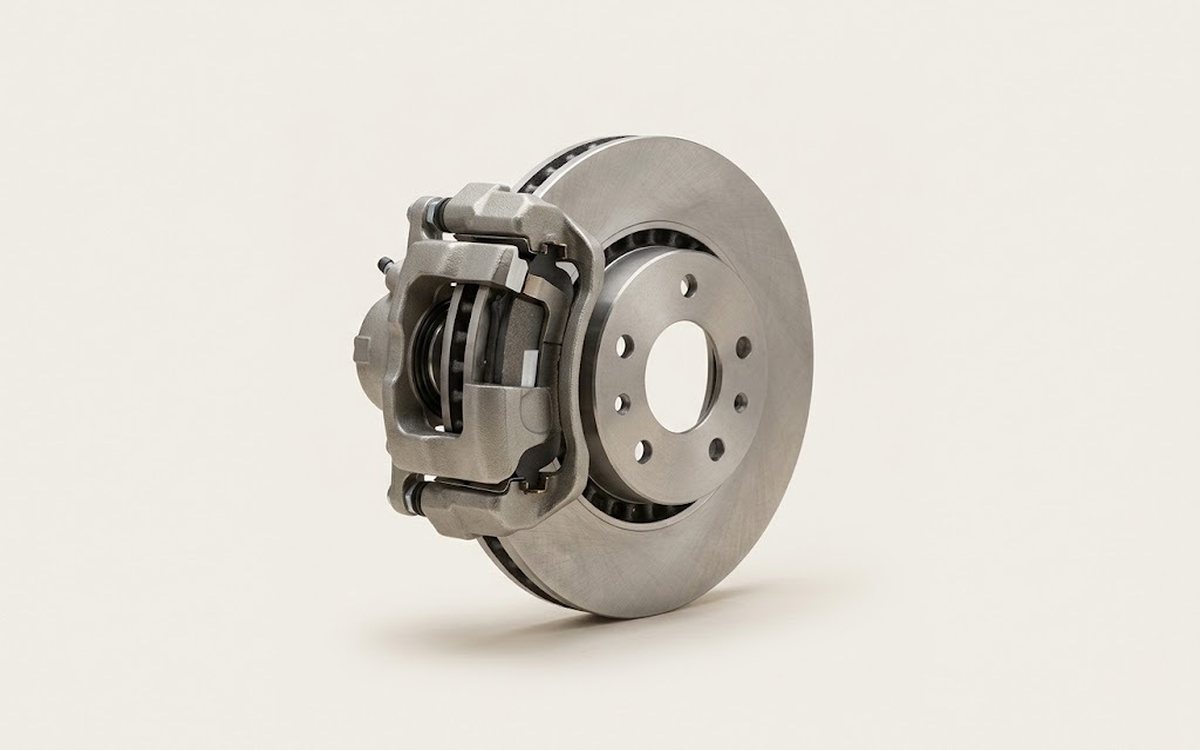
On the W203, the parking brake acts on separate drum-type shoes inside the "hat" of the rear brake discs. It is operated by a pedal at the driver's left foot and two cables. Cable tension is adjusted with a nut under the rear seat. If the shoes are worn or rusted, tightening the cables alone won't be enough.
Key figures
- Parking brake pedal travelno more than 5 clicks. If it's more, adjustment is needed (steps 1 and 6)
- Force when checking travelabout 170 N. This is how hard to press the pedal with your foot to judge its travel (step 1)
- First cable nut adjustment2 turns. Use the 13 mm wrench, then recheck pedal travel (step 5)
- Force for the final checkabout 5 N. This is the light press at which the pedal should go down 5 clicks (step 6)
Check these values against the manufacturer’s specification for your vehicle before you start.
Diagram: where the parking brake adjuster hatch is and how to reach it
Tap to enlarge
- 1The insulation mat covers the whole floor under the cushion. Lift it: the hatch is underneath.
- 2The cover of the cable adjuster hatch. Remove it.
- 3The adjusting nut, 13 mm wrench. Tighten by 2 turns and recheck the pedal travel. Do not overtighten: the wheels must not drag.
- 4Two parking brake cables. There is one nut, shared by both cables.
- 5Rear seat back: a landmark, the hatch is near it under the cushion.
Parts
2| № | Part |
|---|---|
| 01 | Parking brake shoes (drum type)if faulty |
| 02 | Parking brake cablesif faulty |
Tools
5- 13 mm wrench (open-end and socket)
- flat-blade screwdriver
- jack and jack stands
- wheel chocks
- torque wrench (for wheels)
 There's a full repair manual for this car
Every system, wiring diagrams and torque specs — not just this job. Haynes and 12 more.
See manuals →
Step by step
11 steps- Check the pedal travel. Press the parking brake pedal with a force of about 170 N (roughly a firm, moderate push with your foot). If it goes down more than 5 clicks, adjustment is needed. If it's 5 clicks or fewer but the car still doesn't hold, the cause is the shoes or cables, so go to steps 9-10.
- Park the car on level ground and chock the front wheels. Put the gear selector in neutral or P, and release the parking brake pedal.
- Lift the front edge of the rear seat cushion. This usually means unclipping the plastic covers at the lower edge and removing the cushion fasteners with a 13 mm wrench. Take the cushion out completely.
- Lift the sound-insulation pad under the cushion. Under it, find the access cover for the cable adjustment mechanism and remove it.
- Using the 13 mm wrench, tighten the adjusting nut two turns. This takes up the slack in the cables. Recheck the pedal travel as in step 1.
- If the travel is still more than 5 clicks, tighten the nut a bit more. The goal is for the pedal to go down 5 clicks at a force of about 5 N (a light press). Don't overtighten.
- Be sure to check that the rear wheels turn freely with the pedal released. To do this, lift the rear axle and spin the wheels by hand. If the wheels drag, loosen the nut. Overtightened cables cause overheating and rapid shoe wear.
- Reinstall the access cover, the pad and the seat cushion in reverse order. If you removed the wheels, tighten them to the torque specified by the manufacturer.
- If the parking brake is still weak after tightening the cables, remove the rear wheel and brake disc and inspect the parking brake shoes. The drum shoes are adjusted with a toothed adjuster wheel between the shoes. Set it so the shoes lightly touch the drum and the disc turns by hand with slight drag. Check the manufacturer's specifications for the exact number of adjuster wheel turns for this model.
- If the shoes are worn or oil-soaked, replace them as a set on both sides. The disc has to be removed, and the shoe springs are removed with a special tool. If there are signs of overheating on the internally ventilated rear discs, replace the discs too. Lubricate the sliding points of the new shoes, and apply long-life brake grease to the adjuster threads.
- Finish with a check: on a slope, the car should hold firmly at 3-5 clicks of the pedal, and when driving with the pedal released, there should be no signs of braking.
Common mistakes and warnings
- The parking brake is a safety component
- If you have no experience with brakes or are unsure of the result, take the car to a repair shop
- Work only on a car securely supported on jack stands, and never get under a car held up by a jack alone
- Check the manufacturer's specifications for wheel tightening torques and exact shoe adjustment values
 How it works · 3D
How Car Brakes Work
How the part you're working on actually works — in plain English, on a 3D model.
Open in 3D →