Autopapyrus · Renault Duster 1.6 16V K4M (2019)
https://autopapyrus.com/guides/renault/duster/engine-radiator-replacement/
https://autopapyrus.com/guides/renault/duster/engine-radiator-replacement/
Compiled automatically from service literature and owner experience. Specs are for the typical configuration — check them against your exact car before you start.
Renault Duster 1.6 16V K4M (2019): Engine Radiator Replacement
On the first-generation Duster, the radiator comes out forward and down after you remove the front bumper, the cooling fan and the plastic air deflector. The A/C condenser is detached from the radiator and tied to the upper crossmember without opening the refrigerant circuit. After installation, be sure to refill the system and bleed out any air pockets.
Parts
4| № | Part | Alternatives |
|---|---|---|
| 01 | Engine radiator, Duster 1.6 16V (K4M)with or without A/C, matching trim level | Nissens, Valeo, Luzar |
| 02 | Ethylene glycol-based G12 coolant (premixedor concentrate with distilled water) | |
| 03 | Cooling system hose clampsif needed | |
| 04 | Deflector retaining rivetsif needed |
Tools
8- 7
- 8 and 10 mm wrenches and sockets
- Torx T30 bit
- spring clamp pliers
- flat-head screwdriver
- drain pan for coolant
- light support stand or service pit
- bottle of distilled water for flushing
Step by step
12 steps- Wait until the engine has cooled completely, then disconnect the negative battery terminal. Put the car on a service pit or a lift.
- Remove the engine skid plate if fitted, and the front bumper (fasteners at the top, at the sides and at the bottom in the wheel arches; disconnect the fog light and sensor connectors if equipped).
- Remove the radiator fan with its shroud: unplug the power connector, release the shroud clips and carefully lift the assembly out.
- Remove the plastic deflector for the radiator and condenser. On the right side, remove the fastener to the upper crossmember of the radiator frame (Torx T30) and two fasteners to the bumper crossmember; on the left side, remove three fasteners. Pull out the retaining rivets together with their sleeves and take off the deflector.
- Place a drain pan under the lower radiator hose. Squeeze the spring clamp on the lower hose with pliers and slide it along the hose. The hoses are installed at the factory with sealant, so if one is stuck, carefully twist the hose and pry with a screwdriver in the gap between the pipe and the hose. Pull off the hose and drain the coolant. To speed up draining, you can open the expansion tank cap.
- Remove the upper hose the same way. If access to the upper radiator hose is difficult, you can disconnect the hose from the pipe on the thermostat housing instead.
- If the car has A/C, remove the four screws securing the condenser to the radiator. Do NOT disconnect the refrigerant lines. Release the condenser brackets from the holders on the radiator (lower and upper left) and tie the condenser with wire or a zip tie to the upper crossmember of the radiator frame so it does not hang from the lines.
- Lift the radiator out of the engine compartment, removing the upper rubber mounts if necessary. Transfer the rubber cushions, plastic guides and sensors, if the old radiator had any, to the new radiator.
- Compare the new radiator with the old one: hose pipe positions, dimensions and mounting points. Flush the hoses and the expansion tank, and inspect the clamps and hoses for cracks and bulges; replace them if necessary.
- Install the radiator and everything else in reverse order. Coat the hose pipes with a thin layer of sealant or silicone grease and snap the clamps into the grooves. Tighten threaded fasteners without overtightening, and tighten plastic fasteners only until they stop; torque on small fasteners is not critical. For the clamps and condenser screws, use the exact values from the manufacturer's specifications.
- Fill the expansion tank with coolant up to the MAX mark. Start the engine, set the heater to maximum heat and hold the engine speed at about 2000-2500 rpm until the thermostat opens and the fan switches on. Top up the coolant as the air works out, bleeding air through the open tank cap if necessary.
- Shut off the engine, let it cool and check the level. Inspect the hose joints for leaks. After 1-2 days of driving, check the level again with the engine cold.
Common mistakes and warnings
- Do not open the expansion tank cap on a hot engine, as steam and hot coolant can cause burns
- Do not disconnect the A/C lines: the refrigerant is under pressure, and opening the circuit requires special equipment
- Drained coolant is toxic; do not leave it in an open container, and dispose of it properly
- If there is no heat in the cabin after the replacement or the temperature gauge fluctuates, air is still trapped in the system, so repeat the bleeding procedure
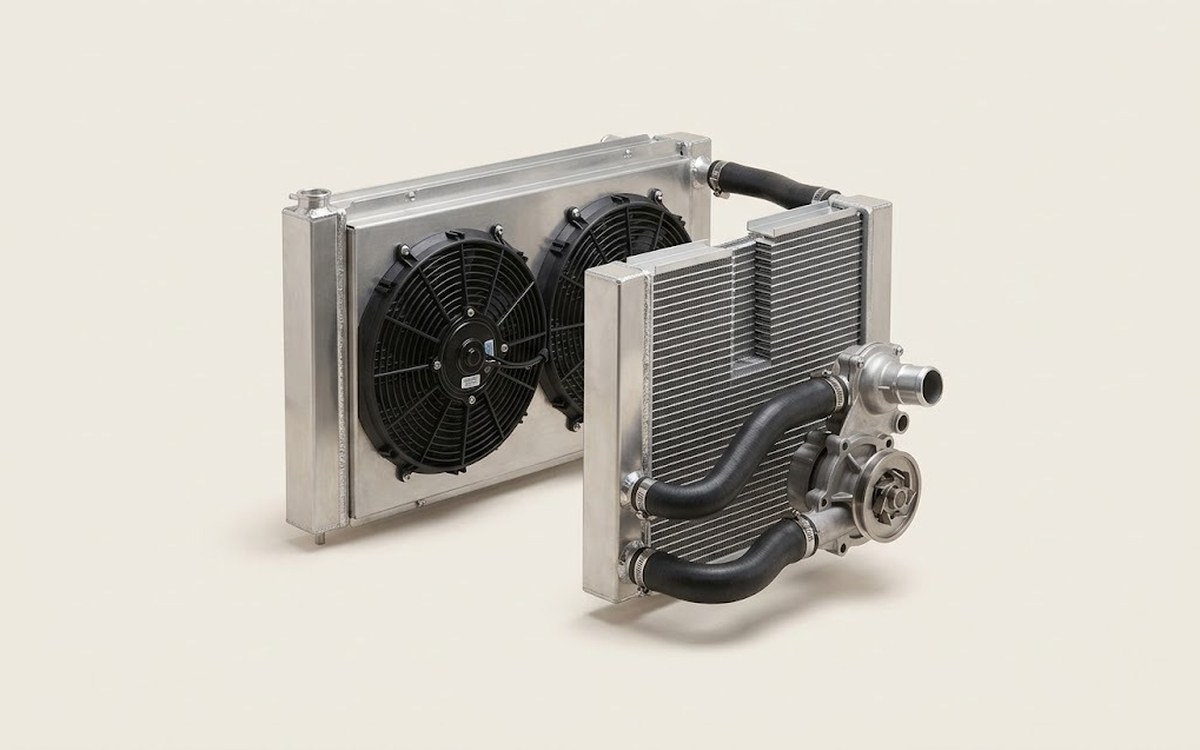 How it works · 3D
How the Engine Cooling System Works
How the part you're working on actually works — in plain English, on a 3D model.
Open in 3D →