Autopapyrus · Volkswagen Multivan 2.0 TDI CFCA (2013)
https://autopapyrus.com/guides/volkswagen/multivan/coolant-replacement/
https://autopapyrus.com/guides/volkswagen/multivan/coolant-replacement/
Compiled automatically from service literature and owner experience. Specs are for the typical configuration — check them against your exact car before you start.
Volkswagen Multivan 2.0 TDI CFCA (2013): Coolant Replacement
The coolant in the 2.0 TDI (CFCA) cooling system is changed according to the service schedule at about every 5 years, or based on its condition. If the vehicle has a modern G12 evo or G13 coolant, never mix it with G11 (green, blue) or older types. The main difficulty of this job is removing all the air from the system. If air pockets are left in, the engine may overheat and the cabin heater will produce little heat.
Parts
3| № | Part | Alternatives |
|---|---|---|
| 01 | G12 evo / G13 coolant (antifreeze), VW TL 774-J or TL 774-G, pink or purpleabout 8-10 L (8.5-10.6 qt) of ready-to-use mixture; concentrate or premixed | Glysantin, Hepu, Febi |
| 02 | Distilled waterif using concentrate, usually 1:1 | |
| 03 | Seal or expansion tank capif needed |
Tools
8- Lift or inspection pit
- 10-13 mm wrenches and sockets
- Torx sockets for the skid plate (underbody shield)
- pliers or hose clamp pliers
- drain pan of at least 10 L (10.6 qt)
- funnel
- clean rags
- hydrometer or refractometer (optional)
 There's a full repair manual for this car
Every system, wiring diagrams and torque specs — not just this job. Haynes and 5 more.
See manuals →
Step by step
14 steps- Work on a completely cold engine. Park the vehicle on level ground, shut off the engine and wait at least 1-2 hours. The system is under pressure, and hot coolant causes burns.
- Open the hood. Find the expansion tank and slowly unscrew the cap in two stages to release the pressure.
- Turn the ignition on without starting the engine. Set the heater control to maximum heat so the heater valve opens and the coolant drains from the heater circuit as well.
- Remove the lower engine skid plate if one is fitted (Torx screws; check the quantity and size on your vehicle).
- Place the drain pan under the lower radiator hose connection. If the radiator has a drain plug, unscrew it. If there is no plug, loosen the clamp on the lower hose, carefully pull the hose off the radiator neck and let the coolant drain. The plastic radiator necks are fragile, so do not use force.
- Wait for the coolant to drain completely. For a better result, you can temporarily disconnect the upper radiator hose or lift it so the remaining coolant runs out.
- Check the color and condition of the drained coolant. If it contains rust, an oily film or sediment, flush the system with distilled water before refilling. Oil in the coolant means the system needs diagnosis (for example, the oil cooler).
- Reinstall the hose or the plug. Tighten the plug moderately, as specified by the manufacturer. Tighten the hose clamp and make sure it sits in its original position.
- Prepare the mixture: use premixed coolant as is; dilute concentrate with distilled water according to the instructions on the package (usually 1:1).
- Slowly pour the coolant in through the expansion tank until the level is between the MIN and MAX marks. Pour in a thin stream so the air has time to escape.
- Close the cap. Start the engine and let it idle. Keep the heater at maximum heat. Hold the engine speed lightly at about 2000-2500 rpm until the engine warms up and the thermostat opens.
- Watch the level in the tank. Once the upper radiator hose becomes hot and the fan has run through one cycle, shut off the engine. Let it cool down completely and check the level again. Top up to the correct level.
- If necessary, repeat the warm-up and cool-down cycle 1-2 times. Make sure the cabin heater stays consistently hot and the temperature gauge on the instrument cluster does not fluctuate.
- Check for leaks around the hoses and the drain point. Reinstall the skid plate. After 2-3 days of driving, check the level with the engine cold.
Common mistakes and warnings
- Do not mix coolants of different classes or colors: this can cause sediment to form and clog the radiator and passages
- Never pour used coolant on the ground or down a drain, as it is toxic
- Take it to a collection point
- If you have no experience working on cooling systems, it is better to go to a repair shop
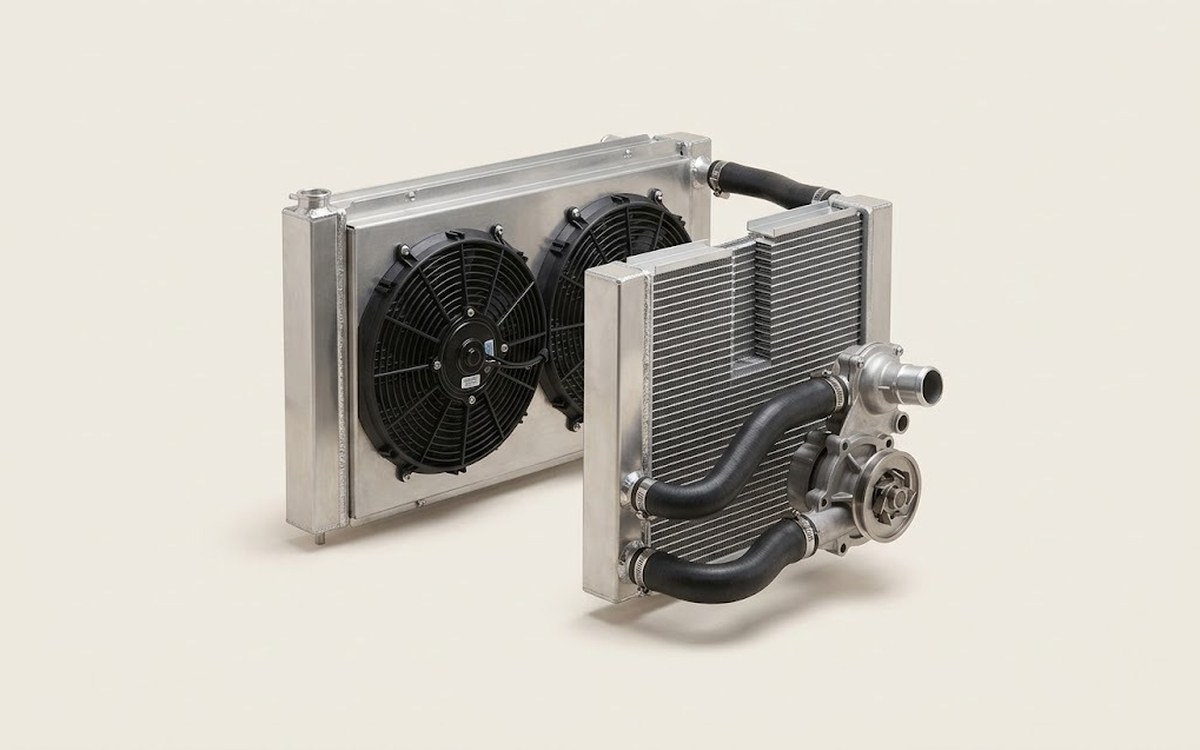 How it works · 3D
How the Engine Cooling System Works
How the part you're working on actually works — in plain English, on a 3D model.
Open in 3D →