Autopapyrus · Vortex Tingo 1.8 SQR481F (2011)
https://autopapyrus.com/guides/vortex/tingo/clutch-replacement/
https://autopapyrus.com/guides/vortex/tingo/clutch-replacement/
Compiled automatically from service literature and owner experience. Specs are for the typical configuration — check them against your exact car before you start.
Vortex Tingo 1.8 SQR481F (2011): Clutch Replacement
On the Tingo with a manual transmission, the clutch is replaced as a complete kit, and the transmission has to be removed to do it. Service life in city driving is usually 80-100 thousand km. The torque values below are approximate: check the exact values against the manufacturer's specifications.
Key figures
- Clutch service life in city driving80-100 thousand km. This is a guide for when to expect wear and check the clutch (step 1)
Check these values against the manufacturer’s specification for your vehicle before you start.
Diagram: clutch cover, bolts and marks on the flywheel
Tap to enlarge
- 1Clutch cover with diaphragm spring fingers. Mark its position, remove it with the driven disc and replace the whole kit.
- 2Cover bolts around the ring. Loosen and tighten evenly, crosswise, in 2-3 passes (about 20-30 Nm per the manufacturer).
- 3Hub of the driven disc: the splined gearbox input shaft goes in here. Lightly grease the splines and centre the disc with the alignment tool.
- 4Flywheel working face: wipe with degreaser and inspect for wear, cracks and heat discoloration.
- 5Cover and flywheel mark: mark the cover position relative to the flywheel before removal.
- 6Edge of the friction lining of the driven disc between the cover and flywheel: grease must not get on the lining.
Parts
5| № | Part |
|---|---|
| 01 | Clutch kit for 1.8 SQR481F (pressure plate, clutch disc, release bearing) |
| 02 | Transmission input shaft seal |
| 03 | Rear crankshaft sealif leaking |
| 04 | Manual transmission fluid |
| 05 | Brake fluidfor bleeding the hydraulic clutch system |
Tools
8- lift or inspection pit
- transmission jack
- socket set and ratchets with extensions
- torque wrench
- clutch alignment tool
- spline grease
- syringe or container for bleeding the hydraulic clutch system
- engine support stands or a support bar
Step by step
16 steps- Signs of wear: the pedal sinks to the floor or feels stiff, the clutch engages only at the very top of the pedal travel, engine rpm rises but vehicle speed does not, and first gear and reverse are hard to engage.
- Put the vehicle on the lift in neutral and disconnect the negative battery terminal. Remove the engine undercover (skid plate) and drain the transmission fluid.
- Remove the air intake duct and air filter, and the battery with its tray if needed, to get access to the top of the transmission. Disconnect the shift linkage rods or cables and the sensor connectors on the transmission (for example, the reverse light switch), and make a note of where each one goes.
- Disconnect the clutch actuation: on this model it is hydraulic, and the clutch slave cylinder is removed from the transmission. It is best not to disconnect the hose, so you don't have to bleed the system again.
- Remove the starter. Remove the driveshafts (axle shafts) from the transmission: first loosen the wheel hub nuts with the vehicle on the ground, then remove the wheels and disconnect the lower ball joints or tie rod ends as needed. Do not let the driveshafts hang from the CV joints.
- Support the engine from below (or hang it from a support bar) and place a jack under the transmission. Remove the rear engine and transmission mounts (rear in the direction of travel) and any brackets that are in the way.
- Remove the bolts securing the transmission to the engine and pull the transmission back until the input shaft comes out of the clutch disc hub. Do not let the input shaft carry any load: the transmission must move straight back.
- Mark the position of the pressure plate relative to the flywheel. Loosen the pressure plate bolts evenly in a crisscross pattern, then remove the pressure plate and clutch disc.
- Inspect the flywheel for heavy wear, cracks and heat discoloration (bluing). The flywheel may be resurfaced or replaced. Check the rear crankshaft seal: if there are signs of oil, replace it, otherwise oil will quickly ruin the new clutch disc.
- Replace the transmission input shaft seal and inspect the release fork. Apply a thin layer of spline grease to the input shaft splines, the fork guides and the release bearing seat, keeping grease off the friction linings.
- Wipe the flywheel friction surface with a degreaser. Install the new disc with the raised hub side facing the way indicated by the markings (the disc is labeled "flywheel side" or "transmission side"), and center it with the alignment tool.
- Install the pressure plate and tighten the bolts evenly in a crisscross pattern in 2-3 passes. The approximate torque for the pressure plate bolts is about 20-30 N·m (15-22 lb-ft) (check the exact value against the manufacturer's specifications). Remove the alignment tool.
- Install the release bearing on the fork and reassemble the transmission to the engine in reverse order. Make sure the transmission seats on the locating dowels without force, and do not pull it in with the bolts. Tighten the transmission-to-engine bolts with a torque wrench, target 40-60 N·m (30-44 lb-ft) (per the manufacturer's specifications). Tighten the remaining fasteners (mounts, starter, driveshafts) to specification.
- Install the slave cylinder, driveshafts, starter, linkage and connectors. Fill the transmission with fluid up to the level of the check hole; type and viscosity per the manufacturer's specifications.
- If the hydraulic system was disassembled, bleed it until the pedal feels firm (no air), and keep an eye on the fluid level in the reservoir.
- Check operation: with the engine off, press the pedal several times, then with the engine running, shift through all gears smoothly, without jerking. For the first 500 km, do not overload the clutch and avoid slipping it.
Common mistakes and warnings
- This is heavy and dangerous work: the transmission weighs tens of kilograms, and the vehicle and engine must be securely supported
- Never work under a vehicle supported only by a jack
- If you have no experience or no lift, it is better to leave the job to a repair shop
- Always replace the complete kit; do not reuse the old pressure plate, because its diaphragm fingers lose their spring tension
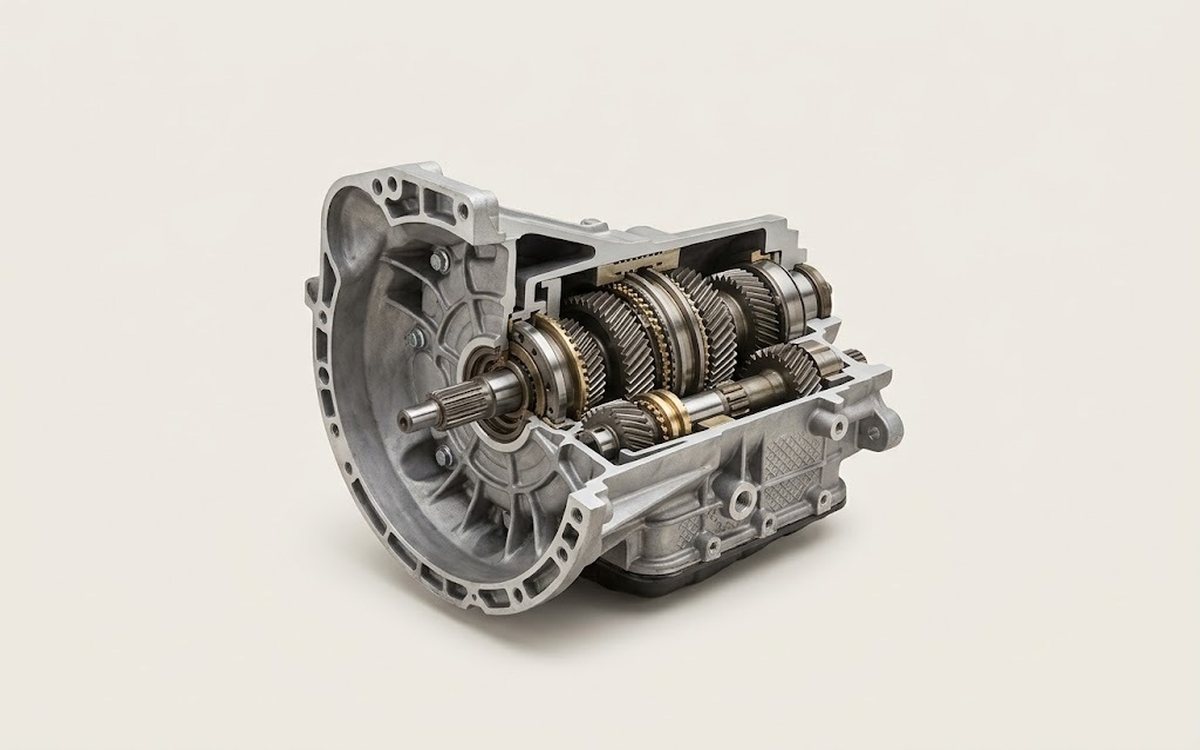 How it works · 3D
How a Manual Transmission Works
How the part you're working on actually works — in plain English, on a 3D model.
Open in 3D →