Autopapyrus · Lada 2106-03 1.5 (VAZ-2103) (1974)
https://autopapyrus.com/catalog/lada/2106-03/guides/cooling-fan-motor-replacement/
https://autopapyrus.com/catalog/lada/2106-03/guides/cooling-fan-motor-replacement/
Compiled automatically from service literature and owner experience. Specs are for the typical configuration — check them against your exact car before you start.
Lada 2106-03 1.5 (VAZ-2103) (1974): Cooling Fan Motor Replacement
The VAZ-2106 radiator fan is an electric motor with a fan blade in a plastic shroud (diffuser) mounted on the radiator. The motor is not serviceable, so if it fails, you replace the whole motor. The job is done without draining the coolant: the shroud and motor come off the radiator as a single assembly.
Key figures
- Wrench for fan shroud boltsthree bolts that hold the shroud on the radiator (steps 5-6)8 mm
- Wrench for motor nuts and fan blade nutthree motor nuts and the fan blade nut (steps 8, 11)10 mm
- Fan blade nut threadloosen clockwise (step 8)left-hand
- Fan switch-on temperature87±2 °C — use these to check sensor operation after replacement (steps 2, 15)82±2 °C, switch-off
- Fan motor currenthence the need for clean, tight contacts in the connectors (step 13)about 14 A
Check these values against the manufacturer’s specification for your vehicle before you start.
Parts
3| № | Part |
|---|---|
| 01 | Cooling system fan motor (DC, type ME-272)Find on Amazon → |
| 02 | Fan bladeif neededFind on Amazon → |
| 03 | Fan switch sensor (thermal switch)at the bottom of the right radiator tank; if neededFind on Amazon → |
Amazon links search by the part name; use Amazon's fit check for your car before ordering. We may earn a commission from qualifying purchases.
Tools
4Step by step
15 steps- Shut off the engine and let it cool down. For safety, disconnect the negative battery terminal.
- Before replacing anything, make sure the motor is really the problem. Apply 12 V from the battery directly to the motor terminals: a good motor will start spinning right away. If it spins, check the fan switch sensor: disconnect the wires from it and connect them to each other with the ignition on. If the fan starts running, the sensor is faulty. The sensor turns the fan on at 82±2 °C and off at 87±2 °C.
- Disconnect the two wire connectors going to the motor and the in-line connector block.
- Remove the two wires from the terminals of the fan switch sensor (it is located at the bottom of the right radiator tank).
- Using an 8 mm wrench, remove the two bolts that secure the fan shroud to the left radiator tank.
- Using the same 8 mm wrench, remove the one bolt on the right side. The shroud has three bolts in total.
- Lift out the shroud together with the motor and fan blade.
- Using a 10 mm wrench, remove the nut that secures the fan blade to the motor shaft. It has a left-hand thread: turn the nut clockwise to loosen it. Hold the motor by its housing while you do this.
- Pull the fan blade off the shaft.
- Release the motor wiring from its retainers on the shroud.
- Using a 10 mm wrench, remove the three nuts that secure the motor to the shroud and take the motor off.
- Install the new motor and tighten the three 10 mm nuts. Fit the fan blade and tighten its 10 mm nut counterclockwise (left-hand thread). Torque specifications are not given in the factory data: tighten firmly without stripping the threads, and make sure the fan blade nut cannot work loose.
- Secure the wiring to the shroud so that it does not touch the fan blade. Spin the fan blade by hand: it must not rub against the shroud.
- Install the assembly on the radiator in reverse order: three 8 mm bolts, then reconnect the connectors and the sensor wires.
- Reconnect the battery, start the engine and warm it up until the fan switches on (about 82-87 °C). Make sure the fan comes on and that air is drawn through the radiator toward the engine.
Common mistakes and warnings
- The fan blade nut has a left-hand thread: it loosens clockwise
- If you turn it the usual direction, you can strip the nut or damage the shaft
- Do not start the engine or turn on the ignition with the sensor terminals disconnected if the wires could short to ground
- If you are also replacing the fan switch sensor, first drain the coolant from the radiator, otherwise it will spill out, and check that the new sensor's sealing washer is intact
- The fan motor draws about 14 A, so a poor contact in the connectors will heat up and burn
- Clean the terminals during installation
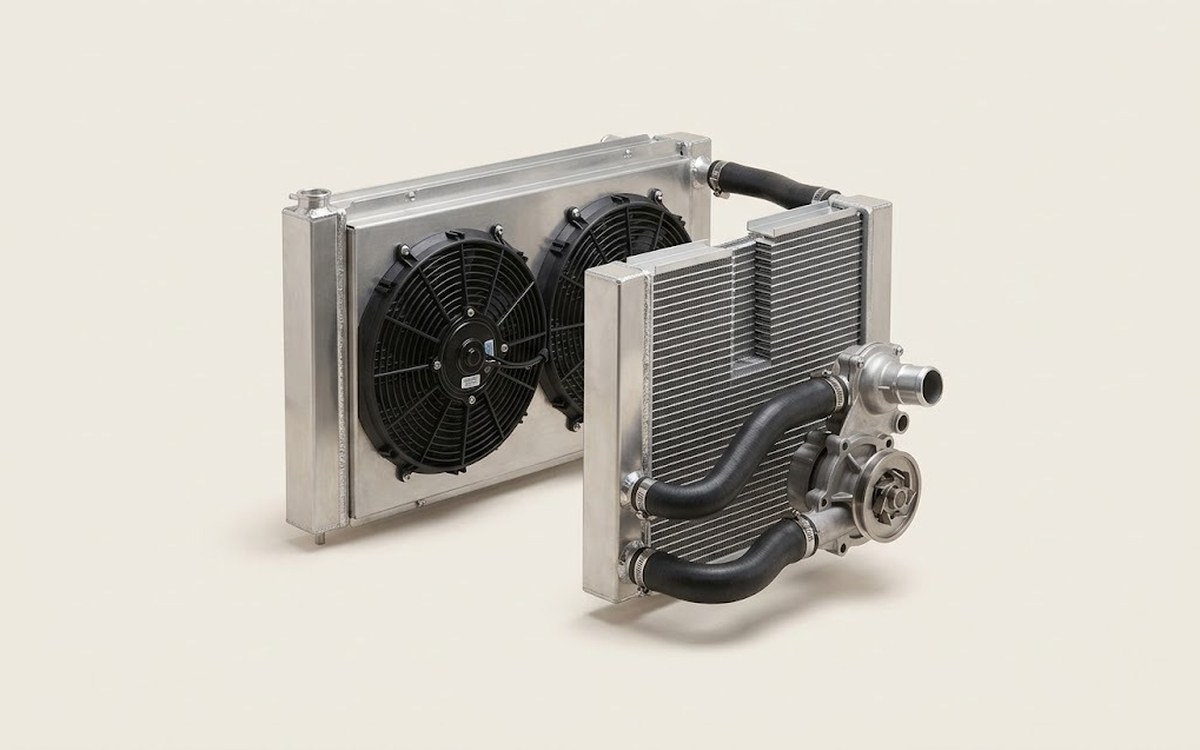 How it works · 3D
How the Engine Cooling System Works
How the part you're working on actually works — in plain English, on a 3D model.
Open in 3D →