Autopapyrus · Renault Duster (1st generation) 2.0 F4R (2021)
https://autopapyrus.com/guides/renault/duster/rear-crankshaft-seal-replacement/
https://autopapyrus.com/guides/renault/duster/rear-crankshaft-seal-replacement/
Compiled automatically from service literature and owner experience. Specs are for the typical configuration — check them against your exact car before you start.
Renault Duster (1st generation) 2.0 F4R (2021): Rear Crankshaft Seal Replacement
A leaking rear seal on the F4R shows up as an oil spot between the engine and the transmission, oil residue on the clutch housing, and clutch slip. The job requires removing the transmission, pressure plate and flywheel, so the clutch is replaced at the same time. Exact torque values for this engine are not documented in open sources, so ranges are given below. Verify the exact figures against the manufacturer's service manual.
Parts
7| № | Part | Genuine part no. |
|---|---|---|
| 01 | F4R rear crankshaft seal (with dust shield, complete with plastic carrier if included in kit) | 289132889R |
| 7701473544 | ||
| 02 | Clutch kit (disc, pressure plate, release bearing) | 302050901R |
| 7700102781 | ||
| 03 | Flywheel bolts (single-use)new | 7700854191 |
| 04 | Transmission fluidcorrect capacity | |
| 05 | Engine oilif needed | |
| 06 | Oil filterif needed | |
| 07 | Flywheelif worn | 7701478829 |
Part numbers are from the manufacturer's original catalogue. Check them against your VIN before ordering.
Tools
10- Inspection pit or lift
- transmission jack
- socket set and Torx/E-Torx sockets
- torque wrench
- flywheel locking tool
- seal puller or thin screwdriver
- seal installation drift (driver)
- sealant for mating surfaces
- clean shop rags
- degreaser
Step by step
16 steps- Make sure the rear seal is really the source of the leak. Oil from the valve cover, the oil pan or the transmission input shaft seal leaves similar traces. Clean the area, warm up the engine and inspect after a drive. If the oil is coming from above, the seal does not need to be replaced.
- Put the vehicle on a lift or over a pit and disconnect the negative battery terminal. Remove the engine undercover (skid plate).
- Remove the air duct and air filter, the starter, and anything else that prevents lowering the transmission. Disconnect the clutch cable or hydraulic line and the sensor connectors on the transmission. Taking photos will help you mark the cables and connectors.
- Driveshafts: drain the transmission fluid, disconnect the ball joints or tie rod ends, and pull the driveshafts out of the transmission. On the 4x4 version, also remove the propeller shaft and the transfer case assembly according to the service manual.
- Support the engine from below or hold it from above so it does not sag when you remove the side mount and the subframe, if they are in the way.
- Place the transmission on a transmission jack and remove the bolts holding the transmission flange to the engine. Remove the transmission without putting load on the input shaft.
- Mark the position of the pressure plate relative to the flywheel with paint. Loosen the pressure plate bolts evenly in a crisscross pattern, then remove the pressure plate and the disc.
- Lock the flywheel, after first marking its position relative to the crankshaft, and remove the flywheel bolts. Remove the flywheel and do not drop it: it is heavy.
- Inspect the seal and the crankshaft surface. Remove the old seal with a thin screwdriver or a puller, taking care not to damage the crankshaft journal or the seat bore in the block or carrier. If the journal has a worn groove, install the new seal at a slightly different depth if the design allows it, or use a repair sleeve.
- Degrease the crankshaft journal and the seat. Apply a thin layer of engine oil to the lip of the new seal, unless the manufacturer's kit calls for installation without lubrication (a PTFE seal in a carrier is installed dry). Press it in with the drift evenly, without tilting, until it bottoms out or to the depth specified in the kit.
- Install the flywheel according to the marks. Apply threadlocker to the threads of the new bolts if it was not applied at the factory. Tighten in two stages: first to about 45-60 N·m (33-44 lb-ft), then with an angle turn according to the manufacturer's specification (usually 30-60 degrees).
- Check the flywheel for runout and surface wear. If there are deep scores, replace or resurface it. Install the new disc and pressure plate according to the marks, center the disc with an alignment tool, and tighten the pressure plate bolts in a crisscross pattern to approximately 20-30 N·m (15-22 lb-ft).
- Apply a thin layer of special grease to the input shaft splines, install the release bearing, and lubricate the contact points.
- Install the transmission on the engine and check that it seats without force and without hanging on the input shaft. Tighten the transmission flange bolts in the range of 40-50 N·m (30-37 lb-ft), depending on the thread size.
- Reassemble in reverse order: driveshafts, starter, air duct, cables or hydraulic line. Fill the transmission with fluid of the correct specification and capacity, and bleed the clutch hydraulics if necessary. Connect the battery.
- Start the engine and check clutch operation, gear shifting, and that there is no oil leak at the seal area after 15-20 minutes of running and after a test drive.
Common mistakes and warnings
- This is a difficult job, the transmission is heavy, and if the seal is installed incorrectly the leak will come back and you will have to remove the transmission again
- If you do not have a transmission jack and experience disassembling transmissions, it is better to go to a repair shop
- Work under a raised vehicle only on reliable supports
- Replacing the clutch at the same time is mandatory: oil on the disc causes slipping, and a repeat teardown will cost more
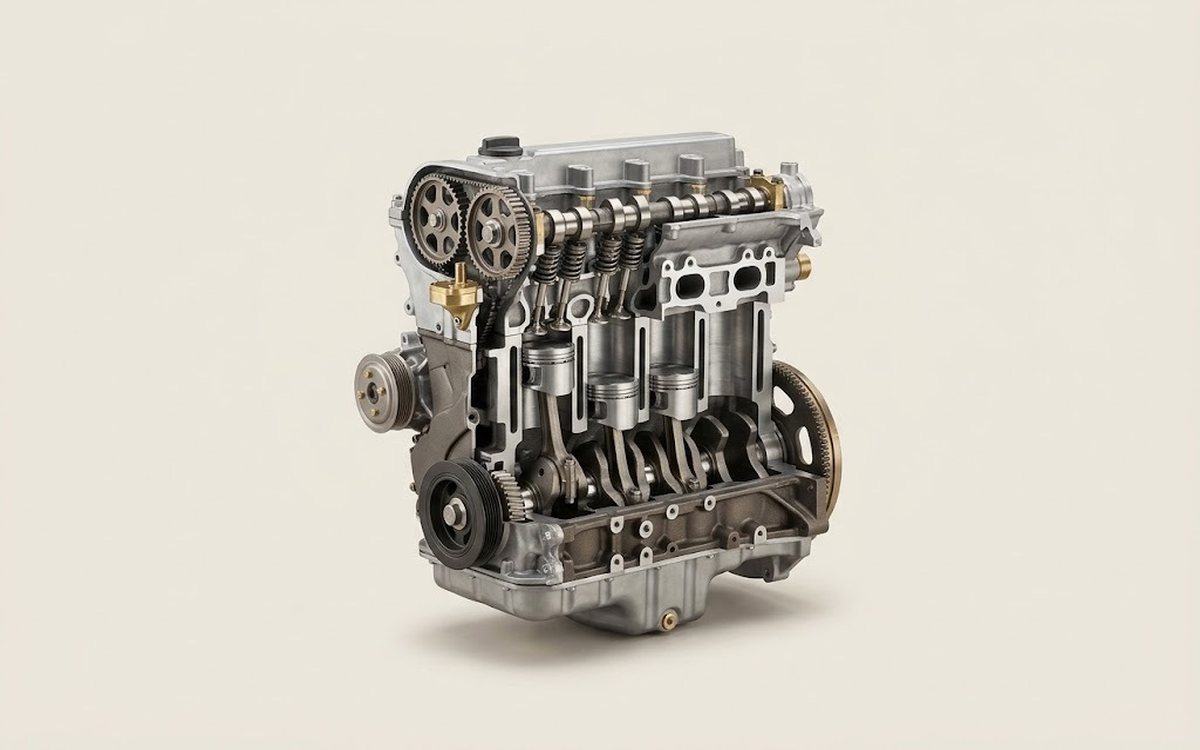 How it works · 3D
How a Car Engine Works
How the part you're working on actually works — in plain English, on a 3D model.
Open in 3D →