Mitsubishi Galant IX generation (DJ) (2003–present) — repair and maintenance
2 repair manuals
Mitsubishi Galant IX generation (DJ) guides
459Engine76
- Engine repair
- Spark plugs
- Replacing the turbocharger
- Starting the engine
- Servicing the lubrication system
- Engine assembly
- Engine diagnostics performed during operation
- Diagnosing petrol engine faults
68 more
- Diagnosing diesel engine faults
- Diagnosing engine operation by smoke and emissions
- Replacing the cylinder head
- Replacing the rear crankshaft oil seal
- Replacing the crankshaft and flywheel
- Replacing the oil and filter
- Replacing the front crankshaft oil seal
- Replacing the camshaft
- Replacing the turbocharger
- Replacing the air filter element
- Replacing the air filter element
- Replacing the crankshaft pulley
- Valve clearances
- Oil pump
- Flywheel and starter ring gear - inspection and repair
- Engine oil
- Cleaning and inspecting the cylinder block
- Pistons and connecting rods
- Pistons with connecting rods - installation
- Checking the air filter
- Checking the hydraulic lash adjusters
- Checking and replacing the positive crankcase ventilation (PCV) valve
- Checking and adjusting the valve clearances - Mirage only
- Checking and adjusting the accessory drive belts
- Checking the crankshaft
- Checking the compression
- Checking the oil pressure
- Checking the operation of the check valve
- Checking the condition and replacing the timing belt(s)
- Checking the condition and level of the automatic transmission fluid and replacing it
- Checking the engine oil condition
- Checking the oil level and replacing the oil in the oil pan
- Checking the oil level
- Checking the engine oil level/changing the oil
- Disassembling the engine
- Disassembling the valves and rocker arm mechanism
- Disassembling the pistons and connecting rods
- Adjusting the valve timing mechanism
- Adjusting the valve clearance
- Adjusting the valve clearances
- Adjusting the timing belt tension with the engine installed
- Adjusting the V-belt tension
- Adjusting the idle speed
- Timing belt
- Repairing the cylinder block
- Repairing the cylinder head and valves
- Repairing the engine without removing it from the vehicle
- Repairing the oil pump
- Repairing the pistons and connecting rods
- Repairing the intake and exhaust system
- Assembling and installing the cylinder head
- Assembling the pistons and connecting rods
- Removing the engine - general information
- Removing and installing the intake manifold
- Removing and installing the knock sensor
- Removing and installing the timing belt
- Removing and installing the regulator valve
- Removing and installing the cylinder head cover
- Removing and installing the timing drive cover and the timing belt
- Removing and installing the oil pump
- Removing and installing the oil pan
- Removing and installing the flywheel/driveplate
- Removing and installing the engine oil pan
- Removing and installing the fuel tank safety valve
- Removing and installing the valve train assemblies
- Removing the crankshaft
- Installing the pistons and connecting rods
- Piston and connecting rod assembly
Suspension & steering58
- Repairing the steering
- Rear suspension
- Adjusting the wheel alignment angles
- Front suspension repair
- Steering wheel
- Steering gear
- Suspension strut - removal and installation
- Diagnosing and eliminating chassis vibration
50 more
- Diagnosing chassis faults
- Diagnosing the causes of vehicle pull
- Diagnosing the rack-and-pinion steering gear
- Replacing the steering system fluid
- Replacing the protective boots and joints
- Replacing the steering gear assembly boots
- Replacing the stabilizer bar
- Replacing the hub assemblies
- Power steering pump
- Front axle
- Steering knuckle
- Checking the steering wheel turning effort
- Checking the steering system for leaks
- Checking the power steering pump pressure
- Checking the protective boots
- Checking the steering wheel play
- Checking the suspension and the condition of the exhaust system
- Checking the steering rod boots and tie rod ends
- Checking the self-return of the steering wheel
- Checking the condition of the suspension and steering linkage components
- Checking the condition of the front suspension lower ball joints
- Checking the front suspension components
- Disassembling and assembling the shock absorber
- Disassembling and assembling the steering shaft
- Disassembling and assembling the selector lever assembly
- Adjusting the power steering pump belt tension
- Adjusting the steering wheel position
- Adjusting the toe
- Repairing the rear suspension
- Repairing the suspension transverse arm.98
- Assembling the shock absorber strut
- Removing and installing the rear suspension upper control arms
- Removing and installing the power steering gear
- Removing and installing the rear anti-roll bar
- Removing and installing the rear struts
- Removing and installing the power steering pump
- Removing and installing the front suspension lower arms
- Removing and installing the rear suspension lower control arms
- Removing and installing the front stabilizer bar
- Removing and installing the engine mounting
- Removing and installing the combination switch
- Removing and installing the steering wheel
- Removing and installing the power steering pump
- Removing and installing the steering column
- Removing and installing the front suspension struts and coil springs
- Removing and installing the steering linkage tie rods
- Bleeding air from the steering system
- Installing the shock absorber strut
- Installing the rear suspension
- Power steering hydraulic hoses
Electrical92
- Replacing the battery
- Replacing the alternator
- Replacing the ignition coil
- Replacing the fuses
- Removing and installing the starter
- Diagnosing battery faults
- Alternator troubleshooting
- Diagnosing ignition system faults
84 more
- Diagnosing starter faults
- Diagnosing wiper faults
- Replacing the radio antenna
- Replacing the hazard warning switch
- Replacing the side impact sensor
- Replacing the oil pressure sensor
- Replacing the knock sensor
- Replacing the crankshaft position sensor
- Replacing the accelerator pedal position sensor
- Replacing the outside air temperature sensor
- Replacing the brake light switch
- Replacing the instrument cluster
- Replacing the exterior light bulbs
- Replacing the lighting bulbs
- Replacing the radio
- Replacing the control module (ECM/PCM)
- Replacing the wiper blade rubber
- Replacing the wipers
- Replacing the tachometer
- Replacing the heater blower motor
- Replacing the SRS electronic control unit
- Ignition switch
- Measuring instruments
- Setting up the cruise control
- Front fog lamps
- Checking the battery
- Checking the brake light switch
- Checking and cleaning the spark plugs
- Checking the instrument cluster indicators
- Checking the starter and starting circuit for proper operation
- Checking the operation, removing and installing the alternator
- Checking the operation / adjusting the ignition system
- Checking at the electronic control unit connector terminals
- Checking at the electronic control unit terminals
- Checking the alternator voltage
- Checking the output voltage of the speed sensor
- Checking the odometer and mileage counters
- Checking the electrolyte density
- Checking the cigarette lighter
- Checking the ASC electronic control unit connector
- Checking the battery condition
- Checking the condition and replacing the ignition coil(s)
- Checking the condition and replacing the ignition system components
- Checking the condition of and replacing the battery cables
- Checking the condition of the charging system
- Checking the ignition timing
- Checking the waveform with an engine analyzer (oscilloscope)
- Disassembling the alternator
- Disassembling and assembling the instrument cluster
- Disassembling and assembling the electromagnetic clutch and the sensor
- Disassembling the direct-drive starter
- Discharging the air conditioning system
- Adjusting the ignition timing
- Adjusting the headlight aim
- Adjusting the front fog lights
- Adjusting the float
- Adjusting the headlight aim
- Repairing the rear window defogger
- Repairing the anti-theft system
- Repairing the ignition system
- Repairing the starting system
- Repairing the charging system
- Repairing the headlight leveling system
- Repairing the lighting system
- Repairing the engine starting system
- Repairing the windscreen wipers and washers
- Repairing the power windows
- Cruise control system (variants)
- Removing and installing the CD changer
- Removing and installing sealed-beam headlight units
- Removing and installing the ignition switch
- Removing and installing the reversing light switch
- Removing and installing the acceleration sensors (G sensors)
- Removing and installing the power transistor (ignition module)
- Removing and installing the instrument panel
- Removing and installing the ignition distributor
- Removing and installing the fuel pump / fuel flow sensor
- Removing and installing the headlight
- Removing and installing the ignition lock cylinder
- Removing and installing the seat drive motor
- Removing and installing the power window motor
- Removing, installing and adjusting the start inhibitor switch
- Servicing the SRS system
- Setting the ignition timing
Fuel system26
- Replacing the fuel filter
- Repairing the fuel system
- Diagnosing faults in the fuel injection system
- Replacing the throttle body
- Replacing the injectors
- Fuel filler flap
- Checking the injectors for correct operation
- Checking the fuel injection system (GDI) components
18 more
- Checking the condition of and replacing the fuel lines and their fittings
- Checking the condition of the fuel system components
- Checking the condition of the evaporative emission control system components
- Bleeding the fuel system
- Disassembling and assembling the carburetor
- Disassembling the throttle body
- Adjusting the throttle damper
- Repairing the fuel system
- Releasing the fuel system pressure
- Relieving the fuel system pressure
- Removing and installing the carburetor
- Removing and installing the fuel pressure regulator
- Removing and installing the pressure reducing valve
- Removing and installing the air cleaner assembly
- Removing and installing the fuel tank
- Removing and installing the fuel pump
- Fuel pump
- Bleeding the fuel system
Interior18
- Instruments and controls
- Seat belts
- Replacing the heater unit
- Replacing the radio and CD player
- Replacing the interior rear-view mirror
- Replacing the air conditioning system pipes
- Checking the condition of the seat belts
- Repairing the automatic air conditioning
10 more
- Repairing the supplementary restraint system
- Repairing the manual control air conditioner
- Repairing the main components of the air conditioning system
- Repairing the heater, air conditioner and ventilation system
- Heating and ventilation repair
- Heating system
- Removing and installing the interior equipment
- Removing and installing the seats
- Removing and installing the center console
- Removing and installing interior components
Brakes52
- Brake master cylinder
- Adjusting the parking brake
- Repairing the anti-lock braking system
- Brake system repair
- Diagnosing the anti-lock braking system
- Diagnosing brake system faults
- Rear drum brakes
- Rear disc brakes
44 more
- Replacing the hydraulic modulator
- Replacing the wheel speed sensors
- Replacing the rear brake pressure regulator
- Replacing the brake pad
- Replacing the brake pads
- Replacing the brake booster
- Servicing the electronic brake force distribution system
- Inspecting and replacing hydraulic tubes and hoses
- Brake pedal
- Checking the anti-lock braking system
- Checking the hydraulic unit
- Checking the disc brakes
- Checking the rear drum brakes
- Checking and adjusting the brake pedal
- Checking the brake vacuum booster for proper operation
- Checking the parking brake operation
- Checking the operation of the brake vacuum booster
- Checking the condition of the brake shoes
- Checking the condition of the brake lines
- Checking the condition of and servicing the drum brakes
- Checking the brake disc
- Checking the clutch hydraulic fluid level
- Checking the brake fluid level
- Checking the parking brake lever travel
- Checking the ABS electronic control unit
- Bleeding the brake system
- Disassembling and assembling the brake master cylinder
- Disassembling and assembling the clutch master cylinder
- Disassembling and assembling the wheel brake cylinder
- Adjusting the drum brake assemblies
- Adjusting the foot brake pedal
- Adjusting the brakes
- Repairing the disc brakes
- Repairing the parking brake system
- Parking brake lever
- Removing and installing the ABS control unit
- Removing and installing the caliper
- Removing and installing the brake shoes
- Removing and installing the brake lines
- Removing and installing the parking brake cable(s)
- Removing, checking the condition of and installing the brake disc
- Removing, installing and checking the condition of the brake drum
- Brake discs
- Bleeding the brake system
Transmission51
- Removing and installing the gearbox
- Automatic transmission repair
- Clutch master cylinder
- Troubleshooting the clutch
- Rear axle
- Replacing the transfer case rear oil seal
- Replacing the universal joint
- Replacing the transmission assembly
43 more
- Replacing the pilot bearing
- Replacing the gear shift linkage
- Replacing the driveshafts
- Replacing the rear differential drive pinion oil seal
- Replacing the rear differential lubricant - Galant 4WD models only
- Replacing the transfer case lubricant - Galant 4WD models only
- Replacing the clutch
- Replacing the robotized gearbox transmission oil
- Replacing the clutch cable
- Gear shift mechanism
- Servicing the hydraulic clutch actuation
- Clutch pedal
- Checking the transmission
- Checking the ball joint starting torque
- Checking the automatic transmission control system
- Checking the condition of the driveshaft boots
- Checking the condition of the transmission line
- Checking the clutch
- Checking the level and replacing the oil in the transfer case
- Checking the clutch components
- Bleeding the hydraulic clutch actuator
- Disassembling the transmission input shaft
- Disassembling the gearbox output shaft
- Disassembling the differential
- Disassembling and assembling the gearshift lever assembly
- Disassembling the manual gearbox
- Disassembling the countershaft
- Disassembling the fifth gear synchronizer
- Adjusting the gearshift linkage
- Adjusting the gear shift lever
- Adjusting the clutch pedal free play
- Adjusting the clutch
- Adjustments performed without removing the AT from the vehicle
- Repairing the differential
- Repairing the transmission
- Manual transmission repair
- Repairing the transfer case
- Removing and installing the clutch master cylinder
- Removing and installing the rear axle shafts (AWD Galant models up to 1993)
- Removing and installing the clutch slave cylinder
- Removing and installing the propeller shaft
- Removing and installing the transfer case lever
- Bleeding the clutch hydraulic system
Cooling system29
- Servicing the cooling system
- Water pump
- Troubleshooting the air conditioning system
- Diagnosing cooling system faults
- Replacing the fan
- Replacing the heater blower
- Replacing the evaporator
- Replacing the air conditioning compressor
21 more
- Replacing the heater valve
- Replacing the oil cooler
- Replacing the intercooler
- Replacing the radiator
- Replacing the thermostat
- Coolant pump
- Servicing the air conditioning system
- Checking the operation of the thermostat
- Checking the coolant
- Checking the air conditioning drive
- Checking the condition of the cooling fan
- Checking the condition of the water pump
- Checking the condition and replacing the hoses in the engine compartment
- Checking the condition of the cooling system components
- Checking/topping up the coolant
- Disassembling and assembling the air conditioning evaporator
- Expansion tank
- Removing and installing the water pump
- Removing and installing the intake manifold
- Removing and installing the heater core
- Removing and installing the turbocharger
Exhaust system5
Body & glass24
- Doors - removal and installation
- Rear bumper
- Replacing the windshield and other fixed glass
- Replacing the exterior rear-view mirrors
- Replacing the windshield wiper
- Replacing the radiator grille
- Replacing the windshield washer
- Trunk lid
16 more
- Sunroof (versions)
- Front fender - removal and installation
- Front bumper
- Checking the heating and ventilation operation
- Repairing the door locking system
- Repairing the sunroof
- Repairing the power sunroof
- Repairing the exterior body panels
- Repairing body damage
- Repairing the window regulators
- Removing and installing the door rearview mirrors
- Removing and installing the front wings
- Removing and installing the tailgate handle
- Removing and installing the side door lock cylinder
- Removing and installing the tailgate/trunk lid lock cylinder
- Removing, installing and adjusting the hood
Wheels & tires28
- Wheels and tires
- Balancing the wheels on the vehicle
- Wheel runout
- Diagnosing sealed wheel bearing faults
- Diagnosing tyre condition
- Replacing with the temporary spare wheel
- Replacing the rear wheel bearings
- Replacing the wheel bearings
20 more
- Replacing the wheel sensor rotors
- Replacing the rear wheel hub
- Replacing the front wheel hub
- Spare wheel
- Rotating the tires
- Checking the tire pressure
- Checking tire pressure and condition
- Checking and adjusting the rear wheel alignment angles
- Checking and adjusting the front wheel alignment angles
- Disassembling and assembling the wheel drive shaft
- Adjusting the wheel bearings
- Adjusting the front wheel alignment angles
- Repairing defects in aluminum wheels
- Rotating the wheels
- Removing and installing the balance shaft
- Removing and installing the wheel speed sensors
- Removing and installing the wheel studs
- Removing and installing the wheel hubs
- Removing, overhauling and installing the wheel cylinders
- Tires and wheels
Need a job that isn't listed? A full repair manual for the Mitsubishi Galant IX generation (DJ) covers every system: wiring diagrams, torque specs, step-by-step photos.
Find a repair manual →Need a part? Search Amazon for Mitsubishi Galant IX generation (DJ) parts: filters, brakes, sensors, belts. Check the fit for your year and engine before you buy.
Find parts on Amazon →Mitsubishi Galant IX generation (DJ) repair manuals
2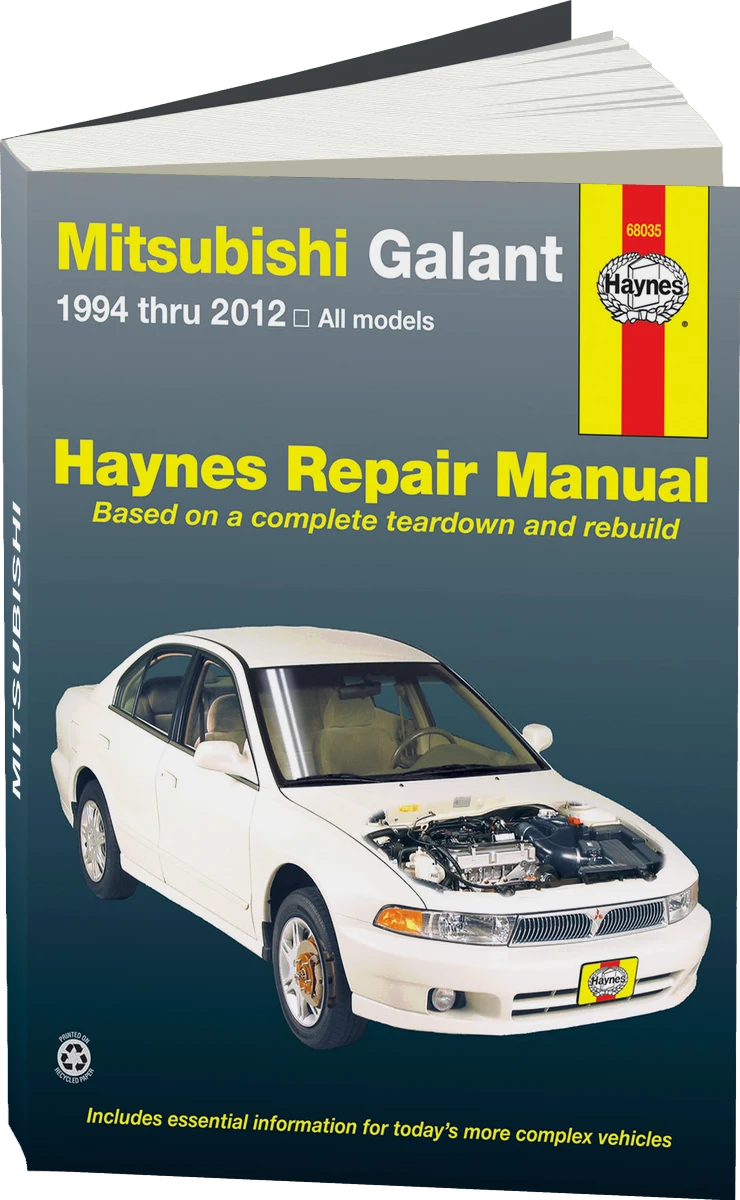
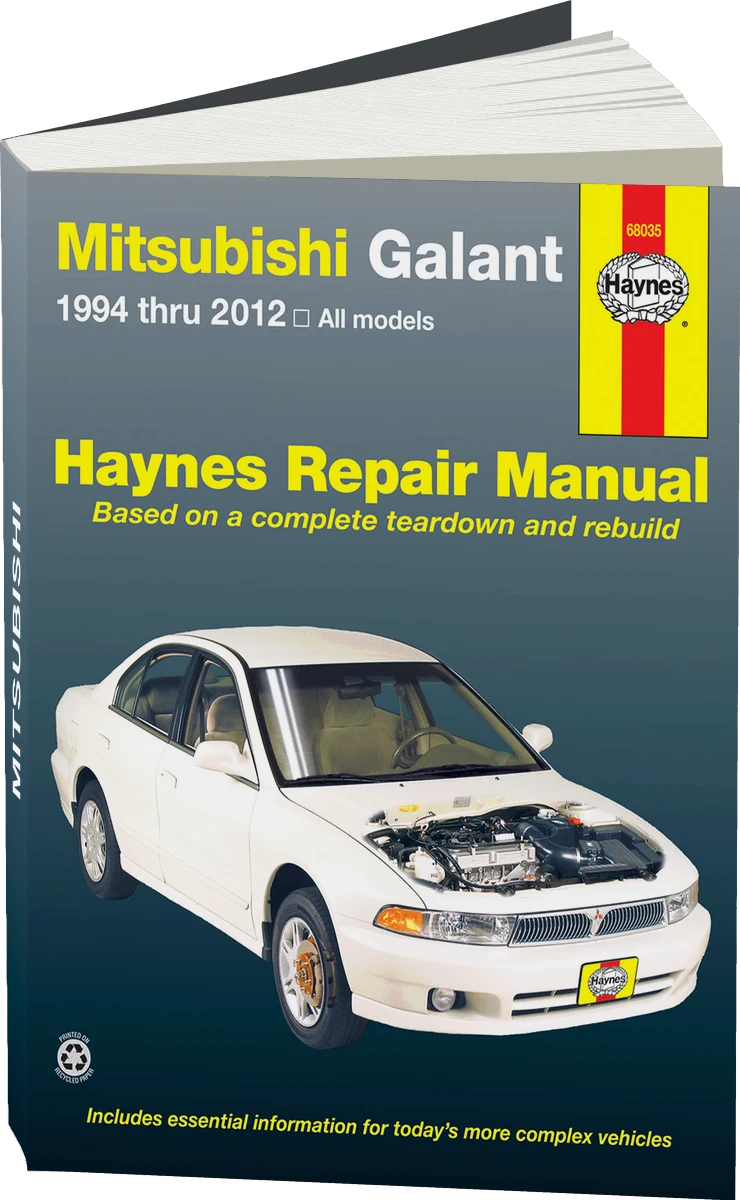
Manuals are written for specific model years — check that the years match your car. Prices are set by the seller.
Owner discussions
all discussions →- Mitsubishi L200 2.5D: sometimes smokes and won't drive · Mitsubishi L200
- Pajero Sport 2.5 TDI, AT, 2010: how to code the injectors · Mitsubishi Pajero Sport
- Mitsubishi Carisma 1.8 GDI 1998 - Can't communicate with the ECU. · Mitsubishi Carisma
- Mitsubishi Pajero diesel 2002: red brake warning lamp · Mitsubishi Pajero
- Mitsubishi ASX 2L - fault code P061A · Mitsubishi ASX