Autopapyrus · Audi A6 (C6) 2.0 TFSI BPJ (2007)
https://autopapyrus.com/guides/audi/a6/brake-fluid-replacement/
https://autopapyrus.com/guides/audi/a6/brake-fluid-replacement/
Compiled automatically from service literature and owner experience. Specs are for the typical configuration — check them against your exact car before you start.
Audi A6 (C6) 2.0 TFSI BPJ (2007): Brake Fluid Replacement
Brake fluid on the A6 C6 should be replaced every 2 years regardless of mileage: it absorbs moisture, boils when heated, and corrodes the cylinders and calipers from the inside. The fluid is pushed out through the bleeder valves at each wheel until a clean, bubble-free stream comes out. The car has ABS, so the reservoir must never be allowed to run dry: air in the ABS unit is hard to remove.
Key figures
- Replacement intervalregardless of mileage, as the fluid ages from moisture (summary)every 2 years
- Fluid volumebuy this much with a margin to cover all four wheels (step 6)about 1-1.5 L (1.1-1.6 qt)
- Wait between pedal pressesso the reservoir can refill the line, otherwise air gets into the system (step 5)about 2 seconds
Check these values against the manufacturer’s specification for your vehicle before you start.
Diagram: where the bleeder valve is on the caliper and how to drain fluid
Tap to enlarge
- 1Bleeder valve: a fitting with a hex head and a cap on the caliper body. Remove the cap and fit the clear hose. Open the valve a little at a time as in the guide, then close it without overtightening.
- 2Clear hose: push it onto the valve and put the other end into the container so it is below the fluid level.
- 3Container with a little fluid: the old fluid flows into it. The hose end must stay below the fluid level.
- 4Brake hose: it reaches the caliper through an end fitting and a banjo bolt. Check the connections for leaks after bleeding.
- 5Caliper: a cast body with a cylinder and guide bolts, sitting on the brake disc. Bleed front left first, then front right, rear left, rear right.
- 6Fresh DOT 4 brake fluid from a new can. Top the reservoir up to MAX after each wheel; you need about 1.5 L in total.
Part
| № | Part | Alternatives |
|---|---|---|
| 01 | DOT 4 brake fluidabout 1.5 L (1.6 qt) | AlternativesATEBoschCastrolMotul |
Tools
8- jack and jack stands
- lug wrench
- wrench for the bleeder valve size (usually 11 mm, check yours)
- clear hose
- drain container
- syringe or turkey baster for removing old fluid from the reservoir
- helper (or a pressure bleeder)
- shop rags
 There's a full repair manual for this car
Every system, wiring diagrams and torque specs — not just this job. Haynes AutoFix (online) and 3 more.
See manuals →
Step by step
11 steps- Park the car on level ground and turn the engine off. Loosen the lug bolts, raise the car, set it on jack stands, and remove the wheels.
- Open the hood and open the brake fluid reservoir cap. Use a syringe or baster to remove the old fluid down to a level just above the bottom, without exposing the outlet openings. Fill with fresh fluid to the MAX mark. Wash off any fluid spills right away, since it damages paint.
- Remove the protective cap from the first wheel's bleeder valve and fit the clear hose. Put the other end into a container with a small amount of fluid (the hose end must stay below the fluid level).
- Bleeding order: front left caliper, front right, rear left, rear right. If a caliper has two bleeder valves, bleed the outer one first, then the other. Each valve must be bled until the fluid runs clean.
- Helper method: smoothly pump the pedal several times and hold it down. Open the valve slightly until the pedal "sinks." Without releasing the pedal, close the valve. Release the pedal and wait about 2 seconds for fluid to flow in from the reservoir. Repeat until clean, bubble-free fluid comes out.
- Close the valve, remove the hose, and fit the cap. Fluid consumption is roughly 200-300 mL (6.8-10.1 fl oz) per wheel, about 1-1.5 L (1.1-1.6 qt) in total.
- After each wheel, check the reservoir and top it up to MAX so you don't draw in air.
- The bleeder valve tightening torque is low (approximately 10-15 N·m (7-11 lb-ft)). Check the exact value against the manufacturer's specification and do not overtighten: the threads in the caliper are fine and strip easily.
- Install the wheels and tighten the bolts in a crisscross pattern with the car on the ground. Check the wheel bolt torque for your trim against the specification (usually about 120 N·m (89 lb-ft)).
- Top up the fluid to MAX and close the reservoir. Start the engine and press the pedal several times: the travel should be short and the pedal firm, with no "sinking." If the pedal is soft or the travel is long, check the connections for leaks and repeat the bleeding.
- Before driving on the road, test the brakes at low speed on a safe stretch.
Common mistakes and warnings
- Brakes are a safety system
- If you lack experience, or the pedal stays soft after the work, take the car to a repair shop
- Brake fluid is toxic and damages paint, so dispose of used fluid properly
- Do not use fluid from a previously opened container, as it has already absorbed moisture
- Do not mix silicone-based fluids (DOT 5) with glycol-based fluids (DOT 3/4/5.1)
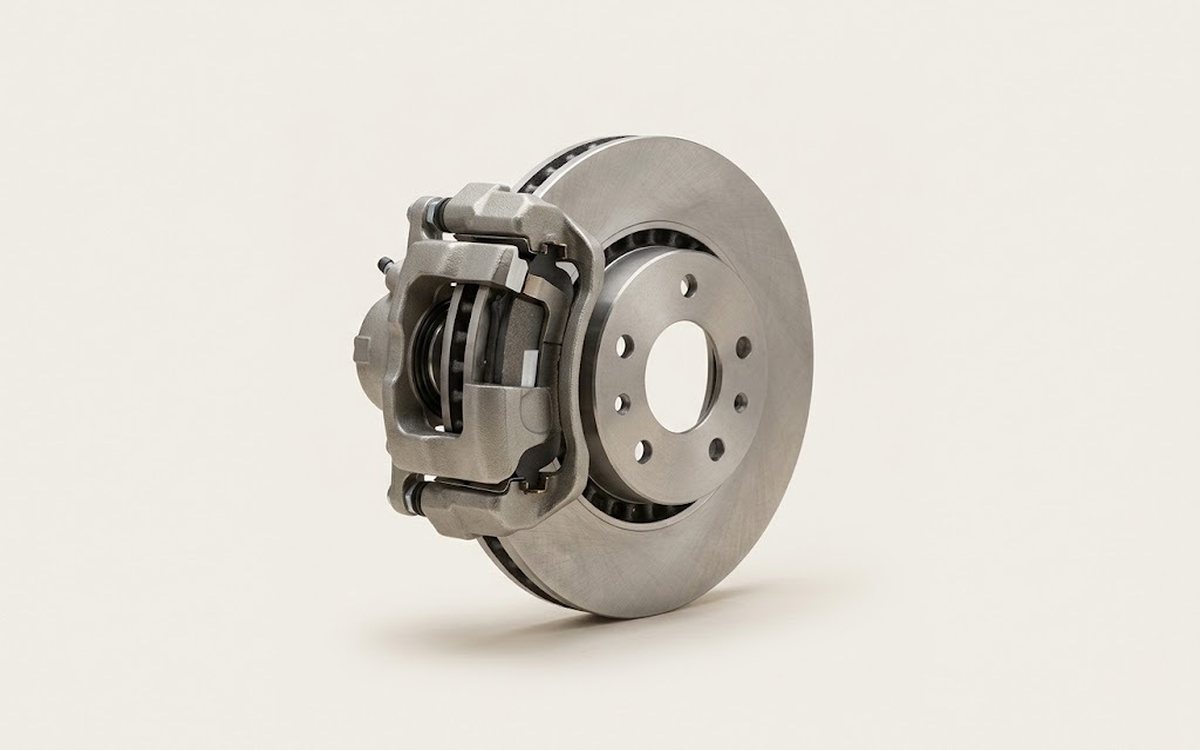 How it works · 3D
How Car Brakes Work
How the part you're working on actually works — in plain English, on a 3D model.
Open in 3D →