Autopapyrus · BMW X5 (3rd generation, F15)
https://autopapyrus.com/guides/bmw/x5/front-brake-rotor-replacement/
https://autopapyrus.com/guides/bmw/x5/front-brake-rotor-replacement/
Compiled automatically from service literature and owner experience. Specs are for the typical configuration — check them against your exact car before you start.
BMW X5 (3rd generation, F15): Front Brake Rotor Replacement
On the X5 F15 with the N55 engine, the front rotors are replaced as a pair and always together with the pads. The job is standard for a floating caliper: remove the caliper, then the bracket, then the rotor. The front brakes have no electromechanical actuator, but be careful with the connector on the pad wear sensor.
Parts
3| № | Part | Alternatives |
|---|---|---|
| 01 | Front brake rotors, vented (set per axle)sold as a set per axle; diameter and thickness depend on F15 trim | Brembo, Zimmermann, ATE, TRW |
| 02 | Front brake padsrecommended to replace at the same time | |
| 03 | Brake pad wear sensorrecommended to replace at the same time |
Tools
10- Jack and jack stands
- lug wrench
- torque wrench
- Torx and hex sockets for the caliper bolts (check the size on your car)
- 21 mm or 18 mm socket for the caliper bracket bolts (check on your car)
- impact screwdriver or Torx bit for the rotor retaining screw
- wire brush
- brake cleaner
- copper grease
- wire for hanging the caliper
 There's a full repair manual for this car
Every system, wiring diagrams and torque specs — not just this job. Haynes AutoFix (online) and 3 more.
See manuals →
Step by step
14 steps- Park the car on level ground and set the parking brake. Loosen the wheel bolts a quarter turn on the front wheels. Lift the front axle, support it on jack stands, and remove the wheels.
- Disconnect the pad wear sensor connector and release the wire from its clips.
- Remove the two caliper guide bolts (from the back side) and lift the caliper off the pads. Hang the caliper from the suspension spring or a control arm with wire. Do not let it hang from the brake hose.
- Remove the pads from the bracket. If you are going to reuse the pads, mark their positions, but it is better to install new pads when replacing the rotors.
- Remove the two caliper bracket mounting bolts (they are tightened very firmly, so you will need a long breaker bar) and take off the bracket.
- Remove the small rotor retaining screw on the hub, if one is installed. Take off the rotor. If it is stuck, tap the face of the rotor with a hammer through a rubber mallet or strike the rotor surface with a rubber mallet, and treat it with penetrating oil if needed.
- Thoroughly clean the hub mounting surface with a wire brush down to bare metal. Rust or dirt will cause rotor runout and vibration when braking.
- Degrease the new rotor with brake cleaner to remove the protective coating. Install the rotor on the hub and, if desired, secure it with the screw (torque about 8-10 N·m (6-7 lb-ft)).
- Install the caliper bracket and tighten the bolts (per the specification for this axle, usually in the range of 100-130 N·m (74-96 lb-ft); if possible, verify the exact value against the factory specification). Use new bolts if they are single-use.
- Clean the caliper guide pins, lubricate them with high-temperature grease, and check the boots. Install the new pads with the new wear sensor. Push the caliper piston back with a clamp (open the reservoir cap and make sure the fluid does not overflow).
- Install the caliper and tighten the guide bolts (approximately 25-35 N·m (18-26 lb-ft), per the specification). Connect the pad wear sensor connector.
- Install the wheels and tighten the bolts in a crisscross pattern. With the car on the ground, torque them to 140 N·m (103 lb-ft).
- Press the brake pedal several times until it feels firm, then check the brake fluid level in the reservoir.
- Bedding-in: drive 200-300 km with gentle braking and no hard stops. If the pad wear indicator lights up, check the connector, and if necessary reset it with a diagnostic tool.
Common mistakes and warnings
- Brakes are a safety system
- If you have no experience working on brake systems, take the car to a repair shop
- Rotors and pads must always be replaced in pairs on an axle
- Do not press the brake pedal while the caliper is removed
- The minimum rotor thickness is marked on the rotor edge
- Do not reuse worn rotors
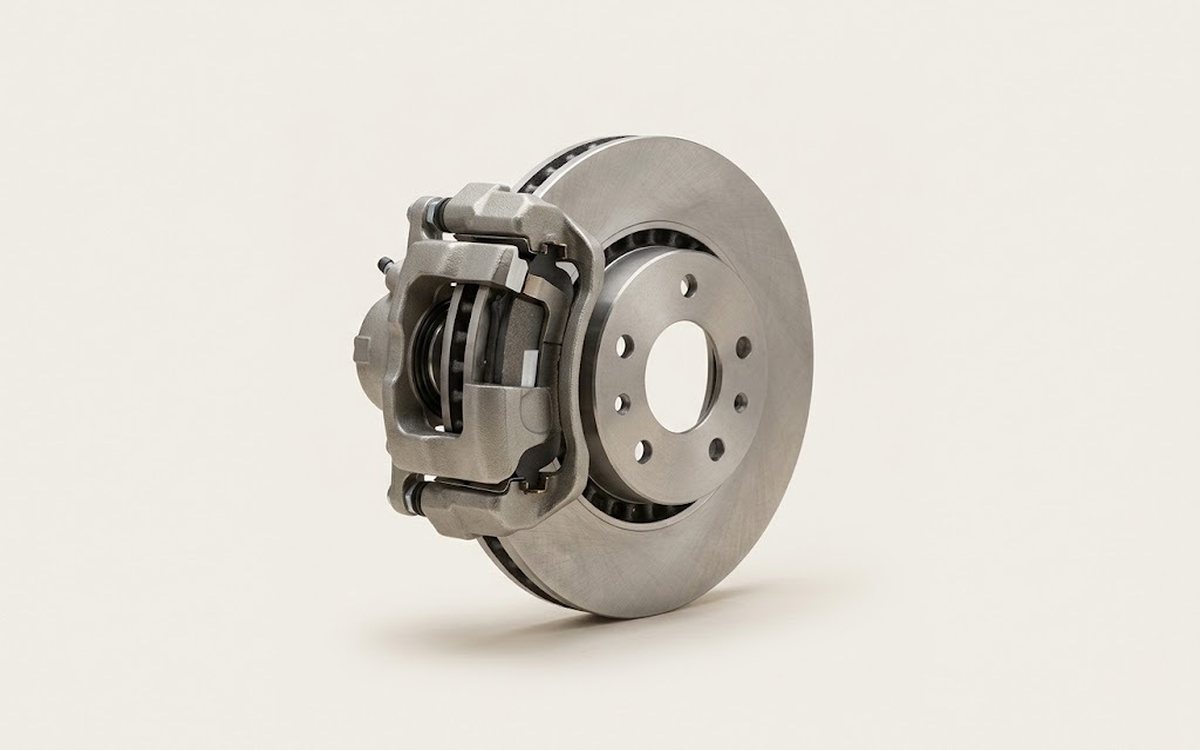 How it works · 3D
How Car Brakes Work
How the part you're working on actually works — in plain English, on a 3D model.
Open in 3D →