Autopapyrus · Mazda 6 2.0 Skyactiv-G PE-VPS (2016)
https://autopapyrus.com/guides/mazda/6/rear-brake-pad-replacement/
https://autopapyrus.com/guides/mazda/6/rear-brake-pad-replacement/
Compiled automatically from service literature and owner experience. Specs are for the typical configuration — check them against your exact car before you start.
Mazda 6 2.0 Skyactiv-G PE-VPS (2016): Rear Brake Pad Replacement
The third-generation Mazda 6 (2012-2018) has rear disc brakes. Pads should be replaced every 40-60 thousand km, depending on driving style. The procedure requires retracting the caliper piston (it extends automatically as the pads wear) and careful work with the caliper guides.
Part
- 🔩 Rear brake pads for Mazda 6 GJ (2012-2018). OE number: confirm by VIN in a parts catalog. Typical aftermarket options: Mintex, Brembo, TRW
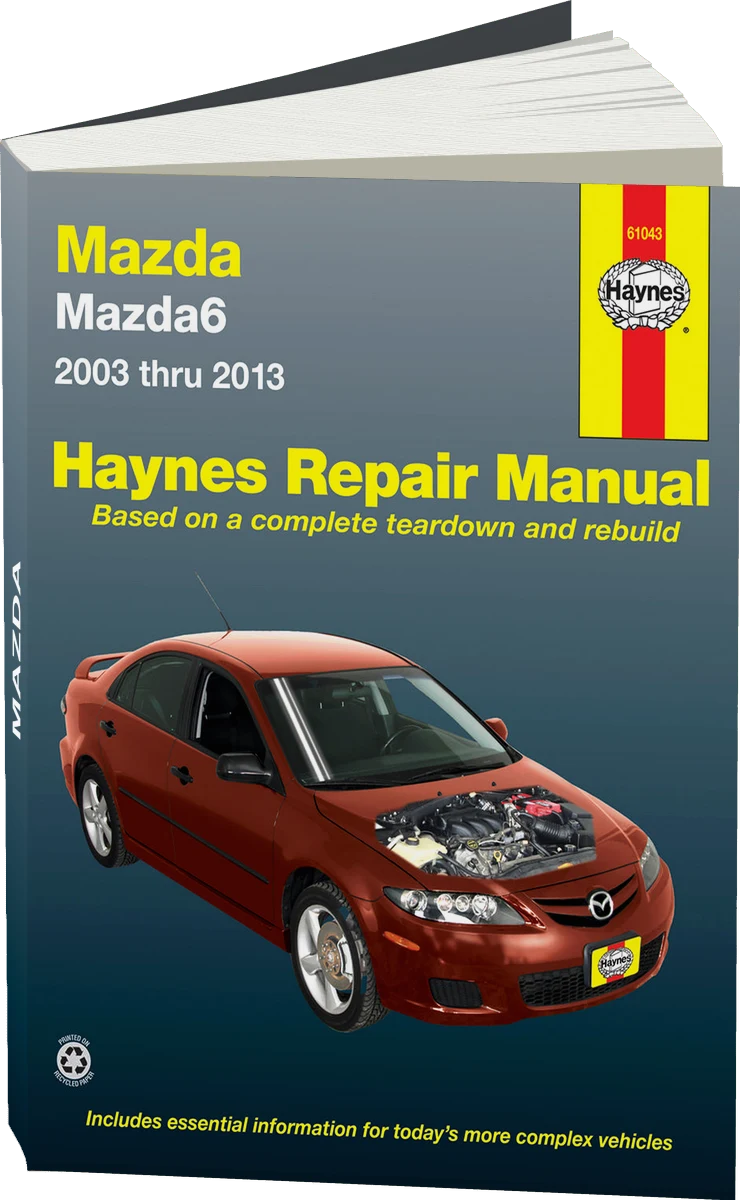 There's a full repair manual for this car
Every system, wiring diagrams and torque specs — not just this job. Haynes and 4 more.
See manuals →
Step by step
15 steps- Park the car on a level surface and engage the parking brake (the mechanical one, if equipped, or the electronic button).
- Raise the rear of the car with a jack on one wheel's side and set a jack stand.
- Remove the wheel bolts (4 bolts) and take off the wheel.
- Locate the brake caliper (the bracket-shaped part over the brake rotor). It is usually held on by two bolts.
- Remove these two bolts with a 14 mm wrench. Do not touch the guide pin bolts. They stay in place.
- Move the caliper aside (it may hang from the brake hose, which is fine). You do not need to remove it completely if the hose is undamaged.
- Pull the old pads out of the bracket. Note the position of the springs and shims (if present).
- Inspect the bracket, slide the bracket in the direction of deformation (it is usually dirty), and clean it.
- Use a C-clamp or vise to retract the caliper piston. The piston is on the rotor side, inside the caliper. Work slowly so you don't damage the seal. Brake fluid will rise in the reservoir, which is normal.
- Install the new pads in the bracket and make sure they sit flat and without any tilt.
- Reinstall the caliper and tighten the caliper mounting bolts. Torque: check the GJ service manual if you are unsure. It is usually 16-25 N·m (12-18 lb-ft). Do not overtighten.
- Repeat the procedure for the other rear wheel.
- After replacing both sides, turn the ignition on (without starting the engine) and press the brake pedal 5-10 times until the pads press against the rotor.
- Install the wheels, tighten the bolts in a crisscross pattern, and lower the car.
- Drive slowly (10-20 km at an easy pace) to bed in the pads before any heavy braking.
Common mistakes and warnings
- Be sure to check the brake fluid level in the reservoir after the job. If the fluid has dropped by more than a third, it may indicate a leak in the system. If the level has dropped critically or the brakes have no pressure after several pedal presses, take the car to a repair shop.
 How it works · 3D
How Car Brakes Work
How the part you're working on actually works — in plain English, on a 3D model.
Open in 3D →