Autopapyrus · Mazda 6 2.0 SkyActiv-G PE-VPS (2016)
https://autopapyrus.com/guides/mazda/6/brake-fluid-replacement/
https://autopapyrus.com/guides/mazda/6/brake-fluid-replacement/
Compiled automatically from service literature and owner experience. Specs are for the typical configuration — check them against your exact car before you start.
Mazda 6 2.0 SkyActiv-G PE-VPS (2016): Brake Fluid Replacement
Brake fluid on the third-generation Mazda 6 with the SkyActiv-G engine should be replaced every 2-3 years regardless of mileage (the fluid is hygroscopic and absorbs moisture). The procedure is standard: bleed the system through the wheel cylinders/calipers, starting with the circuit farthest from the master cylinder.
Part
- 🔩 DOT 4 brake fluid, system capacity approximately 0.8-1.0 L (0.85-1.06 qt). Mazda Premium Brake Fluid DOT 4 (OEM) is recommended, or equivalents such as Bosch DOT 4 or ATE TYP 200
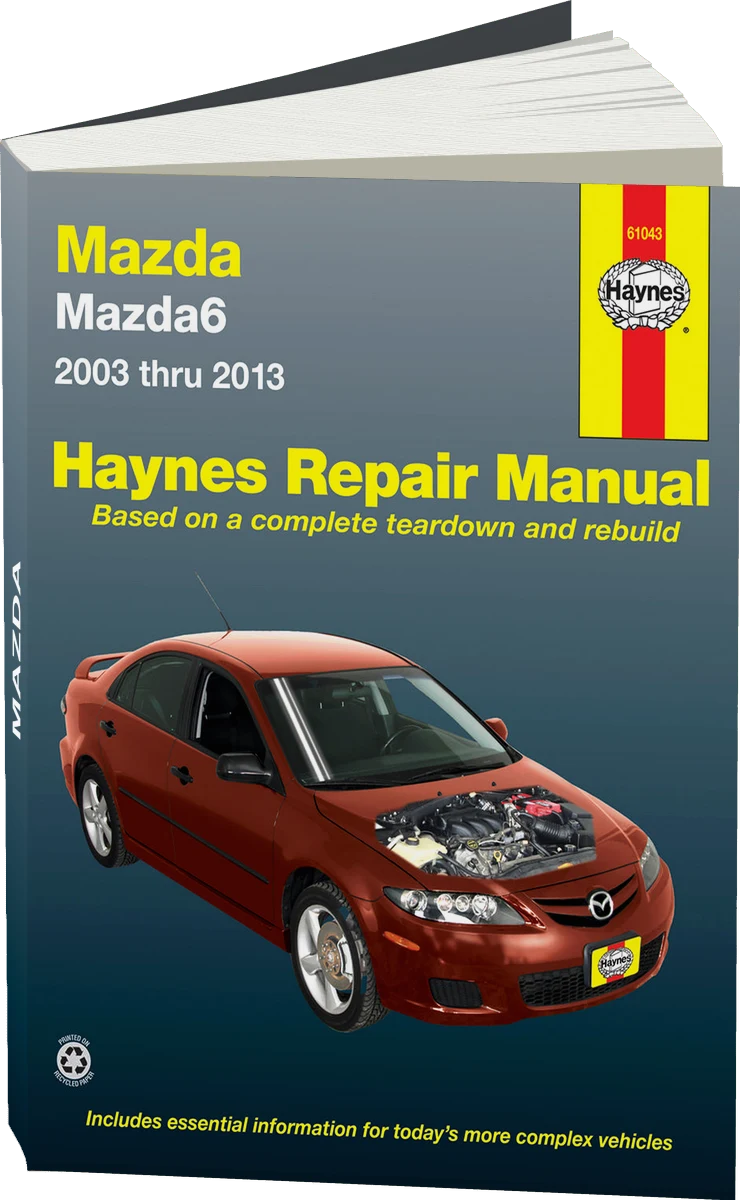 There's a full repair manual for this car
Every system, wiring diagrams and torque specs — not just this job. Haynes and 4 more.
See manuals →
Step by step
13 steps- Park the car on a level surface, set the parking brake, and open the hood.
- Locate the brake master cylinder reservoir, the black plastic tank to the right of the engine (passenger side). Open the cap and check the fluid level and look for signs of leaks.
- Remove the wheels (one at a time as you work) using the jack, and place jack stands under the frame.
- Start with the right rear caliper/brake drum. Find the bleeder screw (usually on the top of the caliper, with an 8-10 mm head, often protected by a rubber cap).
- Fit the clear hose onto the bleeder screw and put the other end into a container with a small amount of old fluid.
- Have your helper press the brake pedal slowly (full stroke) while you open the screw half a turn. Air and old fluid will leave the system. When the pedal reaches the end of its travel, tighten the screw (torque approximately 6-8 N·m (4-6 lb-ft); do not overtighten, as the head may crack).
- Have the helper release the pedal, then repeat the cycle (press, open, tighten) 5-7 times on that wheel, until clean fluid with no air bubbles flows through the hose.
- Monitor the level in the master cylinder reservoir. Top it up with new DOT 4 fluid as it drops (never let the reservoir run completely dry).
- Bleeding order: right rear wheel → left rear → right front → left front. This ensures air is pushed out starting from the point farthest from the master cylinder.
- After bleeding all four wheels, reinstall the wheels and tighten the lug nuts (torque approximately 100 N·m (74 lb-ft) for the Mazda 6).
- With the car parked, press the brake pedal several times. The pedal should feel firm, with no sinking. Check the reservoir and top up the fluid to the MAX mark (do not overfill).
- Check under the car for leaks at the bleeding points.
- Take the car for a test drive in a safe area and practice braking. Make sure the brakes work evenly and without pulsation.
Common mistakes and warnings
- Brake fluid is toxic and damages paint. Wear gloves and avoid getting it on the body. If the pedal stays soft or unresponsive after 10+ cycles on one wheel, there may be an air lock in the caliper. Try rocking the car while applying the brakes, or take it to a repair shop. Do not reuse old drained fluid, as it already contains moisture and contaminants.
 How it works · 3D
How Car Brakes Work
How the part you're working on actually works — in plain English, on a 3D model.
Open in 3D →