Autopapyrus · Mitsubishi Outlander (3rd generation, GF)
https://autopapyrus.com/guides/mitsubishi/outlander/rear-control-arm-and-bushing-replacement/
https://autopapyrus.com/guides/mitsubishi/outlander/rear-control-arm-and-bushing-replacement/
Compiled automatically from service literature and owner experience. Specs are for the typical configuration — check them against your exact car before you start.
Mitsubishi Outlander (3rd generation, GF): Rear Control Arm and Bushing Replacement
The Outlander GF rear suspension is multi-link: a trailing arm, an upper lateral arm, and two lower lateral arms on each side. You replace either the complete arm assembly or just the bushing using a press. The key point: all arm bolts must be tightened only with the suspension loaded, otherwise the bushings twist and fail quickly. A wheel alignment is mandatory after the work.
Parts
6| № | Part | Genuine part no. | Alternatives |
|---|---|---|---|
| 01 | Rear trailing arm assembly | 4125A111 | Febest, CTR, Meyle |
| 4125A079 | |||
| 02 | Rear upper lateral arm | MN184100 | Febest, CTR, Meyle |
| 03 | Rear lower lateral arm, front, assembly | 4113A125 | Febest, CTR, Meyle |
| 04 | Rear lower lateral arm, rear, assembly | 4113A125 | Febest, CTR, Meyle |
| 4113A185 | |||
| 05 | Rear arm bushingsif replacing only the rubber-metal bushings rather than the whole arm | 4110A125 | |
| 06 | Eccentric arm mounting bolts with washers |
Part numbers are from the manufacturer's original catalogue. Check them against your VIN before ordering.
Tools
11- Jack and jack stands or a lift
- lug wrench
- socket and wrench set 14-22 mm
- torque wrench
- ratchet with extension
- ball joint separator or rubber mallet
- press or bushing driver set for pressing out bushings
- penetrating oil
- pry bar
- marker for alignment marks
- second jack for supporting the arm or a floor jack
 There's a full repair manual for this car
Every system, wiring diagrams and torque specs — not just this job. Haynes AutoFix (online) and 2 more.
See manuals →
Step by step
12 steps- Determine which arm is worn. Put the vehicle on a lift, rock the wheel to check for play, and inspect the bushing rubber for cracks and separation. Replace arms in pairs (both sides of the same axle) or at least the entire set on one side.
- Loosen the lug nuts, raise the rear of the vehicle, support it on jack stands, and remove the wheel. If necessary, remove the plastic underbody shield and subframe shield.
- Apply penetrating oil to all threaded connections of the arms and let it soak. The threads in these joints often seize, especially on the eccentric bolts.
- Before loosening, use a marker to mark the position of the eccentric bolts and washers relative to the subframe or knuckle. This keeps camber and toe close to their previous settings after reassembly, until you can get the car on an alignment rack.
- Support the hub or the lower arm with a second jack so the spring and shock absorber do not extend when the arms are disconnected. Disconnect any lower components that block access (for example, the lower shock mount or the sway bar link) if they cover the bolts.
- Remove the arm mounting bolts on the knuckle side and on the subframe (body) side. Hold the arm so it does not fall, and remove it. If a bolt will not come out, do not hammer on the threads: apply heat, use penetrating oil, or use a puller.
- If you are replacing the bushing separately, press out the old one with a press or a driver, first noting the position (orientation) of the bushing in the arm. Clean the seat of rust and press in the new one squarely, without tilting. Do not lubricate the rubber part with oil; use only soapy water or a special rubber installation paste.
- Install the new arm (or the arm with new bushings) in place. Insert the bolts and tighten them by hand only, without final tightening. Set the eccentrics to the marks.
- Install the wheel and lower the vehicle onto its wheels (or place a floor jack under the hub and load the suspension to normal ride height, as in the static position). Only then fully tighten the bolts of all arms. The tightening torque for the arm bolts in this suspension is usually in the range of about 80-130 N·m (59-96 lb-ft), depending on the specific bolt (trailing, upper, lower); for exact values for each bolt, follow the manufacturer's specification for your trim and model.
- Tighten the lug nuts in a crisscross pattern (reference for the Outlander: about 100 N·m (74 lb-ft)), and recheck the torque after 50-100 km.
- Be sure to have the rear axle alignment done on a rack, adjusting the eccentrics to factory tolerances. Without this, the tires will wear unevenly and the vehicle may pull to one side while driving.
- Take a test drive: check for knocks, vibrations, and pulling. After about 500 km, recheck the torque and reassess the alignment.
Common mistakes and warnings
- This work is safety-critical: the suspension directly affects handling
- If you lack experience, a press, and an alignment rack, leave the job to a repair shop
- Work only on reliable supports, and never get under a vehicle held up by a single jack
- Do not tighten the arm bolts with the wheels hanging: the bushings will twist and tear after only a few thousand kilometers
- The exact tightening torque for each bolt and the eccentric adjustment procedure for your trim are not clearly confirmed in publicly available materials, so the values above are given as approximate ranges
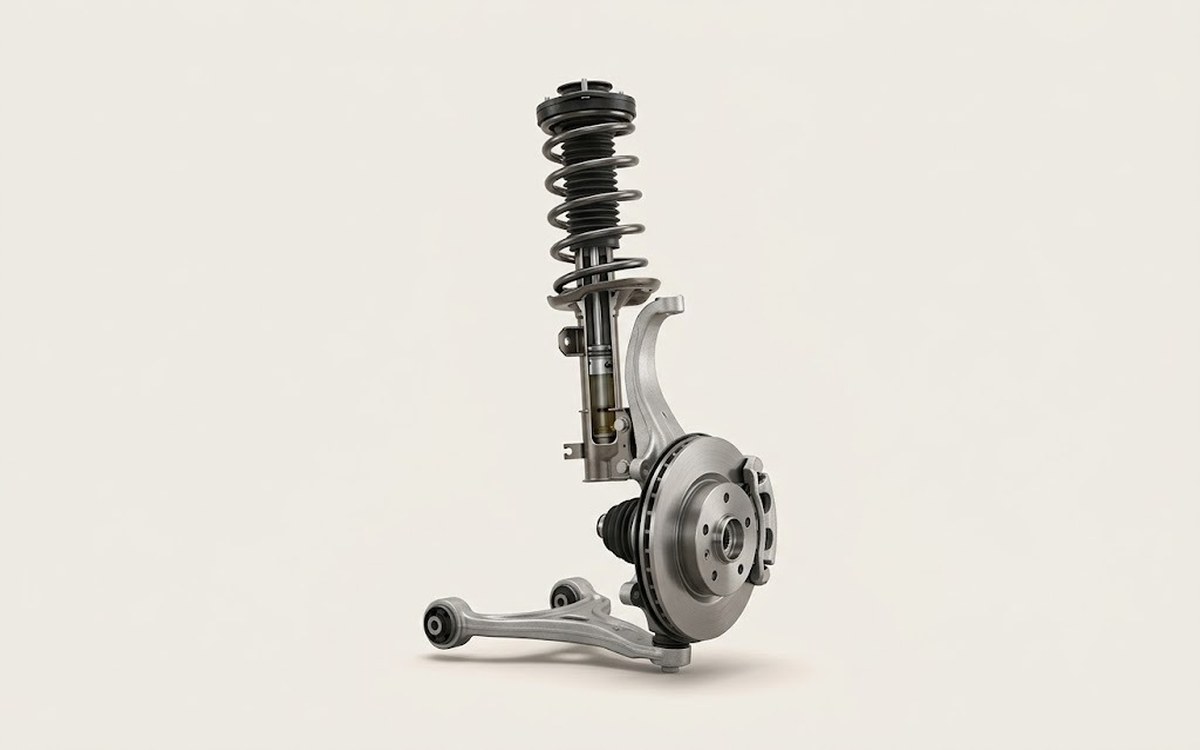 How it works · 3D
How Car Suspension Works
How the part you're working on actually works — in plain English, on a 3D model.
Open in 3D →