Autopapyrus · Subaru Forester 2.0 FB20 (2022)
https://autopapyrus.com/guides/subaru/forester/engine-oil-and-oil-filter-change-sk-2022/
https://autopapyrus.com/guides/subaru/forester/engine-oil-and-oil-filter-change-sk-2022/
Compiled automatically from service literature and owner experience. Specs are for the typical configuration — check them against your exact car before you start.
Subaru Forester 2.0 FB20 (2022): Engine Oil and Oil Filter Change
On the 2.0 FB20, change the oil every 10,000-15,000 km or once a year. Under severe conditions (city driving, heavy traffic, short trips, extreme cold), change it every 7,500-10,000 km. Always change the oil and filter together, with the engine warm but not hot. The engine is a horizontally opposed (boxer) design, so the drain plug is on the oil pan and the filter is mounted on the side of the engine block.
Part
- 🔩 Engine oil, about 4.4 L (4.6 qt) including the filter (check with the dipstick as you top up). Viscosity 0W-20 (factory spec for this engine) or 5W-30 per the approval for your market and climate. API SN/SP or higher, preferably full synthetic. Subaru oil filter for FB-series engines (spin-on, OEM or aftermarket such as Sakura, Vic, Bosch, Mann). Drain plug gasket (copper or aluminum)
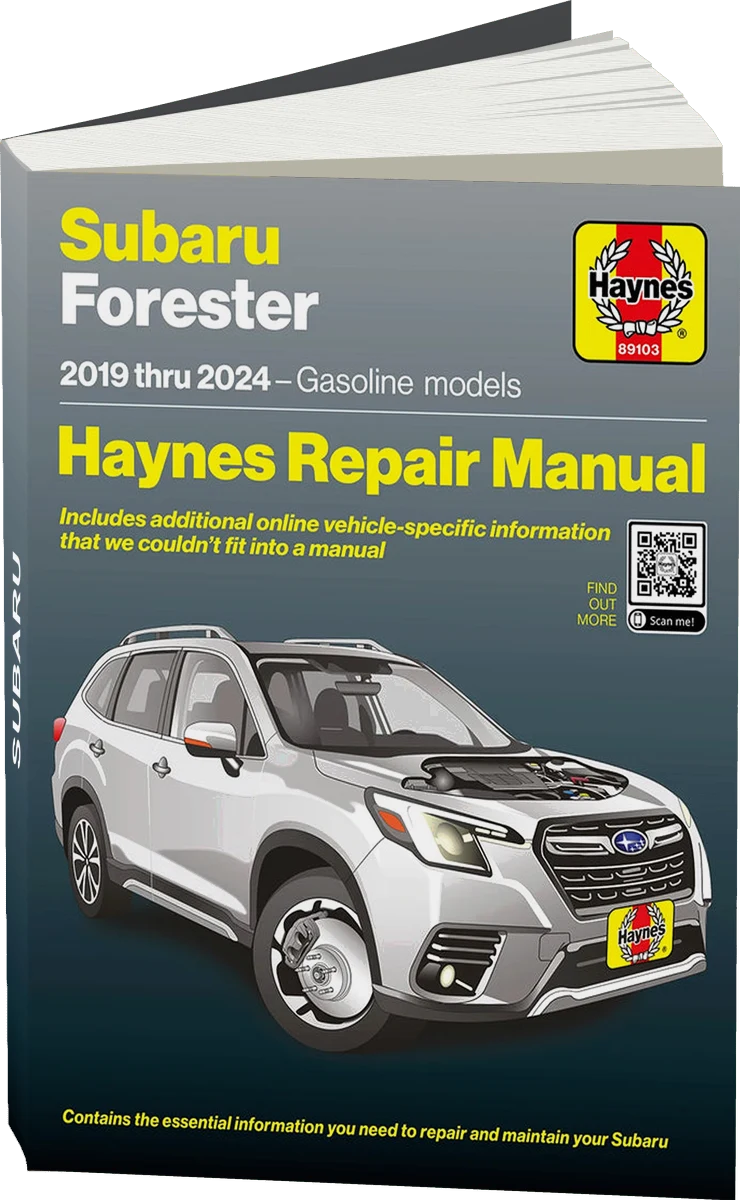 There's a full repair manual for this car
Every system, wiring diagrams and torque specs — not just this job. Haynes and 9 more.
See manuals →
Step by step
11 steps- Warm up the engine for 3-5 minutes and shut it off. The oil should be warm and fluid, but not scalding. Park the car level on the lift or over the pit.
- If a skid plate is installed, remove it. Place the drain pan under the oil pan.
- Open the oil filler cap on the engine so the oil drains faster. Unscrew the oil pan drain plug, holding it so you don't drop it into the drained oil. Let the oil drain for 10-15 minutes.
- While the oil drains, place the pan under the filter and unscrew it counterclockwise with the filter wrench. Residual oil will spill from the filter housing and the mounting surface, so lay down rags. Exhaust pipes run close by, so avoid touching hot parts.
- Wipe the filter mounting surface on the block. Make sure the old sealing ring is not stuck to the block.
- Lubricate the rubber gasket of the new filter with fresh oil, and if you like, pour a little oil into the filter. Thread the filter on by hand until the gasket touches the mounting surface, then tighten it about 3/4 of a turn further (follow the markings on the filter itself). Do not tighten it hard with a wrench.
- Clean the drain plug threads and seat, install a new gasket, and tighten the plug. Torque for this engine is about 40-45 N·m (30-33 lb-ft) (verify the exact value against the manufacturer's specification). Do not overtighten, since the threads in the aluminum oil pan strip easily.
- Pour in about 4 L (4.2 qt) of fresh oil through the filler neck, wait a couple of minutes, then check the level with the dipstick. Add oil in small amounts up to the mark between minimum and maximum (total capacity is usually about 4.4 L (4.6 qt)). Close the filler cap.
- Start the engine and run it for 30-60 seconds. The oil pressure light should go out within 1-2 seconds after startup. Check the drain plug and filter for leaks.
- Shut off the engine, wait 5-10 minutes, and recheck the level on level ground. Top up if needed. Reinstall the skid plate.
- Pour the used oil into a container and take it to a recycling collection point. Record the mileage of the change. If the dashboard has a maintenance reminder, reset it following the owner's manual.
Common mistakes and warnings
- Do not overfill the oil: excess causes foaming, increased consumption, and leaks past the seals. Do not reuse the old drain plug gasket, and do not install a second filter on top of the old one. The exhaust system and oil pan are hot, so wear gloves. If the oil pressure light comes on after the change or you notice leaks, do not drive the car. Check the tightness of the plug and filter and, if necessary, take it to a repair shop.