Autopapyrus · Volvo FH (1st generation) 1997
https://autopapyrus.com/guides/volvo/fh/rear-brake-disc-and-pad-replacement/
https://autopapyrus.com/guides/volvo/fh/rear-brake-disc-and-pad-replacement/
Compiled automatically from service literature and owner experience. Specs are for the typical configuration — check them against your exact car before you start.
Volvo FH (1st generation) 1997: Rear Brake Disc and Pad Replacement
Rear disc brakes on first-generation FH trucks were an option, and most vehicles from this year have drum brakes. This guide applies to vehicles with air-actuated disc brakes on the rear axle. Discs and pads are replaced as a full set for the whole axle, in pairs. The exact procedure and torque values for a specific caliper are not documented in publicly available service materials, so what follows is the general principle, and tightening values are given as ranges.
Parts
5| № | Part | Alternatives |
|---|---|---|
| 01 | Rear axle brake discs2 pcs | Knorr-Bremse, Wabco, Textar, Febi |
| 02 | Rear axle disc brake pad set2 sets, one per caliper | Knorr-Bremse, Wabco, Textar, Febi |
| 03 | Pad fitting kit (springs, hold-down bracket, cotter pins, retainers) | Knorr-Bremse, Wabco, Textar, Febi |
| 04 | Caliper dust bootsif worn | |
| 05 | Caliper guide bushingsif worn |
Tools
10- Heavy-duty floor jack rated 12 t or more and 2 axle stands
- wheel chocks
- wheel lug wrench with extension and a pneumatic or manual torque multiplier
- torque wrench up to 700 N·m (516 lb-ft)
- socket set
- caliper and micrometer
- dial indicator with stand
- puller or copper drift
- copper grease
- brake cleaner
Step by step
17 steps- Park the vehicle on level ground, switch off the engine, and release the air from the circuits with the brake pedal until the pressure reads zero. Place chocks under the front wheels. If necessary, mechanically release the spring brake chambers (using the separate release bolt). Otherwise the pads stay clamped and the caliper cannot be removed.
- Loosen the rear wheel nuts by 1/2 turn while the wheels are still on the ground. Lift the rear axle with a jack and be sure to place it on axle stands. Never work under a vehicle supported only by a jack.
- Remove the wheels (dual wheels are heavy, so use a wheel dolly or stand). Note the wheel positions so you can refit them in the same places.
- Inspect the brake assembly. Determine the caliper type: sliding with one piston or with two. Be sure to measure the wear of the pads and disc before disassembly. The minimum permissible disc thickness is marked on its edge (MIN TH marking).
- Disconnect the pad wear sensor if fitted, and move the air supply hose or line aside without bending it.
- Retract the caliper to its initial position using the adjuster mechanism. On many calipers, this is done by turning the manual adjuster screw with a special wrench or socket. The caliper cannot be removed until the pads are retracted.
- Remove the spring hold-down bracket and pad retainer, then pull the pads out of their guides. If the caliper is a sliding type and the pads will not come out even with the piston retracted, unscrew the guide bolts and remove the whole caliper, tying it with wire to the frame or leaf spring so it does not hang from the hose.
- Remove the caliper carrier (bracket) if the disc is mounted behind it. The disc is secured to the hub with bolts or fitted on studs. Undo the fasteners, apply heat if necessary, and remove the disc. If the disc is seized, tap on the hub through a copper drift, not on the friction surface.
- Clean the hub mounting surface of rust with a wire brush and abrasive paper, then wipe it with brake cleaner. Any dirt will cause disc runout. Check the condition of the hub bearings for play and noise. If there is play, that is a separate job.
- Install the new disc and fit the fasteners, tightening them in a crisscross pattern. The tightening torque for the disc mounting bolts and caliper carrier bolts for this model is not given in publicly available materials, so use the value marked on the supplier's packaging or part (usually 200 to 500 N·m (148 to 369 lb-ft) for bolts of this type).
- Check the disc runout with a dial indicator. Permissible runout is usually no more than 0.15 mm across the full diameter, and the disc manufacturer specifies the exact tolerances.
- Clean and lubricate the caliper guides with high-temperature grease, and check that they move freely and that the boots are in good condition. If the caliper binds, replace the bushings and boots, or the whole caliper. Otherwise the new pads will wear unevenly.
- Install the new pads in the caliper and fit the springs, retainers, and cotter pins from the fitting kit. Do not lubricate the friction surfaces of the pads and disc.
- Install the caliper and tighten the bolts to the caliper manufacturer's specification. Fit the cotter pins or locking plates.
- Pressurize the system with air and check the connections for leaks (by ear and with soapy water). Press the brake pedal several times so the mechanism can adapt, and check that the disc turns freely without binding.
- Refit the wheels and tighten the nuts in a crisscross pattern. Lower the vehicle and tighten with a torque wrench. For M22 wheel studs, the torque is usually in the range of 550-650 N·m (406-479 lb-ft). Retighten after 50-100 km of driving.
- Bed in the pads: make 15-20 brake applications at moderate speed without hard emergency braking. Check that the discs heat evenly. One hot disc and one cold disc indicates a faulty caliper.
Common mistakes and warnings
- A truck's brake system is a safety-critical assembly
- If you have no experience working with air brake systems, leave the job to a repair shop
- Always replace discs and pads on the whole axle as a pair, and never work under the vehicle without axle stands
- If you find drum brakes on inspection, these instructions do not apply: with drum brakes, you replace the drums and the brake shoes with linings
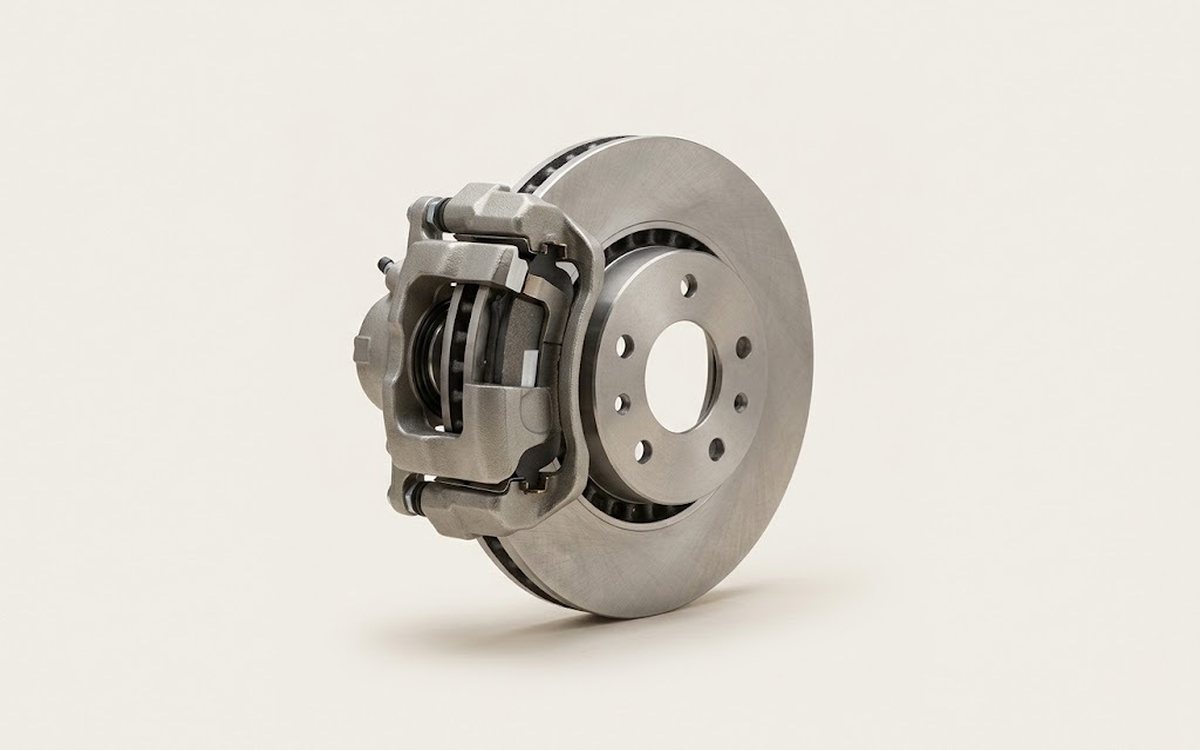 How it works · 3D
How Car Brakes Work
How the part you're working on actually works — in plain English, on a 3D model.
Open in 3D →