Autopapyrus · Nissan Patrol Y61 (5th generation)
https://autopapyrus.com/guides/nissan/patrol/rear-control-arm-and-bushing-replacement/
https://autopapyrus.com/guides/nissan/patrol/rear-control-arm-and-bushing-replacement/
Compiled automatically from service literature and owner experience. Specs are for the typical configuration — check them against your exact car before you start.
Nissan Patrol Y61 (5th generation): Rear Control Arm and Bushing Replacement
The Y61 rear suspension is a coil-spring, solid-axle design with upper and lower trailing arms and a Panhard rod (lateral link). Worn bushings cause clunking, rear axle "wandering" (steering the rear end), and uneven tire wear. The key points: support the axle with a jack, replace the arms one at a time, and do the final tightening only with the vehicle's weight on the wheels. Torque values in the text are approximate, so check the exact values against the manufacturer's specifications.
Parts
6| № | Part | Genuine part no. | Alternatives |
|---|---|---|---|
| 01 | Y61 rear upper trailing arm, completeif the body is bent or the bushing is not sold separately | 55120-VB022 | |
| 02 | Y61 rear lower trailing arm, completeif the body is bent or the bushing is not sold separately | 55110-VB900 | |
| 55110-VB320 | |||
| 55110-VC210 | |||
| 03 | Rear upper trailing arm bushing kit | AlternativesWhitelineSuperProFebestLemförder | |
| 04 | Rear lower trailing arm bushing kit | AlternativesWhitelineSuperProFebestLemförder | |
| 05 | Panhard rod (lateral link) bushings | AlternativesWhitelineSuperProFebestLemförder | |
| 06 | Arm mounting bolts and nutsif corroded |
Part numbers are from the manufacturer's original catalogue. Check them against your VIN before ordering.
Tools
8- Lift or inspection pit (or jack stands under the frame and a jack)
- sockets and wrenches (approx. 19-24 mm)
- torque wrench
- pry bar
- bushing puller or press with drivers/adapters for the bushings
- penetrating oil
- wire brush
- silicone or PTFE grease for the bushings
Step by step
12 steps- Park the vehicle on level ground with the parking brake applied, loosen the rear wheel lug nuts, raise the rear of the vehicle, and support it on jack stands under the frame. Remove the rear wheels.
- Position a jack under the rear axle (under the differential housing) and support the axle lightly, so the springs are not fully unloaded and the axle does not hang on the hoses and links.
- Inspect the arms: the upper and lower trailing arms and the Panhard rod. Check the bushings for play and cracked rubber with a pry bar, and check the arms for bending and corrosion. Treat all threaded connections with penetrating oil beforehand and clean them with a wire brush.
- Work on one arm at a time so the axle keeps its position. Remember or photograph the position and direction of the bolts and the placement of washers and adjusting parts.
- Remove the nuts and drive out the bolts that secure the arm to the axle and to the body (frame). If needed, raise or lower the axle slightly with the jack to relieve the load on the bolt. For seized bolts, apply heat and penetrating oil, and do not hammer on the threads without a nut installed.
- Remove the arm. If the bushing is replaced separately, press out the old one with a puller or a press using a driver of the right diameter. Burning out the old rubber is possible only with great care, and it is best not to apply heat near fuel and brake lines.
- Clean the arm's bushing seat, remove rust, and check it for ovality and cracks. Lubricate the seat and the new bushing with silicone or PTFE grease (not lithium or petroleum-based) and press it in straight, without tilting, to the same depth as the old one. If the kit includes spacer sleeves, install them.
- Install the arm, insert the bolts in their original direction, and thread on the nuts without final tightening. Repeat for the remaining arms (upper, then lower, then the Panhard rod bushings if needed), one at a time.
- Lower the vehicle onto its wheels (or place jacks under the axle so the suspension sits at normal ride height, as it would on the wheels). Only in this position should you do the final tightening of the arm bolts, otherwise the rubber bushings will be permanently twisted and will fail quickly.
- Tighten the arm fasteners with a torque wrench. For the Y61 trailing arm bolts the torque is high, around 150-180 N·m (111-133 lb-ft) (use the exact value from the manufacturer's specification for each bolt). Tighten the Panhard rod bushings on the same principle, with the vehicle on its wheels.
- Install the wheels, tighten the lug nuts in a crisscross pattern to specification, and lower the vehicle.
- Take a test drive of 5-10 km (3-6 miles), then recheck the tightness of the arm bolts. Check for clunks and rear axle "wandering," and have the alignment checked and adjusted.
Common mistakes and warnings
- The rear suspension carries the weight of the whole vehicle, and an axle on a jack and stands is dangerous: always secure the vehicle on jack stands under the frame, and never work under a vehicle supported only by a jack
- Incorrect arm tightening or a lost bolt affects handling
- If you have no experience with a press and suspension work, leave the bushing pressing and the tightening to a repair shop
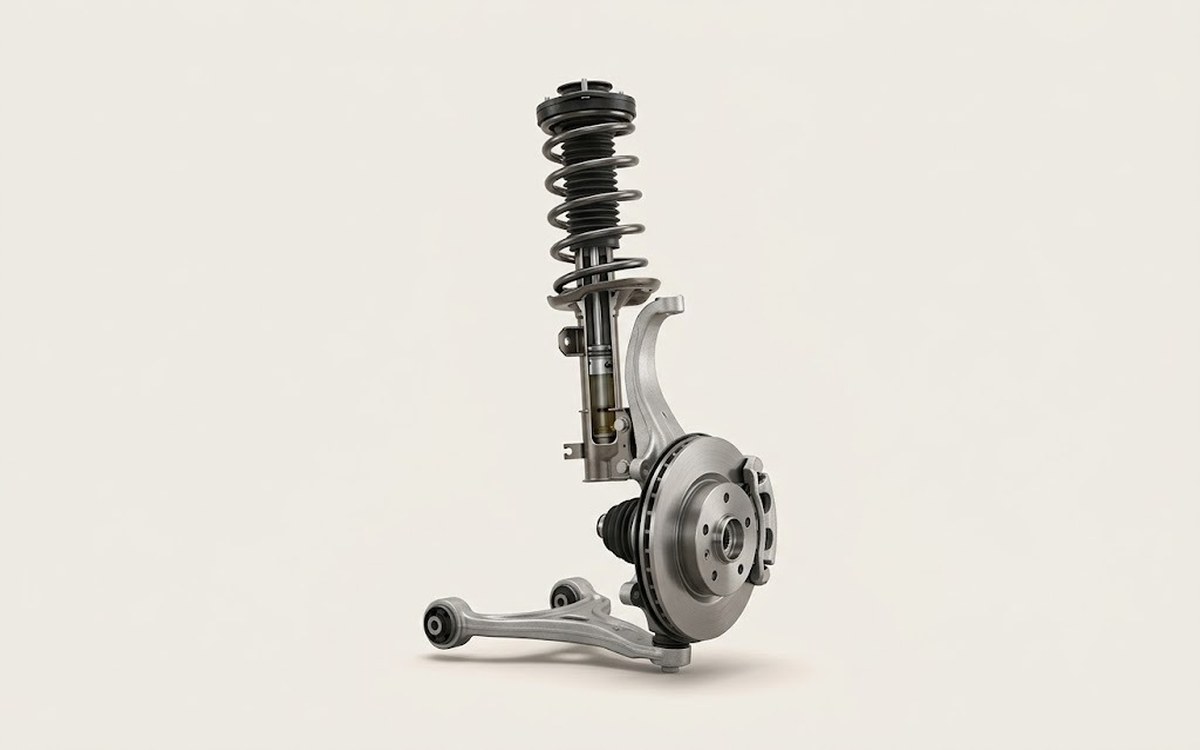 How it works · 3D
How Car Suspension Works
How the part you're working on actually works — in plain English, on a 3D model.
Open in 3D →