Autopapyrus · Hyundai Tucson 2.0 (2021)
https://autopapyrus.com/guides/hyundai/tucson/thermostat-replacement/
https://autopapyrus.com/guides/hyundai/tucson/thermostat-replacement/
Compiled automatically from service literature and owner experience. Specs are for the typical configuration — check them against your exact car before you start.
Hyundai Tucson 2.0 (2021): Thermostat Replacement
On the fourth-generation Tucson (NX4), the cooling system is controlled by the Integrated Thermal Management (ITM) module, so it is important to bleed the air from the circuit correctly after replacing the thermostat. The job involves draining the coolant and disconnecting hoses. Do it only on a completely cold engine. The general procedure below is correct for Hyundai engines of this family. The exact layout of fasteners and hoses on your engine may differ, so check against what you see under the hood as you work.
Key figures
- Coolant capacity of the systemapproximately 7.6 L (8.0 qt). This is how much to prepare if you drain all the coolant (step 3)
- Coolant concentration in the mixture45-60%. Do not go above 60%, or cooling will be worse (steps 11-12)
- Top-up time when bleeding without a scanner20 minutes. This is how long to keep the engine running while topping up the coolant (step 12)
- Engine starts after reconnecting the ITM connector3 times for 5 seconds each. On the 4th start, check that the Check Engine light is off (step 12)
Check these values against the manufacturer’s specification for your vehicle before you start.
Parts
3| № | Part |
|---|---|
| 01 | Thermostat assembly with housing for Hyundai Tucson NX4 2.0 |
| 02 | Thermostat housing gasket or O-ringif not included in the thermostat kit |
| 03 | Hyundai/Kia coolant (premixed or concentrate)45-60% concentration; dilute concentrate with distilled water |
Tools
7- Socket set and ratchet
- torque wrench (low range)
- hose clamp pliers
- drain pan of at least 8 L (8.5 qt)
- funnel
- clean rags
- diagnostic scanner with the ITM cooling system refill mode (recommended)
 There's a full repair manual for this car
Every system, wiring diagrams and torque specs — not just this job. Haynes AutoFix (online) and 2 more.
See manuals →
Step by step
14 steps- Wait until the engine and radiator have cooled completely. Do not open the expansion tank cap on a hot engine: you may be burned by steam and hot coolant.
- Disconnect the negative battery terminal. Remove the engine cover and the lower engine undercover.
- Place the drain pan and drain the coolant: open the expansion tank cap, then loosen the radiator drain plug. The total system capacity is approximately 7.6 L (8.0 qt). If you are not replacing all the coolant, you can drain only part of it.
- Locate the thermostat housing: it is on the hose that runs from the engine to the radiator. If necessary, remove the air duct or other parts in the way for access.
- Take a photo of the hose and connector layout. Disconnect the electrical connector of the sensor on the housing (if equipped) and release the hose clamps. Remove the hoses, placing a rag under them to catch the remaining coolant.
- Remove the thermostat housing bolts and take off the housing together with the thermostat.
- Clean the mating surface of any gasket residue and scale, without leaving scratches and without letting dirt get into the passages.
- Install the new thermostat in exactly the same position as the old one (the orientation of the valve and the air bleed hole, if there is one, is important). Fit the new gasket or O-ring.
- Install the housing and tighten the bolts evenly in a crisscross pattern. The tightening torque for the small thermostat housing bolts is usually 8-25 N·m (6-18 lb-ft); use the exact value from the manufacturer's specification. Do not overtighten, to avoid stripping the threads in the aluminum head or housing.
- Reconnect the connector, install the hoses and secure the clamps. Tighten the radiator drain plug securely (use the exact value from the manufacturer's specification).
- Bleeding with a diagnostic scanner: with the ignition off, slowly pour the mixture in through the tank filler neck, squeezing the upper and lower radiator hoses by hand to let the air out. Connect the scanner, turn the ignition on (IG ON) and start the ITM cooling system refill mode, following the instructions on the scanner screen. When it finishes, turn the ignition off and disconnect the scanner.
- Bleeding without a scanner: after filling (as in step 11), with the ignition off, disconnect the ITM connector. Start the engine and keep topping up the coolant in the tank for 20 minutes. Shut off the engine and reconnect the ITM connector. Then start the engine for 5 seconds and shut it off, three times. On the fourth start, check that the Check Engine light is not on.
- Close the tank cap. Warm the engine up to operating temperature, check for leaks at the connections and check that the heater works, then let the engine cool and check the coolant level.
- Install the undercover and the engine cover. After a test drive, check the level on a cold engine and top up to the mark if necessary.
Common mistakes and warnings
- Work only on a cold engine
- Use the same type of coolant that is already in the system, do not mix different brands, and do not add anti-rust additives
- A coolant concentration above 60% is not recommended
- Avoid static electricity and magnets near the ITM module
- If the engine overheats or the heater is cold after the replacement, there is air left in the system: repeat the bleeding procedure
- If you have no experience with cooling systems, leave the job to a repair shop
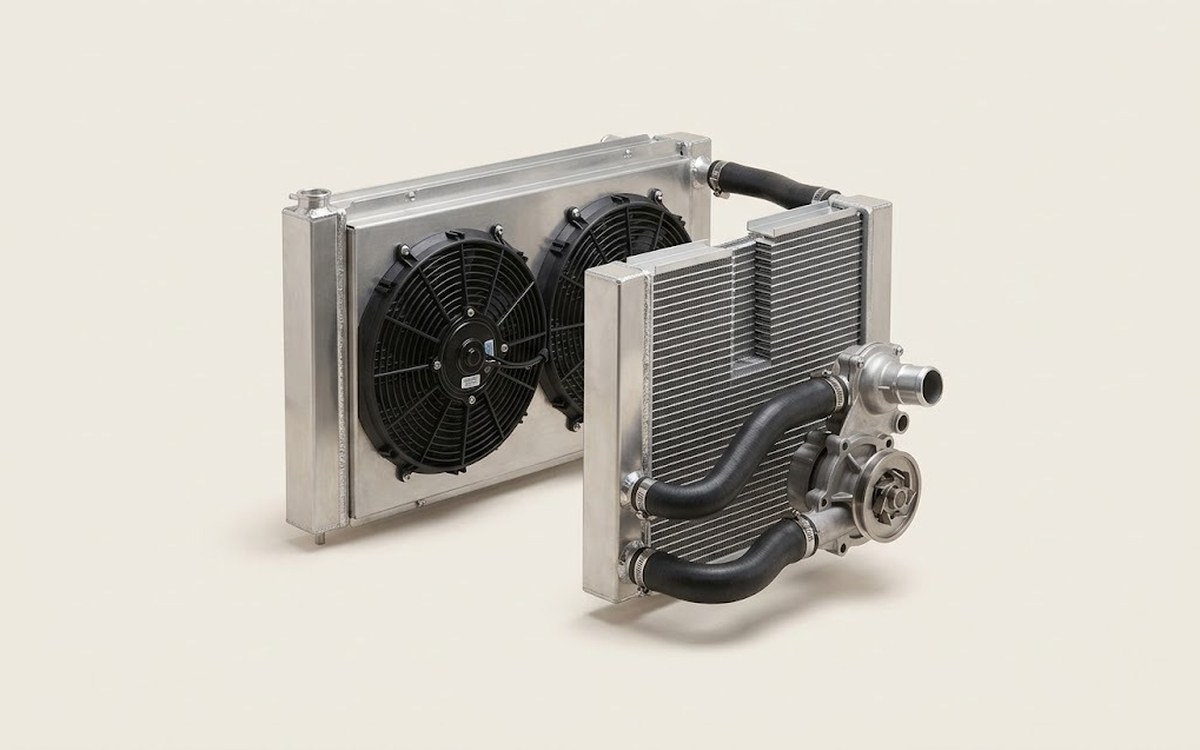 How it works · 3D
How the Engine Cooling System Works
How the part you're working on actually works — in plain English, on a 3D model.
Open in 3D →