Autopapyrus · Toyota Camry XV70 2.5 A25A-FKS (2018)
https://autopapyrus.com/guides/toyota/camry/automatic-transmission-axle-seal-replacement/
https://autopapyrus.com/guides/toyota/camry/automatic-transmission-axle-seal-replacement/
Compiled automatically from service literature and owner experience. Specs are for the typical configuration — check them against your exact car before you start.
Toyota Camry XV70 2.5 A25A-FKS (2018): Automatic Transmission Axle Seal Replacement
The axle seals on the U760E automatic transmission in the Camry XV70 with the A25A-FKS engine are replaced when oil leaks from the transmission where the axle shafts exit. The procedure requires removing both driveshafts, draining part of the ATF, and carefully pressing in the new seals to the correct depth.
Part
- 🔩 Left and right axle seals Toyota 90311-40046 (aftermarket equivalents NOK, Corteco). Toyota ATF WS automatic transmission fluid, 3-4 L (3.2-4.2 qt)
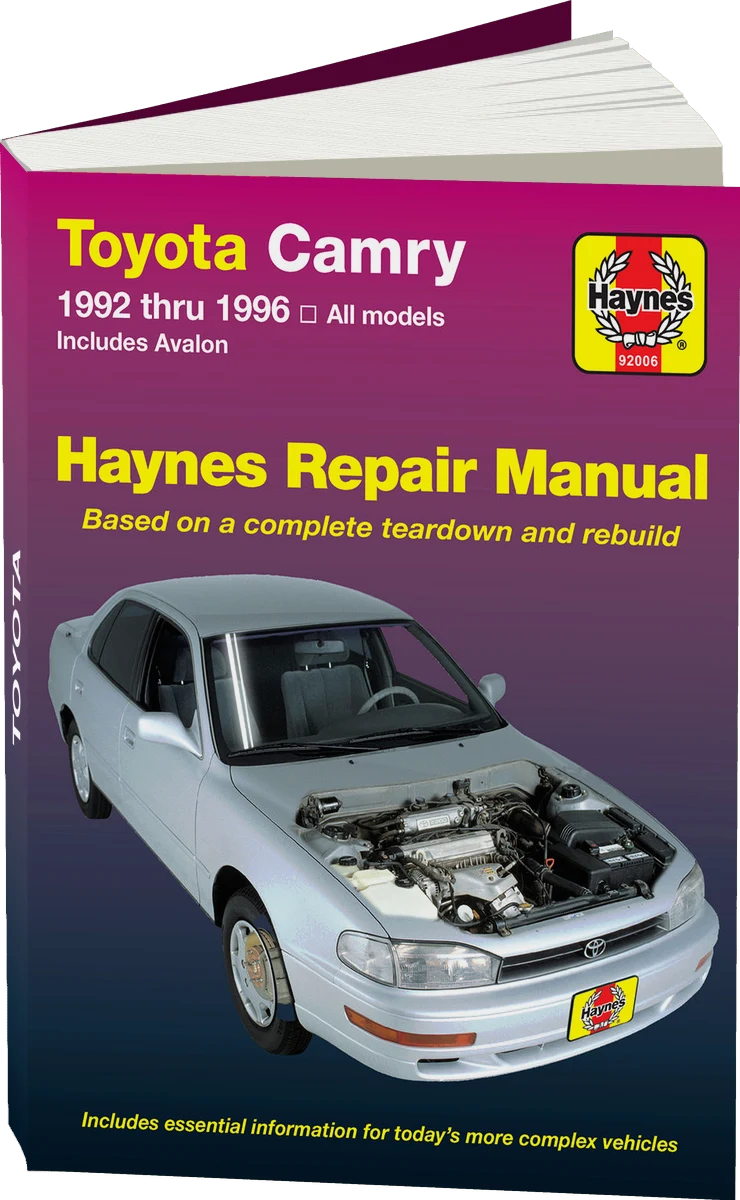 There's a full repair manual for this car
Every system, wiring diagrams and torque specs — not just this job. Haynes and 5 more.
See manuals →
Step by step
16 steps- Raise the car on a lift or set it on jack stands, and remove the front wheels.
- Drain the transmission fluid through the pan drain plug into a drain pan (2.5-3 L (2.6-3.2 qt) will come out). This prevents a large leak when the driveshaft is pulled out.
- Loosen the axle hub nut (tightening torque 200-220 N·m (148-162 lb-ft), but for now you are only loosening it). First remove the lock washer or unstake the nut.
- Disconnect the ball joint from the steering knuckle: remove the 2 mounting bolts (tightening torque on reassembly 90-100 N·m (66-74 lb-ft)).
- Swing the strut/knuckle assembly aside and pull the driveshaft out of the hub, then carefully pull the inner CV joint out of the transmission (with light hammer taps on a pry bar, or with a quick pull).
- Pry out the old seal with a thin screwdriver or a special hook and remove it from the seal bore in the transmission. Wipe the seat clean of dirt and old oil.
- Lubricate the working lip of the new seal with a thin layer of ATF WS or universal transmission grease.
- Press in the new seal with a driver, or use the old seal as a guide. Tap it in carefully with a hammer, working around the circumference, until it sits flush (it may be recessed 0-0.5 mm, but must not protrude). Make sure not to cock the seal or damage its lip.
- Repeat the procedure for the second seal on the opposite side.
- Check the condition of the CV boots and the driveshaft splines. If there is scoring or wear, replace the whole driveshaft.
- Reinstall the driveshafts: insert the inner CV joint into the transmission until the retaining ring clicks into place, and the outer CV joint into the hub.
- Connect the ball joint to the knuckle and tighten the bolts to 90-100 N·m (66-74 lb-ft).
- Install the wheels and lower the car. Tighten the axle hub nut to 200-220 N·m (148-162 lb-ft) and stake it or install a new lock washer.
- Fill with ATF WS through the fill opening (the U760E has no dipstick, so you fill through the plug on the side of the transmission). The refill volume is 2.5-3.5 L (2.6-3.7 qt), depending on how much came out.
- Check the ATF level with the transmission warmed up, following the manufacturer's procedure: engine idling, move the selector through all positions, and check the level through the check plug on the bottom with the fluid temperature at 40-60°C.
- Take a test drive and check for leaks and unusual noises.
Common mistakes and warnings
- The U760E automatic transmission has no dipstick. The fluid level is checked only through the check plug with the transmission warmed up. An incorrect ATF level causes slipping or overheating. If you have no experience working on automatic transmissions, leave this procedure to a professional. A cocked seal during installation will cause the leak to return. The hub nut torque is critical for safety, so always use a torque wrench.