Autopapyrus · Toyota Camry 2.5 A25A-FKS (2018)
https://autopapyrus.com/guides/toyota/camry/exhaust-manifold-gasket-replacement/
https://autopapyrus.com/guides/toyota/camry/exhaust-manifold-gasket-replacement/
Compiled automatically from service literature and owner experience. Specs are for the typical configuration — check them against your exact car before you start.
Toyota Camry 2.5 A25A-FKS (2018): Exhaust Manifold Gasket Replacement
The exhaust manifold gasket on the A25A-FKS needs to be replaced when exhaust gases leak (a characteristic ticking sound on a cold engine). The manifold is accessed from the top of the engine bay. You will need to remove the upper heat shield and disconnect the oxygen sensor.
Part
- 🔩 Toyota 17173-F0010 (aftermarket equivalents: Felpro MS 96475, Victor Reinz 71-40277-00)
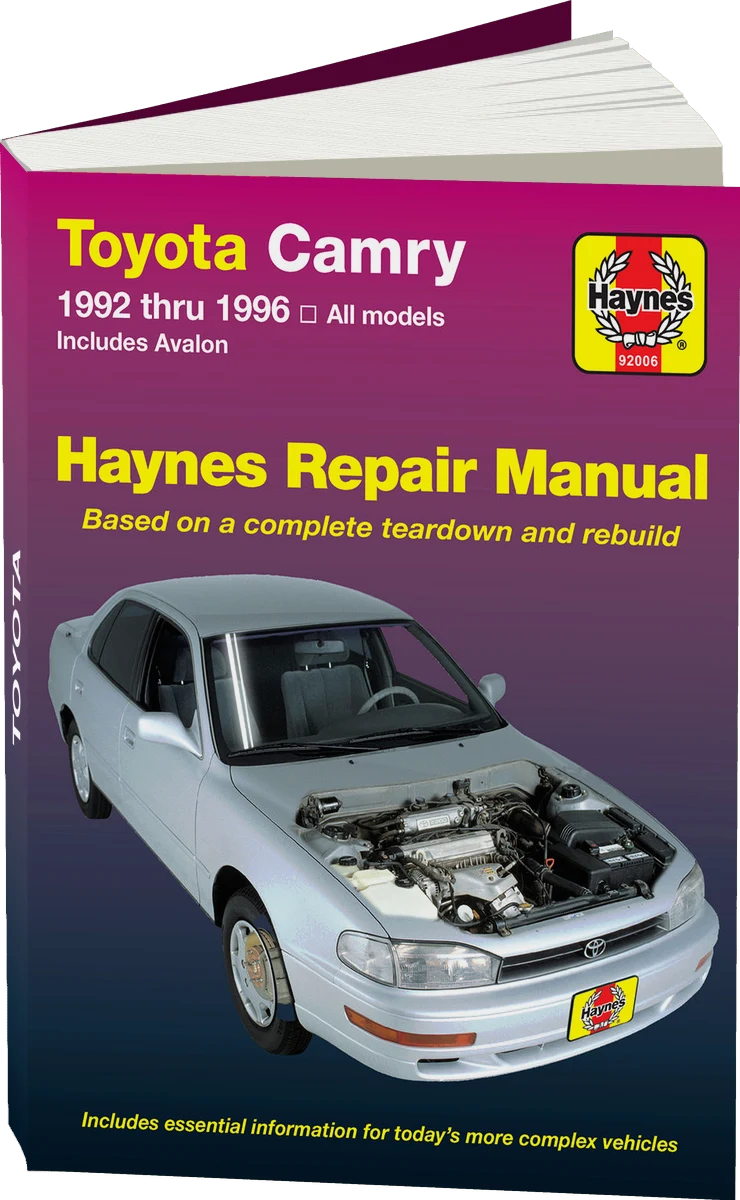 There's a full repair manual for this car
Every system, wiring diagrams and torque specs — not just this job. Haynes and 5 more.
See manuals →
Step by step
13 steps- Warm up the engine to a moderate temperature (2-5 minutes after a cold start), then shut it off. A warm manifold releases its fasteners more easily because of thermal expansion, but it is not yet scorching hot.
- Disconnect the negative battery terminal. Unplug the oxygen sensor connector (sensor No. 1, upstream of the catalytic converter, located on the manifold).
- Remove the upper heat shield by unscrewing the five 10 mm bolts around its perimeter. If the bolts are seized, apply penetrating oil, wait 10-15 minutes, then loosen them gradually: a quarter turn counterclockwise, then back, repeating until they come out. Forcing rusty bolts out abruptly causes them to snap off in the threads.
- Remove the oxygen sensor with a 22 mm wrench (counterclockwise). Wear gloves, since the sensor body is hot.
- Remove the nuts securing the exhaust manifold to the cylinder head (usually 8 nuts, 12-14 mm, arranged around the perimeter). Work in sequence from the outer edges toward the center.
- Remove the manifold together with the old gasket. If the manifold is stuck to the cylinder head, carefully tap its end with a rubber mallet, taking care not to damage the mating surface.
- Use a scraper to remove the remains of the old gasket from the mating surfaces of the cylinder head and manifold. Wipe the surfaces with a clean rag and degrease them (brake cleaner works). Check the manifold flatness with a metal straightedge. If it is warped by more than 0.2 mm, replace the manifold or have it resurfaced.
- Install the new gasket onto the cylinder head studs. The gasket may be directional (marked UP or with an arrow), so follow the correct orientation.
- Install the manifold onto the studs and thread the nuts on by hand.
- Tighten the nuts with a torque wrench in two passes: the first pass at 15 N·m (11 lb-ft) (from the center outward in a crisscross pattern), the second pass at 35 N·m (26 lb-ft) (same pattern). Tightening order: start with the center nuts, then work in a spiral toward the outer edges.
- Install the oxygen sensor and tighten it to 40-45 N·m (30-33 lb-ft). Reconnect the sensor connector.
- Install the upper heat shield and tighten the bolts in a crisscross pattern to 10-12 N·m (7-9 lb-ft).
- Reconnect the battery terminal. Start the engine, bring it up to operating temperature, and listen to the manifold for exhaust leaks (hissing, ticking). If you detect a leak, shut off the engine and recheck the nut torque after the engine has cooled.
Common mistakes and warnings
- Before starting work, apply penetrating oil to the threaded connections, since the heat shield bolts and manifold studs are prone to corrosion. A broken stud in the cylinder head will require drilling it out and repairing the threads. Wear gloves: exhaust system components stay hot for up to 30 minutes after the engine is shut off.