Autopapyrus · Lada Iskra 1.6 (90 hp) (2026)
https://autopapyrus.com/guides/lada/iskra/coolant-temperature-sensor-replacement-ecu-sensor/
https://autopapyrus.com/guides/lada/iskra/coolant-temperature-sensor-replacement-ecu-sensor/
Compiled automatically from service literature and owner experience. Specs are for the typical configuration — check them against your exact car before you start.
Lada Iskra 1.6 (90 hp) (2026): Coolant Temperature Sensor Replacement (ECU Sensor)
The sensor sends the engine temperature to the ECU. The ECU uses it to adjust fuel enrichment, idle speed and cooling fan activation. When it fails, you may see hard hot starts, higher fuel consumption, a fan that runs all the time or never turns on, and fault codes for the sensor circuit. The sensor is installed in the thermostat housing or in a coolant pipe on the cylinder head. The exact procedure for your trim level is not documented in public sources, so below is the general procedure, which is the same for engines of this family.
Parts
3| № | Part |
|---|---|
| 01 | Engine coolant temperature sensor, 1.6 (ECU sensor) |
| 02 | Sensor O-ring or washerif not included |
| 03 | Coolant (antifreeze)for topping off |
Tools
5- 19 mm socket or open-end wrench (sized to the sensor's hex)
- small screwdriver for the connector lock
- drain pan and rags
- funnel
- and if needed a plug for the sensor hole (a clean bolt of suitable diameter or a finger will do)
Step by step
12 steps- Work on a cold engine. The cooling system is pressurized, and a hot engine can cause burns. Park the car on level ground and shut off the engine.
- Open the hood and disconnect the negative battery terminal.
- Locate the ECU sensor. It is screwed into the thermostat housing or a pipe near the cylinder head. A two-pin connector plugs into it. Do not confuse it with the gauge sensor for the instrument cluster, if your car has both.
- Remove the expansion tank cap to release any residual pressure. This will reduce coolant spillage when you unscrew the sensor.
- Place a drain pan and rags underneath. Press the lock and pull the connector off the sensor. Inspect the connector: oxidized terminals or damaged wires can also cause incorrect readings.
- Unscrew the sensor counterclockwise with a 19 mm wrench. Coolant will seep out. Immediately plug the hole, or quickly install the new sensor, to lose as little antifreeze as possible.
- Compare the new and old sensors by thread, length and shape. Make sure the O-ring or washer is in place. Thread sealant is generally not needed if there is an O-ring.
- Thread the sensor in by hand until it stops so you don't strip the threads, then tighten it with the wrench. Tightening torque is approximately 10-20 N·m (7-15 lb-ft). Do not overtighten: the thermostat housing is plastic or aluminum, and the threads are easily damaged.
- Push the connector on until the lock clicks, and reconnect the negative battery terminal.
- Check the coolant level in the expansion tank and top it off to between the MIN and MAX marks.
- Start the engine and warm it up until the fan turns on. Watch the sensor area: there should be no leaks. If a fault warning is on the dash, check the connector and the tightness. If necessary, read and clear the codes with a diagnostic scan tool.
- Verify that the sensor works. The temperature gauge needle on the cluster should rise smoothly. The fan should turn on as the engine warms up to operating temperature, usually around 100 °C and above. After the engine cools down, check the coolant level again.
Common mistakes and warnings
- Do not open the cooling system on a hot engine: hot pressurized coolant causes severe burns
- Coolant is toxic and dangerous to animals, so do not leave it uncovered
- After the job, make sure there are no air pockets in the system, otherwise the engine may overheat
- If the fault codes do not clear after replacement, check the wiring to the sensor and the ECU connector
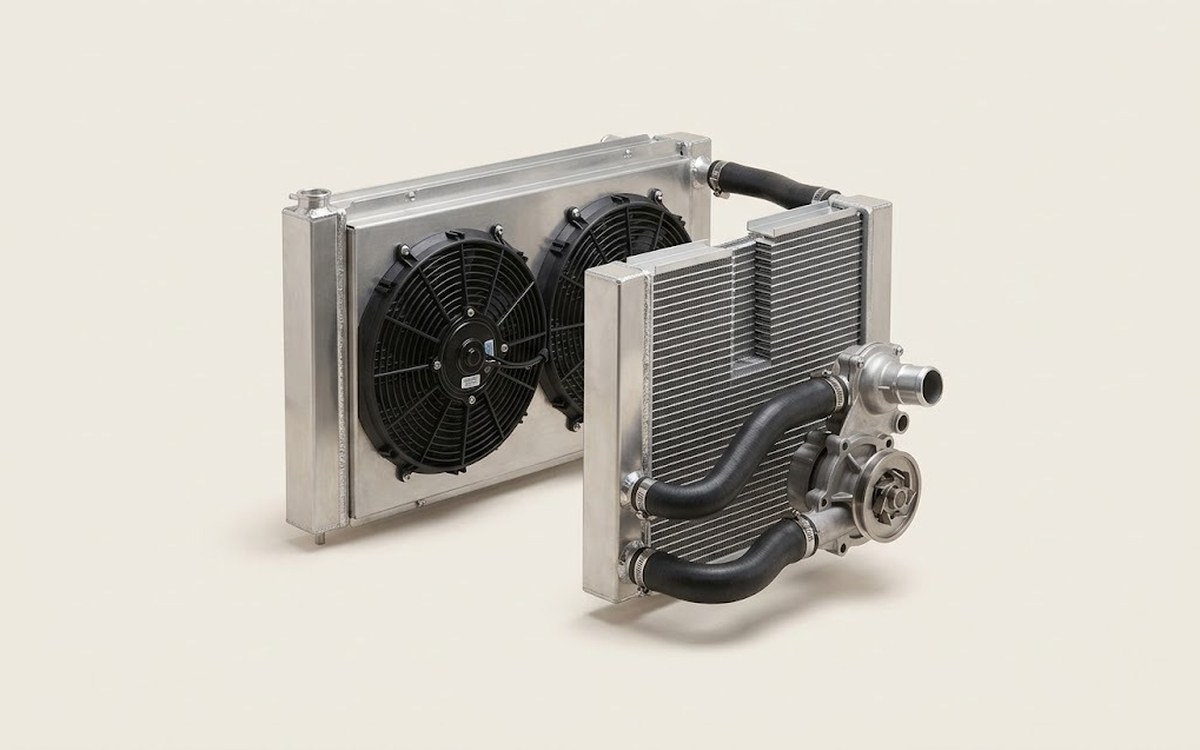 How it works · 3D
How the Engine Cooling System Works
How the part you're working on actually works — in plain English, on a 3D model.
Open in 3D →