Autopapyrus · Lada Niva Travel (1st generation)
https://autopapyrus.com/guides/lada/niva-travel/front-wheel-hub-bearing-grease-replacement/
https://autopapyrus.com/guides/lada/niva-travel/front-wheel-hub-bearing-grease-replacement/
Compiled automatically from service literature and owner experience. Specs are for the typical configuration — check them against your exact car before you start.
Lada Niva Travel (1st generation): Front Wheel Hub Bearing Grease Replacement
The Niva Travel front hub runs on two tapered roller bearings with adjustable preload. Replace the grease during suspension maintenance, when the hub is noisy or has play, and after water gets in. Always replace the hub seal with a new one when you take the hub apart. After reassembly, you must adjust the bearing preload.
Parts
4| № | Part | Alternatives |
|---|---|---|
| 01 | Lithium-based wheel bearing grease (Litol-24) | Fiol-1 |
| 02 | Front hub sealone per side | |
| 03 | Cotter pins or lock washers for bearing nutif used | |
| 04 | Drive flange gasketsif damaged |
Tools
13- jack and jack stands
- lug wrench
- 13
- 17
- 19 and 30 mm wrenches and sockets
- seal puller or driver
- flat screwdriver
- pry bar
- torque wrench
- brush
- solvent
- rags
- grease gun or a gloved hand for packing the grease
Step by step
16 steps- Park the vehicle on level ground, set the parking brake, and place wheel chocks behind the rear wheels. Loosen the front wheel nuts, raise the front of the vehicle, set it on jack stands, and remove the wheel.
- Remove the caliper: unbolt the two bolts that secure the caliper to the bracket (or the bracket bolts, whichever is easier). Hang the caliper from the suspension spring with wire. Do not stretch or load the brake hose. Remove the brake disc if it is held by a locating pin or screw.
- Remove the hub cap or cover, then unbolt the drive flange bolts. Take off the flange together with the splined end of the axle shaft. Note the position of the gasket. Wipe the old grease from the end face with a rag.
- Bend back the lock washer or pull out the cotter pin, then remove the locknut and lock washer. Next, unscrew the bearing adjusting nut and remove the thrust washer.
- Carefully remove the hub together with the brake disc. Pull out the outer bearing by hand and immediately set it on a clean rag. The inner bearing will stay in the hub behind the seal.
- Drive out or pry the seal out of the hub with a pry bar or a driver, then take out the inner bearing. Discard the seal. Never reuse it.
- Clean the bearings, the races in the hub, and the hub cavity with solvent. Let them dry. Inspect the rollers and races. Spalling, heat discoloration (blue tint), scoring, or worn tracks mean the bearing must be replaced together with its race. Press the bearing races out with a driver.
- Pack grease thoroughly into the cages of both bearings. The grease must work in between the rollers and the inner ring. Apply a thin coat of grease to the race surfaces. Fill the hub cavity about one-third to one-half full. Do not fill it completely, because the grease will be pushed out as it heats up.
- Install the inner bearing, then press in the new seal evenly, to its full depth, using a driver of the correct diameter. Lightly lubricate the sealing lip. Do not let grease get on the brake disc or pads. If it does, degrease them.
- Slide the hub onto the spindle without damaging the seal. Install the outer bearing, the thrust washer, and the adjusting nut. Thread the nut on by hand.
- Adjust the preload: tighten the nut to about 20 N·m (15 lb-ft) while turning the hub in both directions so the bearings seat. Then loosen the nut and retighten it to a light torque of about 5-8 N·m (4-6 lb-ft) (check the exact value against the specifications for your vehicle). The hub must turn freely, with no noticeable axial play and no binding.
- Install the lock washer and tighten the locknut while holding the adjusting nut so it does not turn. Check again: axial play in the hub should be minimal and rotation should be free. Bend the lock washer over or install a new cotter pin.
- Reinstall the drive flange with a new gasket, if one is used. Tighten the bolts in a crisscross pattern to a torque in the range of 15-25 N·m (11-18 lb-ft) per the specifications. Install the cap.
- Reinstall the caliper and tighten its mounting bolts within the specified range (approximately 70-90 N·m (52-66 lb-ft) for the caliper or bracket bolts; check the exact value in your vehicle's documentation). Pump the brake pedal several times so the pads seat against the disc.
- Install the wheel, lower the vehicle, and tighten the wheel nuts in a crisscross pattern to 65-90 N·m (48-66 lb-ft) (per specifications). Check that the wheel turns properly.
- After 50-100 km, recheck the hub play and the tightness of the fasteners. The hub should not get very hot. Moderate warmth is acceptable, but strong heat means the preload is too tight.
Common mistakes and warnings
- This job involves the brake system and the suspension
- If you have no experience adjusting tapered bearings or working with a brake caliper, take the vehicle to a repair shop
- Over-tightening the bearings causes overheating and failure, and under-tightening causes play and wheel runout
- Do not let grease get on the brake disc or pads
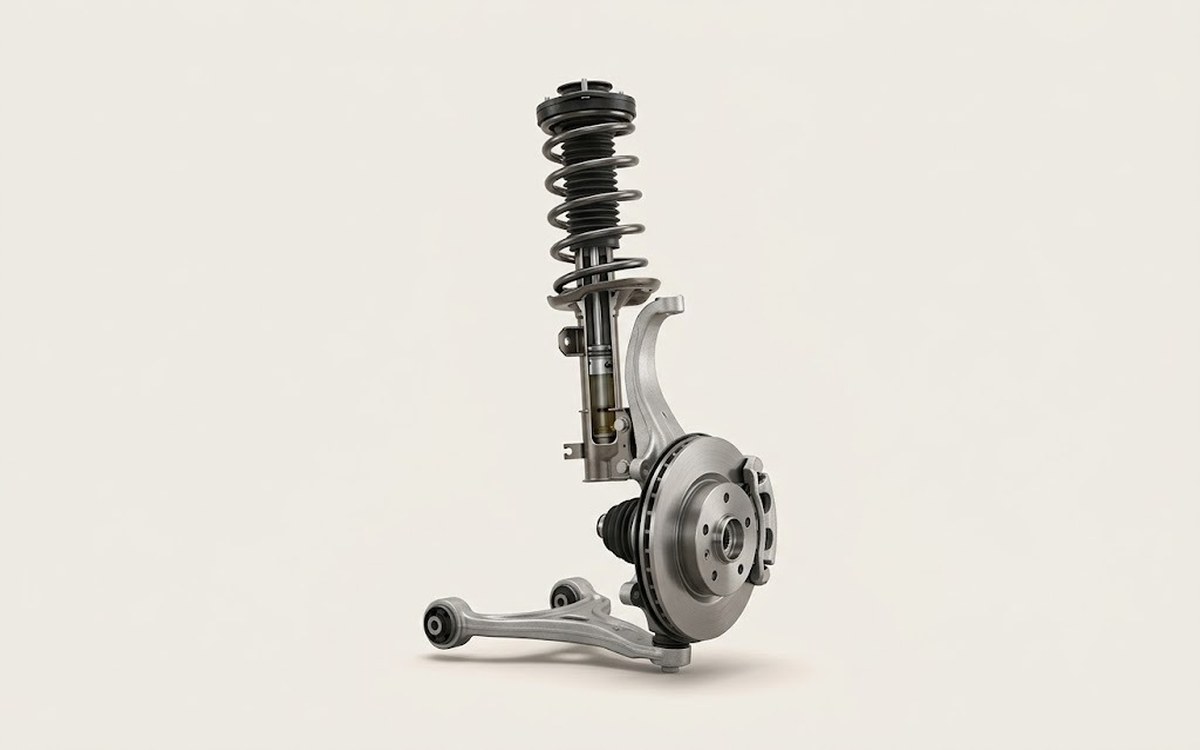 How it works · 3D
How Car Suspension Works
How the part you're working on actually works — in plain English, on a 3D model.
Open in 3D →