Autopapyrus · Tesla Model S (2018)
https://autopapyrus.com/catalog/tesla/model-s/guides/front-upper-control-arm-replacement/
https://autopapyrus.com/catalog/tesla/model-s/guides/front-upper-control-arm-replacement/
Compiled automatically from service literature and owner experience. Specs are for the typical configuration — check them against your exact car before you start.
Tesla Model S (2018): Front Upper Control Arm Replacement
The upper control arm of the Model S front suspension is bolted to the body with two bolts and attaches to the steering knuckle with a ball joint stud. It is most often replaced because of a worn ball joint: knocking and play, and in severe cases the stud pulls out of the arm and the wheel goes out of camber and caster alignment. This guide covers one side. The other side is replaced the same way. A wheel alignment is required after replacement.
Key figures
- Ball joint stud nut torquethe nut that secures the upper arm to the steering knuckle (step 22); the nut must be new, do not reuse the old one60 N·m (44 lb-ft)
- Torque for the two large arm-to-body bolts15 mm socket with a torque wrench (step 25)68 N·m (50 lb-ft)
- Ride height sensor bolt torquesmall bolt on the arm, do not overtighten (step 23)7 N·m (62 lb-in)
- Wheel speed sensor bracket bolt torquevery light tightening, 10 mm socket (step 24)5 N·m (44 lb-in)
Check these values against the manufacturer’s specification for your vehicle before you start.
Parts
3| № | Part | Alternatives |
|---|---|---|
| 01 | Front upper control armleft or right, depending on the side being replaced; if the ball joint is integrated into the arm, replace the complete arm assemblyFind on Amazon → | AlternativesMeyleMevotechDelphi |
| 02 | Self-locking ball joint nut (single-use, with thread locker)newFind on Amazon → | |
| 03 | Control arm bushing kitoptionalFind on Amazon → |
Amazon links search by the part name; use Amazon's fit check for your car before ordering. We may earn a commission from qualifying purchases.
Tools
7Step by step
35 steps · 6 stagesStage 1 of 6 Preparation and diagnosis 6 steps
- Confirm the fault. Lift the front wheel off the ground and rock it vertically. Inspect the upper arm ball joint and its boot for play, tears and leaked grease.
- Enable Jack Mode on the touchscreen: Controls > Service > Jack Mode.
- Turn off the center display: Controls > Safety & Security > Power Off.
- Raise the vehicle on the lift using the factory lift points and secure it firmly.
- Remove the rear section of the underhood splash shield (the underhood apron).
- Disconnect the low-voltage (12 V) power following the Tesla procedure. Do not touch the high-voltage battery or the power connectors: they are not needed for this job.
Stage 2 of 6 Accessing the arm 6 steps
- Remove the left and right underhood aprons.
- Remove the wiper arms on both sides.
- Remove the shock tower covers on both sides.
- Remove the cowl screen panel under the windshield.
- Remove the battery controller, which blocks access to the upper arm bolts.
- Remove the front wheel on the affected side. When reinstalling, use the wheel nut torque from the Tesla service manual for your model version.
Stage 3 of 6 Removing the arm 6 steps
- Remove the bolt securing the wheel speed sensor bracket to the arm (10 mm socket) and move the bracket aside.
- Remove the ride height sensor bolt, using a 10 mm socket, with a second 9 mm wrench on the ball joint stud. Move the sensor away from the arm.
- Remove the nut securing the upper arm ball joint stud to the steering knuckle. Hold the bolt from turning with a Torx T50 and loosen the nut with a 15 mm wrench. Discard the nut, as it is single-use.
- Pull out the bolt while supporting the steering knuckle. When the ball joint stud comes free, the knuckle must not drop and stretch the brake hose and sensor wiring. If the stud is stuck tight, press it out with a separator.
- Lower the vehicle so the wheels rest on the ground.
- Remove the two bolts securing the arm to the body (15 mm socket) and remove the arm. The bolts can be reused.
Stage 4 of 6 Installing the new arm 7 steps
- Compare the new arm with the old one: length, shape, side, ball joint, and sensor mounts. Transfer to the new arm any parts that are not included.
- Position the arm on the body and insert the two bolts (15 mm socket). Tighten them by hand only.
- Raise the vehicle fully.
- Insert the ball joint stud into the steering knuckle and tighten it with a new self-locking nut to 60 N·m (44 lb-ft). Hold the bolt with the Torx T50.
- Install the ride height sensor on the arm and tighten the bolt to 7 N·m (62 lb-in). Hold the ball joint stud with the 9 mm wrench.
- Install the wheel speed sensor bracket and tighten the bolt to 5 N·m (44 lb-in).
- Tighten the two bolts securing the arm to the body to 68 N·m (50 lb-ft).
Stage 5 of 6 Reassembly 6 steps
- Install the wheel and tighten the nuts to the Tesla specification (with a torque wrench, in a crisscross pattern).
- Install the battery controller and the cowl screen panel.
- Install the shock tower covers and the wiper arms.
- Reconnect the low-voltage power.
- Install the left, right and rear underhood aprons.
- Disable Jack Mode: Controls > Service > Jack Mode.
Stage 6 of 6 Inspection 4 steps
- Lower the vehicle, turn on the display, and make sure there are no suspension or steering errors.
- Check for knocking, play and unusual noises. A short low-speed drive over bumps will help you notice them.
- Have the alignment checked and adjusted. Replacing the upper arm changes the suspension geometry, so without setting the angles the vehicle will pull to one side and the tires will wear unevenly.
- After 50-100 km (30-60 miles), recheck the wheel nut torque.
Common mistakes and warnings
- The suspension and steering are safety systems
- If you lack experience, have a repair shop do the work
- Do not open the high-voltage system
- Before starting, disconnect the 12 V power and enable Jack Mode, otherwise the air suspension may lower or raise the vehicle during the work
- Always replace the ball joint nut with a new one
- After a collision, also inspect the steering rack for damage
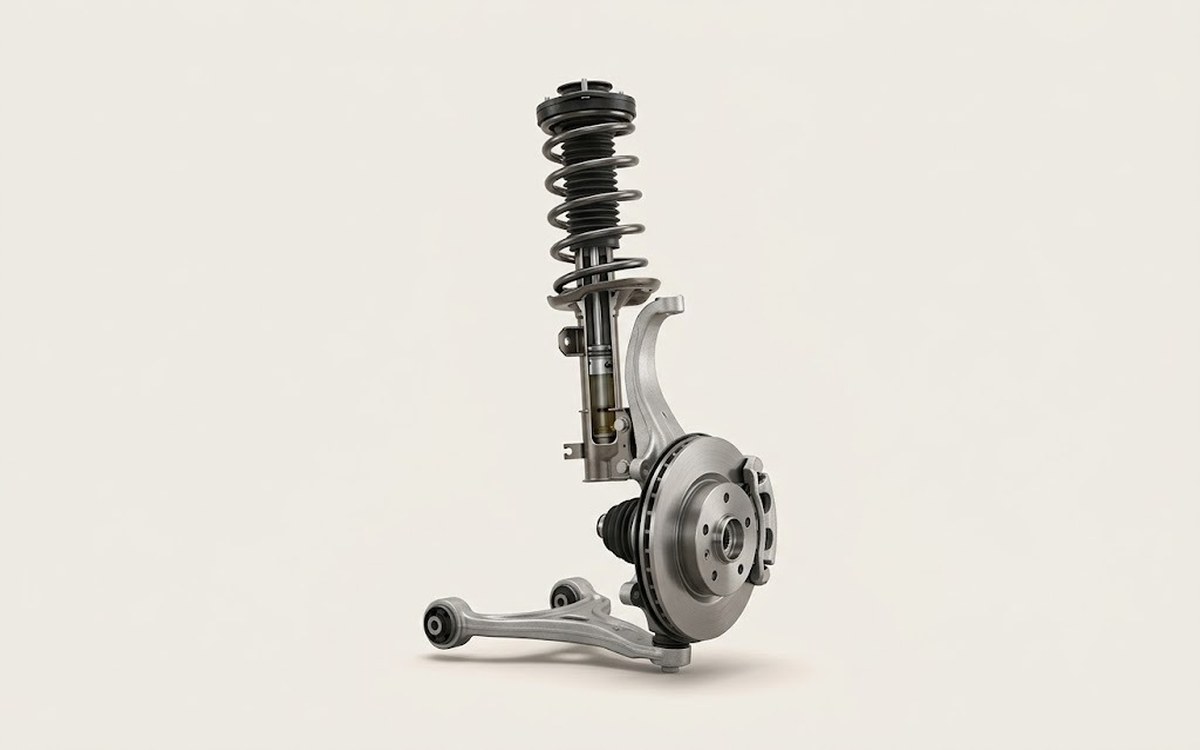 How it works · 3D
How Car Suspension Works
How the part you're working on actually works — in plain English, on a 3D model.
Open in 3D →
Spotted a mistake? Tell us →
Our articles
 Brand stories
The History of the Tesla Brand
Tesla Motors, a North American company founded in 2003, is rightly considered the pioneer of a new era in the…
Read →
 Garage
Fuel Quality Indicators: What Octane and Cetane Numbers Mean
What is an octane number? What about a cetane number? Which fuel should you choose for a high-compression engine?…
Read →
 Before you buy
How to Pick Up Your Car from the Dealership the Right Way
If you've decided to buy a car from a dealership, it isn't enough to simply choose a model you like, pay for it, and…
Read →